Listen to any popular piece of music, regardless of genre, and you’ll likely notice one thing:
Vocals are the star of the show.
They provide us with an emotional connection by giving us a stronger idea of the theme of the song. Plus, a hooky melody is often the most memorable part of a song. As a mixing engineer, it’s your job to make sure your vocals don’t get covered up in a mess of other instruments.
In many ways, clear vocals are the badge of a successful mix. With that said, I meet so many new engineers who fixate on the less-important technicalities of vocal mixing after watching one too many YouTube videos.
The ‘best’ compression settings or the ‘top 5’ vocal EQ moves won’t save your mix. Sure, they’re undoubtedly important. Though when you focus too much on them, you miss a crucial point: your vocals don’t exist in isolation.
To breathe life into your vocals, you have to take a step back. Look at the entire mix and how every other element interacts with them. In this guide, we’re going to take a look at a few different tips and tricks for making space for your vocals!

General Rules To Follow
Before we get into the dirty details, there are a few general rules I recommend following if you want to get a polished and professional vocal sound.
- Mix Your Vocals In Context: Always mix your tracks with the vocals playing to make sure any adjustment you make will leave ample room for the vocals. By consistently hearing the vocals in context, you can avoid overcrowding the mix.
- Use Sub-Mixes or Groups: To streamline your EQ process and keep from nasty CPU overloads, use sub-mixes or groups. If you have 15 electric guitars in your mix, there’s no reason to EQ all of them separately. You can just send them to a bus and give them a broad EQ stroke there.
- Take a Step Away: I find that it’s often helpful to step away from the regular listening position. It’s a great way to hear your mix from a different perspective. Even walking out into the hallway can give you a fresh set of ears. Which can reveal any imbalances or issues that you might not have noticed in your regular mixing position.

The Most Important Frequencies for Vocals
Making space for your vocals starts with understanding what frequencies are most important.
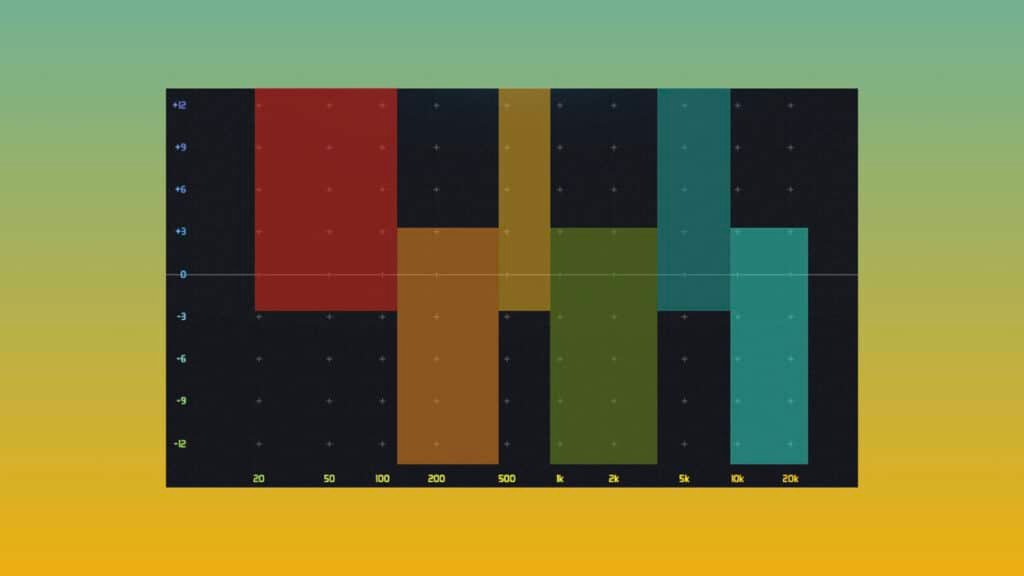
To me, the presence range between 2.5kHz-5kHz is the most important to keep clear. This is where speech intelligibility lives. Unfortunately, there are several other instruments that have a lot of energy in this range. Including guitars, synths, snares, and more. If left alone, they could cloud the vocals and make them difficult to understand.
Beyond the presence range, there are a few other frequency areas I recommend looking out for when it comes to vocals:
- Low-Mids (150-300Hz): This is where the warmth of most vocals live. Males are a bit lower (between 100-250Hz), while females often lie a bit higher, between (250-400Hz). If the singer is in a lower octave or has a huskier voice, it’s important to keep this range clear.
- Air (10-15kHz): If you want to give vocals that polished, “expensive” sound, the air range is where you should venture. Some instruments have these high frequencies, such as hi-hats, cymbals, synths, and electric guitars. However, if they’re getting in the way of you vocal’s high-end, you might employ a low-pass filter.
1. Use Dynamic EQ
I’ve become quite fond of dynamic EQ over the past few years. Unlike static EQ, which applies a fixed gain change to a specific frequency range, dynamic EQ continuously adjusts the gain dynamically based on the input signal.
Essentially, the EQ only engages when it’s needed. So you can preserve all of the natural frequencies in that sound otherwise. Beyond the fact that it’s great for addressing frequency-specific issues, such as resonances or outlier frequency bumps, it’s also a great tool for carving out space for vocals when used on competing instruments.
One of my favorite dynamic EQ plugins is…
A. Waves F6
So, let’s say I have a guitar or keyboard that’s occupying the range where the vocals live, such as 1-3kHz. I could use a static EQ to pull a few dB out of that range in those instruments to make space. But that lost presence would be noticeable whenever the vocal isn’t in the mix.
Instead, I’d set a dynamic EQ band on the guitars or keyboards in that range and adjust the threshold in such a way that the EQ only reduces the gain when the vocals are active. As a result, you get the best of both worlds — clarity for your vocals and presence in your instruments.

Side note: FabFilter Pro-Q3 also has an excellent dynamic EQ function. Though the reason I recommend F6 is that the plugin also has variable attack and release functionality like a multiband compressor. Making it a little more flexible.
If you want to take more of an automated route, you can get your hands on another plugin.

B. iZotope Neutron 4
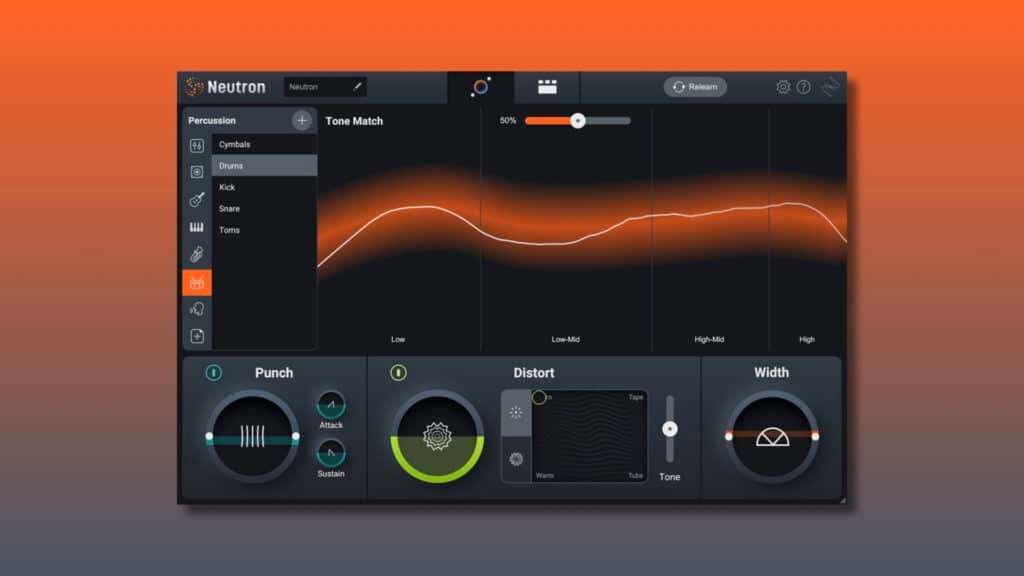
The plugin has a unique « Unmask » module that simplifies the process of making space for vocals.
Simply load Neutron 4 on the vocal track and competing instrument tracks you want to adjust. Once keyed in, the « Unmask » feature will automatically detect and reduce frequencies that conflict with the vocals. Just like a dynamic EQ would.
The unique thing is that it works intelligently throughout the spectrum, applying dynamic EQ moves “frame by frame.” So, as your vocal changes from verse to chorus to bridge and beyond, so will the frequencies.
2. Use A Sidechain Multi-Band Compressor
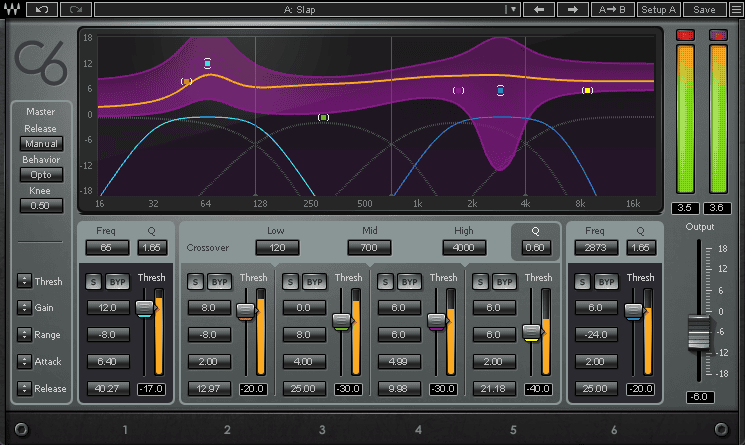
If you don’t have a dynamic EQ plugin, a side-chained multi-band compressor can do the job pretty similarly.
The difference is that while dynamic EQ focuses on specific frequency ranges and adjusts their gain dynamically, multi-band compressors divide incoming audio into multiple frequency bands to compresses them based on an external side-chain input — in this case, the vocal track.
Of course, just like a dynamic EQ, you can choose to only use one or two bands.

Start by finding a multi-band compressor you like. Some of my favorites include FabFilter Pro-MB and Waves C6.
Place the multi-band compressor on the instrument track that’s competing with the vocals. Then configure the side-chain input to the vocal track so that it’s only reacting to the vocal signal. From there, focus on the bands that overlap with the vocal’s key frequencies (e.g., 1-3 kHz or 3-5 kHz).
Set the threshold, ratio, attack, and release for each band so that the compressor on the particular band only engages when the vocal is present. I typically like a fast attack and fast release. This way the gain dips as soon as the vocal comes in and comes back up as soon as the vocal disappears.
Aim for gain reduction of around 2-3dB to keep it natural!
3. Use Panning To Your Advantage
It might surprise you how much simple stereo panning can do for creating space for your vocals. The key here is being strategic about where you place your vocals and other competing instruments in the stereo field.
I recommend panning instruments to different positions in the stereo field can help create space for your vocals in the center.
For instance, if you’re working on a rock mix, you might pan your mid-range-heavy electric guitars hard left and hard right to leave the center of the mix clear for the vocals.

If you’re dealing with a sound that you want to keep in the center, you can use an auto-panner to keep it moving ever-so-slightly from left to right around the center vocal to give it the illusion that it’s centered without directly overlapping the vocal.
Similarly, you can use a stereo-widening effect on any mono-center sources to push them further to the sides. Not only does this create a sense of width, but it also helps keep the main vocals focused and clear in the center.
Just make sure to check your mix in mono whenever you use panning as a way to achieve clarity to make sure your mix has mono compatibility without phase issues.

4. Apply Mid-Side EQ
Mid-side EQ scares a lot of new producers, though it’s actually quite simple. Essentially, you get the abiliy to process the mid (center) and side (stereo) components of your mix separately.
This can be extremely useful for making space for vocals, especially leads, which typically occupy the center of the mix.
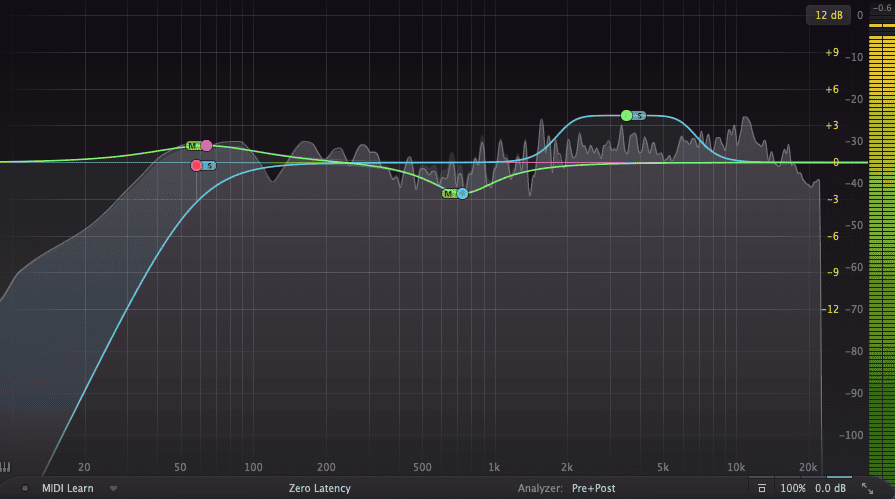
So, let’s say you have a stereo synthesizer with frequency information across the stereo field that’s getting in the way of your lead vocal. You can place a mid-side EQ plugin on it, such as FabFilter Pro-Q3, and EQ competing frequencies in the center.
This way, you’ll retain the full frequency spectrum of the offending instrument on the sides of your mix while making space for the vocal in the center.
5. EQ Your Vocal Reverb And Delay
It’s easy to forget that your reverb and delay sends have just as much of an ability to take up space in your track as any other instrument. For this reason, I recommend treating them like their own mix elements and EQing them around your vocals.
More often than not, we don’t need ultra-highs and lows in our reverb and delay sends, especially in busy mixes.
This is where the Abbey Road Reverb Trick comes in. The idea here is to use high and low-pass filters either before or after your vocal reverbs and delays. By doing this, you cut out unnecessary frequencies that would otherwise detract from the mix.

By placing an EQ plugin in your reverb or delay effects chain, you can shape the processed signal without affecting the dry vocal. Start by applying a high-pass filter to remove low frequencies below 200-300Hz (In busier mixes, you can go up to around 600Hz). This will help prevent low-end buildup in your reverb.
From there, you can apply a low-pass filter or a gentle cut in the high frequencies (above 8-10kHz) to get rid of any harshness or sibilance in the reverb or delay and push it back in the mix.
If you still feel like your reverb or delay is getting in the way of your vocals, you can make a slight cut in the presence range (between 1-3kHz). Of course, if you want to get fancy with it, you can employ a dynamic EQ on your reverb or delay send so that the presence range only dips when your vocal is playing!
ℹ️ Want to discover how to use reverb on vocals like a pro? You’ll find everything you need right here: How To Use Reverb On Vocals – The Pro Guide

6. Use Volume Automation
Before the advent of plugins and hardware EQs, mixing engineers would the only tools they had available to create clear mixes — volume sliders.
Guitars covering up the vocals? Dip the volume of the guitars during the verse or chorus when the vocals are present.
Sometimes, we tend to overcomplicate things. You might not need to employ any fancy sidechain multi-band compression or dynamic EQ to make space for you vocals. If they aren’t clear, start by dipping the volume of any offending instruments and see how it sounds!

7. Create Contrast In Your Arrangement
The last point I want to make isn’t really a mixing point, but I think it’s equally important for any producer looking to create clearer, better mixes.
If you’re involved in the songwriting and recording process, try to arrange your track in such a way that the instrumental tracks complement the vocals rather than compete with them.
There are a few ways you can do this:
- Simplify instrumental parts during verses or sections where vocals are most prominent, using busier, more complex arrangements during instrumental breaks.
- Arrange instruments to play in different octaves or ranges than the vocals to reduce frequency overlap.

Final Thoughts
With these techniques in mind, you’re well on your way to getting crisp, clear vocal mixes like you hear on the radio!
At the end of the day, it’s all about balancing your mix and making subtle adjustments to puzzle piece everything together. The more you use the techniques above, the more familiar you’ll get with them, and the easier it’ll be.
If you have any questions about vocal mixing or about anything in the field of music mixing, please contact us, and we’ll be happy to help you!
Related Articles:
My favorite tools for mixing pop and hip-hop music:
Plugins
In the field of auto-tune, I’m convinced that nothing’s better and more efficient than Antares Auto-Tune Pro. As for the EQ’s, FabFilter Pro-Q3 and Slate Digital Infinity EQ are, in my opinion, the best tools. For compression, I have 2 favorites plugins: Waves RComp and UAD EL8 Distressor.
As for reverb, I’m a big fan of the Soundtoys Little Plate, but generally, I go for the Valhalla VintageVerb for its versatility. I also love the Arturia Rev PLATE-140 and the UAD Pure Plate for its organic side.
Headphones
The closed headphones I love and will always love using for mixing pop and hip-hop music are the Beyerdynamic DT-770. As for the best open-back headphones, I use the Sennheiser HD600 headphones, and I’m really happy of them!
Monitors
Having a pair of Yamaha HS7 in its studio or home studio is always cool for more excitement while listening to your mixes. The Adam Audio T7V monitors are also super accurate. In my studio, I also have a pair of Genelec 8030 for their reliability.
Hardware gear
For anyone who wants to start using hardware in their mixes, I always recommend these 2 units from Klark Teknik: the EQP-KT and the 76-KT. Don’t forget to use good converters, such as the Apollo interfaces. This is essential for a good rendering.


