
Plugin manufacturer Waves has recently released a new smart resonance suppression plugin: Curves Equator. Can this plugin compete with the very popular Oeksound Soothe2? Let’s find out in this article!
Overview of Curves Equator
Curves Equator is an innovative plugin that simplifies resonance suppression and frequency unmasking. Whether you’re working with a full mix, vocals, instruments, or samples, it automatically tackles problematic frequencies, smooths out resonances, and balances tonal inconsistencies.
What makes Curves Equator stand out is its ability to adapt to your specific audio, creating a custom resonance suppression curve that avoids the risk of overprocessing. Additionally, it can detect frequencies from other tracks via sidechain input, applying a dynamic inverse suppression curve for enhanced clarity in your mix.
As the first plugin in Waves’ new Curves Spectral Series, Equator is designed to address a wide range of audio issues on any source, making it a versatile tool for both amateur and professional engineers. Its intuitive interface is easy to navigate, while the more advanced options provide powerful control for those seeking precision.
Some key features include automatic correction for resonance, muddiness, and tonal imbalances, a personalized suppression curve based on your content, and the ability to unmask competing frequencies through sidechain input. It also uses linear phase processing for transparent, natural results without introducing unwanted phase shifts.
Fast, efficient, and packed with control options, Curves Equator provides an all-in-one solution for improving your mixes with ease.
How to use Curves Equator?
The cool thing about this plugin is that there are so many ways to use it. It can be useful in many different situations: cleaning up the mud of a voice, adapting the frequency spectrum of one source to another thanks to the sidechain feature, making a source more balanced, etc. The list goes on!
But to give you a starting point, here are a few avenues to explore as you discover this new plugin.
1. Resonance fixing
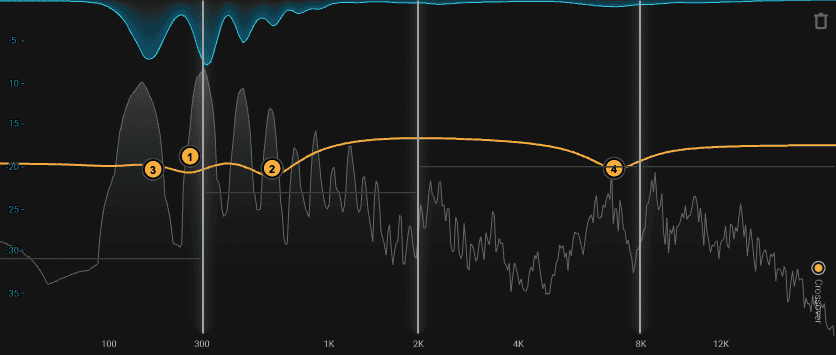
In music production, it often happens that a source has unpleasant resonances impossible to remove with a simple EQ. That’s where Curves Equator comes in.
All you have to do is identify the most critical zones and apply a more or less strong resonance reduction to them. You can then play with the main knob, the sensitivity knob and the shape knob to tailor your correction more precisely to your needs.
The amazing thing about this tool is that you don’t “kill” the frequency zones to which you apply your resonance suppression. Only the resonances are dynamically cleaned.
2. Frequency spectrum balancing
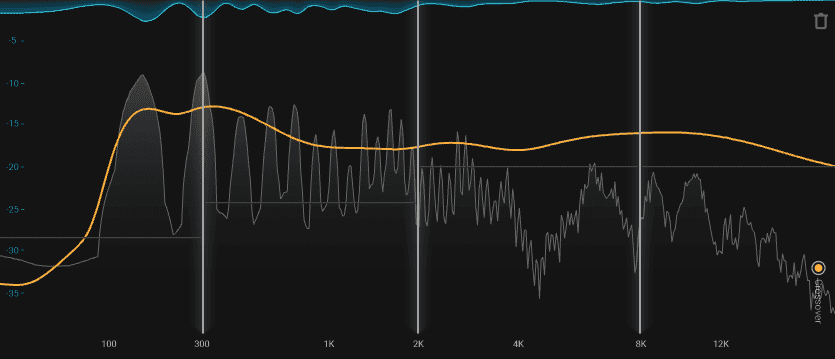
In music production and mixing situations, it can also happen that a source is unbalanced frequency-wise. This is often the case with a recording of flat vocals, which will very often present an excess in the low and low-mid range.
In this case, you can use the learn feature to let Curves Equator analyze your audio and even out the frequency spectrum. The result is, frankly, very impressive. But you can of course adapt this correction as you wish and, if necessary, use the Advanced Controls window for an even more precise correction.
In this kind of situation, you can also use the tilt knob, which allows you to tilt the frequency spectrum up or down. It’s a very simple feature, but one I really appreciate having in this kind of cleaning.
3. Frequency unmasking
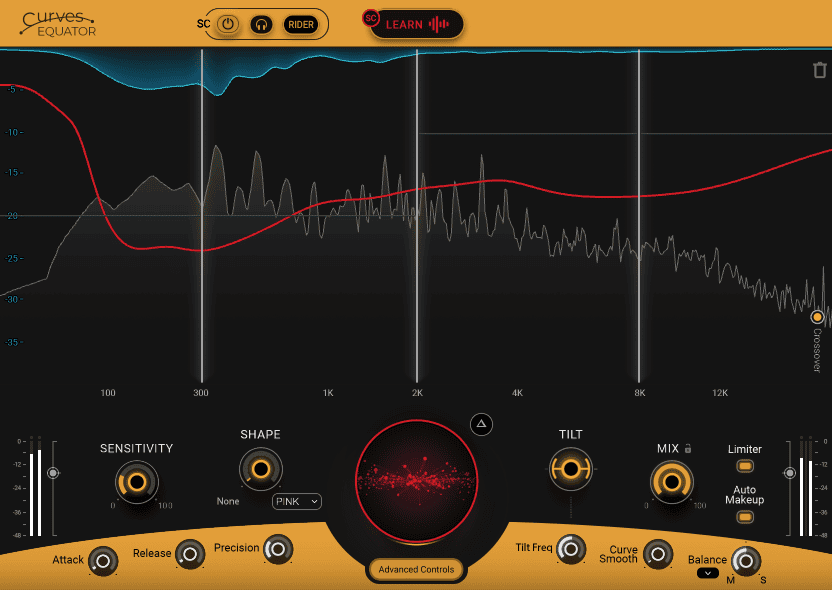
Another typical mixing problem is one source masking another (usually the voice). This masking source could be guitar(s), piano, or even an entire instrumental. Whatever the source, Curves Equator will be able to adapt its frequency spectrum in response to the masked source, thanks to the sidechain feature.
To do this, simply select a bus in the send section of your masked source (probably the voice), say bus 1, select this same bus as Curves Equator’s key input, activate the sidechain button and then use the learn feature to let the plugin work its magic!
Having tested this feature, what impresses me most is Curves Equator’s ability to maintain the energy of the sidechained source.
Curves Equator vs Soothe2 : Who Wins?
But in the end, the question everyone is waiting for is… Who wins between Waves Curves Equator and oeksound soothe2? The answer, of course, depends on your needs and workflow. But to help you choose, here’s a list of pros and cons for each plugin.
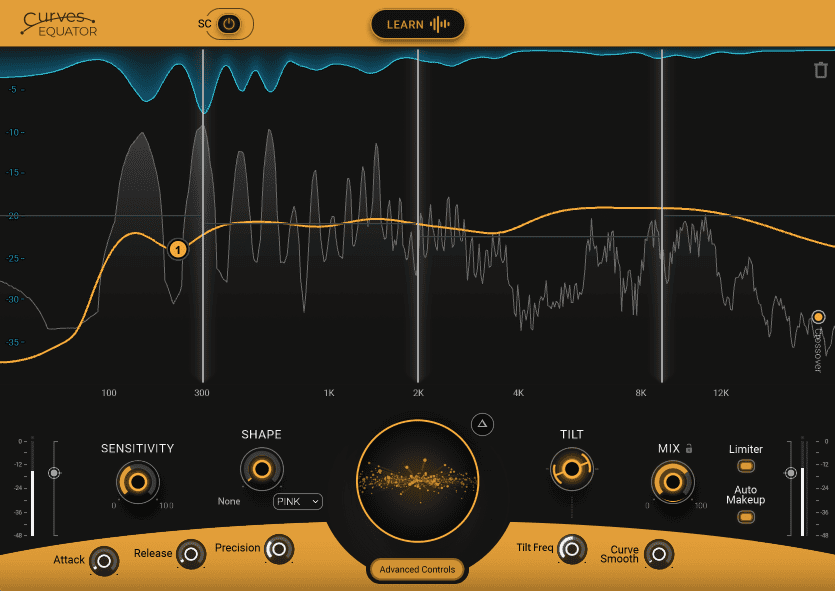
Pro and cons of Curves Equator
✅ Pros ✅
✅ Very intuitive interface
✅ Sidechain feature
✅ Learn feature
✅ Advanced window for more precision
❌ Cons ❌
❌ High risk of over-processing due to the amount of features
❌ Might show small artefacts at higher values
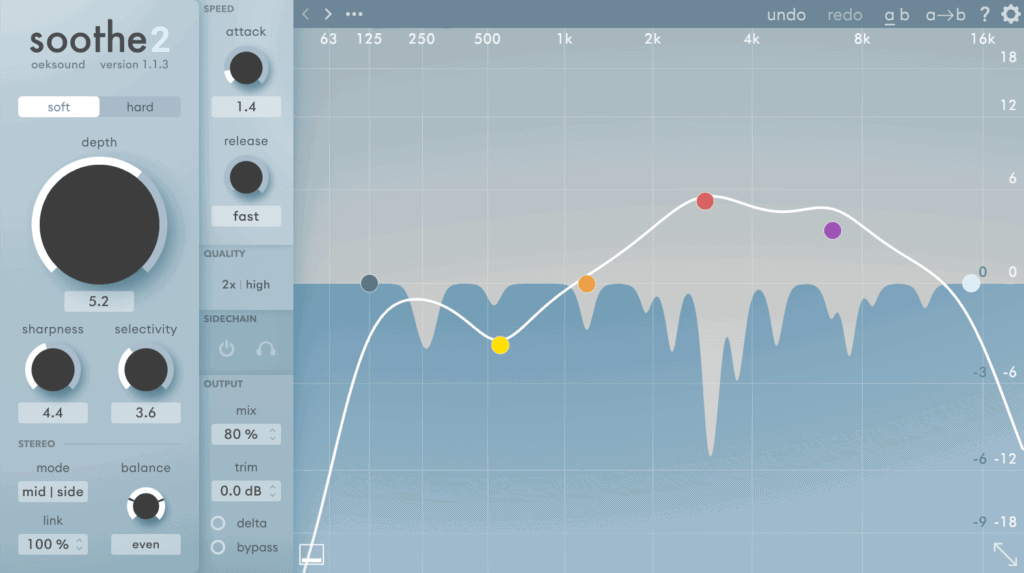
Pro and cons of Soothe2
✅ Pros ✅
✅ Very straightforward and modern interface for more efficiency
✅ Industry-trusted tool
✅ Transparent sound
✅ Very easy to use
❌ Cons ❌
❌ Poor value for money (quite expensive)
❌ Lack of advanced features
As you can see, depending on the aspect you want to prioritize in your workflow, one is bound to be better than the other. If you want an efficient, straightfoward tool that doesn’t delve into too many details, while ensuring top audio quality, soothe2 is a better option. But if you want to dig a little deeper into your correction and really get into the details, perhaps Curves Equator is a better option.
The interface also has its part to play. Personally, I’m not a fan of Curves Equator’s interface, whereas I love that of Soothe2. But again, it depends on how you feel about using each plugin.
ℹ️ Do you want to explore all the potential alternative plugins of soothe2? You will find all the information you need in this articles on the Top 9 Alternative Plugins to Soothe2
Final Thoughts
Curves Equator is clearly a very powerful tool for resonance suppression. And it has nothing to envy its now rival soothe2. But won’t it be perceived as a pale copy of the oeksound plugin? We’ll see what the music production community has to say. But on the face of it, this plugin has a lot to offer to the quality of your mixes.
Whether you’re looking to clean up the resonance of a vocal recording, or make your mixes more polished, Curves Equator clearly has something to please you. The two great strengths of this plugin are its advanced features and its versatility. The Waves plugin can help you in many situations!
If you have any questions about this plugin or about anything else in the field or music production, please contact me, I’ll be very happy to help!
Related Articles:
My favorite tools for mixing pop and hip-hop music:
Plugins
In the field of auto-tune, I’m convinced that nothing’s better and more efficient than Antares Auto-Tune Pro. As for the EQ’s, FabFilter Pro-Q3 and Slate Digital Infinity EQ are, in my opinion, the best tools. For compression, I have 2 favorites plugins: Waves RComp and UAD EL8 Distressor.
As for reverb, I’m a big fan of the Soundtoys Little Plate, but generally, I go for the Valhalla VintageVerb for its versatility. I also love the Arturia Rev PLATE-140 and the UAD Pure Plate for its organic side.
Headphones
The closed headphones I love and will always love using for mixing pop and hip-hop music are the Beyerdynamic DT-770. As for the best open-back headphones, I use the Sennheiser HD600 headphones, and I’m really happy of them!
Monitors
Having a pair of Yamaha HS7 in its studio or home studio is always cool for more excitement while listening to your mixes. The Adam Audio T7V monitors are also super accurate. In my studio, I also have a pair of Genelec 8030 for their reliability.
Hardware gear
For anyone who wants to start using hardware in their mixes, I always recommend these 2 units from Klark Teknik: the EQP-KT and the 76-KT. Don’t forget to use good converters, such as the Apollo interfaces. This is essential for a good rendering.


