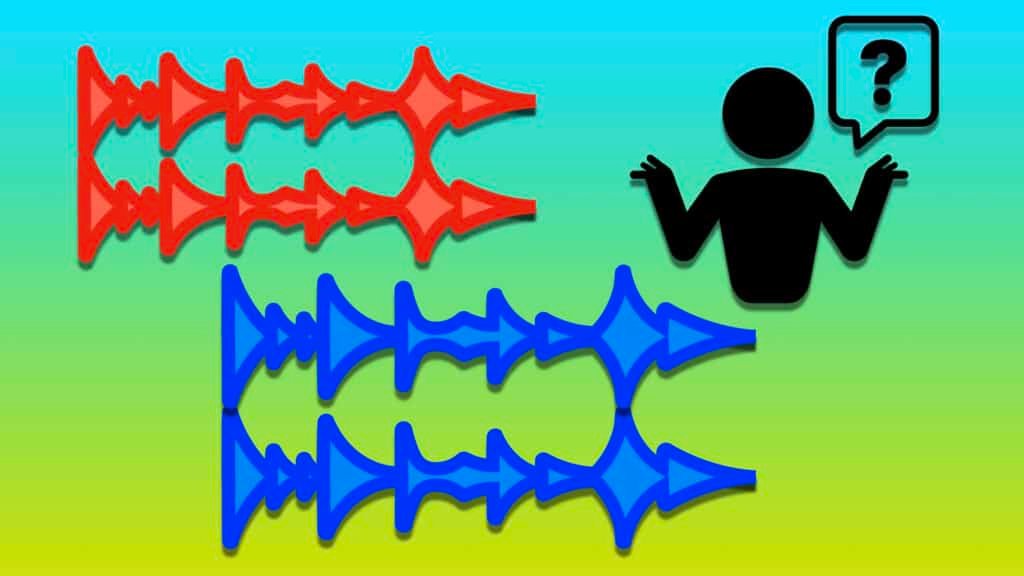
You just finished your mix, you’re happy and probably excited to compare it to your favorite tracks. And then… disappointment. It sounds much less loud than you expected. You ask yourself: “Why are my mixes so quiet ?”. This can quickly lead to a lot of frustration. That’s why, in this article, you’ll have all the information you need to make your mixes sound as loud as your favorite tracks and end all your frustrations today!
The reason why an audio mix usually sounds quiet compared to streaming or CD references is that it is not mastered (or simply not enough). In music, mastering is the last step in the production process, the principle of which is to bring the overall level of a track (called LUFS) to a certain standard. It is generally recommended to target a level between -8 and -15 LUFS depending on the style and dynamics of the song.
In this article, you will learn how to understand and apply this process in a very simple way, it includes :
- The different types of audio levels
- Recommended mixing level standards
- The basics of mastering
Need a professional sound engineer specializing in pop and hip-hop mixing ? Great! Take a look at our services and let’s blow up your career together!
Let’s start now!
1. The different types of audio levels
RMS, FS, VU,… All these terms you’ve probably heard of can be difficult to understand. In our case, we will only need to explain 3 types of levels: Full Scale, True Peak and LUFS
A. Full Scale Level (dBFS)
Full Scale is a term that is not only used in audio, but the whole field of electronics in general. In electronics, the term full scale gives a maximum amplitude value that a system represents. Above this maximum value, it will result in errors called clipping.
In audio, the maximum amplitude is located at 0 dB Full Scale. That’s why, in most of the level meters you will find in your DAW, the highest value is “0”.
Thanks to technology nowadays, all our DAWs have a certain headroom level (we’ll come back to this later) above 0. This means that you’ll have to go much higher (up to +12 dBFS for some) to start hearing clipping.
For reasons that you will understand as this article progresses, it is strongly recommended not to go above 0 dBFS, whatever the situation.
B. True Peak Level
If you are in the audio mixing field, you probably know that digital audio is not a real continuous waveform, but a sequence of samples. If not, here’s a reminder!
Any digital audio device is capable of sampling any incoming or outgoing waveform at a certain frequency, the best known of which are 44.1 kHz and 48 kHz. This means that, 44,100 or 48,000 times per second, an amplitude sample is recorded. The sequence of these samples forms a wave.
But what if, between 2 samples, the waveform goes above the amplitude limit as is the case in the middle of the above waveform ? To find out, we will have to re-sample, and we will then speak of dB True Peak.
This level value is extremely important because, even if you set a limiter to 0 dB FS, the True Peak level can rise to + 1 or even + 2 dB. When exporting, this can do a lot of damage to transients.
The True Peak and Full Scale levels are therefore very precise levels that allow the level to be measured over extremely short periods of time.
C. LUFS (Loudness Unit Relative to Full Scale)
In audio mixing, the LUFS level represents the opposite of what the Full Scale level can represent. It is used to determine the average level of a song throughout its duration.
But the LUFS level is mainly used to give each audio domain a standard. For music, for example, each streaming platform has its own standard: -14 for Spotify, -16 for Apple Music, -13 for YouTube Music,… In TV, however, things are much more restrictive, there is only one standard: -23 LUFS.
In 2022, this level is very important because it is the one taken into account by the streaming platforms.
We will come back to this later.
2. Recommended mixing level standards
In the audio mixing field, it is strongly discouraged to get too close to 0 dBFS.
Because, remember, going over the limit is clipping.
During the mixing process, it is generally recommended to take 5 to 6 dB of headroom. But what is headroom?
In audio, the headroom level determines the level between the loudest levels and the clipping level. You can think of it as a kind of safety level that prevents you from worrying about saturation.
In this case, you can see that I went a little bit higher than the recommended level (the little orange bars). In itself, it’s not too bad, but I know I’ll have to be careful not to push too many elements in my mix to avoid clipping.
Still sounds quiet compared to professional references ? It is totally normal. The tips that have just been given to you are simply tips that allow you to anticipate in the right way what will put an end to all your problems, mastering.
In fact, the big difficulty will be to raise the mix level without clipping and distortion.
3. The basics of mastering
You have the tools, now I’ll give you the solution to your level problem: the mastering process. Basically, this process, which is the very last one before exporting, will allow you to adjust the level of your mix to the normalized level, which is generally, as said above, between -8 and -15 LUFS.
In your DAW, you probably have a track called Master or “Master Fader”. This is the track that allows you to monitor what is coming out of your software and potentially to your speakers.
This is exactly where you will use all the tools necessary to raise the overall level.
It is important to note that mastering engineers use dedicated software. But in our case, we just have to raise the volume and do a very very simplistic mastering.
The mistake many people make when they don’t really know how to raise the overall level is to push the master fader to +7… + 8… +12!
Don’t do that. It’s the perfect way to ruin all the work you’ve done on the mix. When you export it, you’ll have a lot of transients above 0 dBFS, and therefore… a lot of saturation!
To get a correct result, you will need…
- A compressor
- A limiter (2, if possible)
- An LUFS analyzer
A. Compressor
The first thing you are going to use is a compressor to “glue” your mix.
There are actually dedicated compressors called VCAs, but we’re going to keep things simple and use a totally free compressor: the native Pro Tools compressor.
Of course, if you’re using another DAW, you can use another compressor, that will work too.
For the best results, the most suitable values are :
- Attack : 1 to 5 ms
- Release Time : 10 to 20 ms
- Ratio : Not more than 2 : 1
The threshold level will depend on the level of your mix, it’s up to you to try to hear at what level the compression acts without making the mix get completely pumped. It will generally be between -15 and -10 dB if your levels are correct.
B. Limiter
A limiter is a tool that will allow you to raise the general level without distortion and without clipping. If you want to start simple, I advise you to use L1 from Waves. This is the one we are going to use for that example. This is how to process :
- Set the out ceiling level between -0.5 and -1 dB
- Turn down the threshold level slowly, you can hear that your mix goes louder. This is normal.
- Stop as soon as the loudest parts of the mix touch goes a little bit above the threshold level.
- You should see, to the right of the plugin, how much it limits the level. Try to never go further than 3 or 4 orange bars.
To go further, you can use a second limiter to boost the signal by 2 or 3 dB more, while keeping an out ceiling between -0.5 and -1 dB
C. LUFS Analyzer
The very last thing you need is to measure your LUFS level. Youlean Loudness Meter is probably the best free plugin to do so.
But the question is, which value to target?
A lot of people say that -14 LUFS is the ultimate target. It is completely wrong. The best advice I have for you is to trust you ears. You don’t hear any pumping, any saturation, any clipping ? Then keep pushing!
-14 LUFS may be perfect is some situation but totally unadapted in others. Depending on the genre, the vibe and the dynamics, the target value will be different.
I have never gone below -14 and I have never gone above -8 LUFS. But I work in the pop and hip-hop mix. A sound engineer working in rock, for example, is much more likely to have higher values than me. Trust. Your. Ears.
Need a professional sound engineer specializing in pop and hip-hop mixing ? Great! Take a look at our services and let’s blow up your career together!
Let’s start now!
Conclusion
Being able to mix is a very good thing, but having the basics of mastering is essential to be able to broadcast your music to the world. What I have presented here is only a very simplistic basis of mastering. You can use these techniques to start putting your music on streaming platforms or YouTube. But then you will have to develop your ears and make the mastering process more complex to make the musical experience of your mixes and masterings completely new for your listeners.
I will post an article on my mastering channel soon. In the meantime, don’t hesitate to contact me for any question about this topic or anything else in the audio mixing field, I’m always happy to help!


