
If you’re just getting started with the seemingly complex dark art that is music mixing, I’m here to help.
Now, while the following guide will have tips, tricks, and techniques you can use to improve your mixes right away, I want to be clear that as with most things in music production and mixing, suggestions are never rules. Mixing is an art and should be treated as such.
If you’re a beginner, I recommend trying out each one of these mixing tips and tricks to see how they work for you. And if you’re an intermediate engineer, I hope you pick up some new essential mixing techniques that you may have missed on your learning journey thus far.
Essential Gear and Software
Before we dive into the top 10 mixing tips, I want to make sure you have the right equipment. While you can certainly mix with nothing but your laptop, here are some key pieces of gear that’ll enhance the process:
- Digital Audio Workstation (DAW): This will be the software with which you record, edit, arrange, produce, mix, and master. Check out our article on how to pick your first DAW.
- Studio Monitors or Headphones: Nearfield studio monitors are great for making accurate and balanced mixing decisions. While headphones can help you monitor smaller details you might miss on speakers.
Third-Party Plugins: From EQ to compression and saturation to reverb, I recommend getting your arsenal loaded up with a few solid plugins to start.

Top 10 Music Mixing Tips
There are endless mix engineers out there who claim to have the secret recipe for how to mix like a pro. In reality, there are no golden rules.
Instead of giving you a bunch of ultra-specific EQ and compression tips that you’d find in some articles, I want to provide you with over-arching music mixing tips that you can use in every single mix without fault.
1. Get Organized

One of the most important yet often overlooked mixing and music production tips is organization. If you spend just a few minutes organizing your session before you start mixing, it’ll make the entire process far more efficient.
Start by arranging your tracks in your DAW by type. For instance, put all the vocals next to each other, followed by the drums, then the guitars, then the synths, etc.

From there, you can color code the various tracks to make them easier to find while scrolling. This is especially helpful in larger sessions with hundreds of tracks.
Nothing is more of a time suck than spending a minute scrolling through a huge session trying to figure out where that little shaker is…
2. Reference Pro Mixes

If you’re like most beginner or intermediate mixing engineers and don’t have a pro studio with thousands of dollars worth of acoustic treatment and ultra-expensive studio monitors, using reference tracks for mixing is your best bet!
Download a few professionally mixed and mastered tracks that are similar to yours and A/B throughout the process to make sure you’re on the right path. With a reference, you’ll be able to hear if your low-end is too loud, if your snare is too soft, if your lead vocals have too much reverb or not enough, and so much more…
One of my favorite tools for referencing is REFERENCE by Mastering the Mix.
Looking for a professional sound engineer specializing in pop and hip-hop music ? You’re in the right place! Mixing, mastering, production, editing,… we’ve got it all covered!
Let’s start now!
PRO TIP: Don’t get too caught up with referencing. If your track naturally feels like it needs to move in a new direction than the track you’re referencing, allow it to do so.
3. Take Breaks Often

If you’ve been working on a track for four hours straight, you’ve likely lost perspective of what sounds good and bad. Our brains have a nasty habit of accepting anything they hear after a certain point to “alright”. Which is why we need to make a new habit of taking breaks often and coming back to our mixes with fresh ears.

If you’re a beginner, I recommend taking a break every 30-45 minutes. This will allow your ears to rest and avoid dreaded ear fatigue. This is especially true if you’re mixing at higher volumes, which brings me to my next point.
4. Watch Your Levels

Stop blasting your music while mixing!
Some of the best engineers mix at low levels. I’ve personally mixed at normal conversation level for several years, and I rarely experience ear fatigue.
PRO TIP: You’ll know you’re mixing at a healthy level if you can have a natural conversation with the music playing and still hear what the other person is saying.
Beyond reducing ear fatigue, there are many benefits to mixing at low levels:
- Lower volume allows you to hear subtle details in your mix that might otherwise get swallowed up by loudness.
- Balancing a mix is much easier at low levels. As your ears can focus more on dynamics and frequency clashes rather than perceived loudness.
- A well-balanced mix is more likely to translate across other systems, from headphones to car speakers.
The only time I would suggest turning up your mix is when you’re listening to low-end. As some monitors have a harder time translating bass at lower volumes than others.

5. Don’t Go Crazy with Reverb

One of the most prominent issues I hear on amateur mixes is the overuse of reverb.
While a great-sounding reverb can do wonders for a mix, too much of it can turn your track into an obscured, muddy mess. This is where referencing comes in handy. Unless you’re listening to 80s hair metal, it may surprise you just how little reverb professional mix engineers use in their mixes.

Of course, it’s not just about how much reverb you apply, but how you use it. For example, a reverb with a decay time that is too long can make a mix sound washy, while one that’s too short can make a mix feel disconnected.
Additionally, reverb with too much low-end can muddy up your mix. Consider adding an EQ before your reverb and rolling off the low-end with a high-pass filter while playing your mix to reduce unwanted bass frequencies.
Check out our guide on how to use reverb on vocals for a more in-depth look at how pros get those clean, crispy, and spacious vocals, no matter the genre.
6. Take Care with Compression
Compression in music mixing is one of the most difficult topics for beginners, as getting a pro sound with compression requires finesse.
Too much compression can such the life out of a mix, whether on an individual mix element like vocals or the stereo buss. Without decent monitoring, you may not even be able to tell that your overuse of compression is causing unwanted distortion.

Whenever I want a healthy dose of compression without risking a one-dimensional mix, I turn to serial compression. The idea here is using multiple compressors in series with each only performing a slight bit of compression rather than a single compressor working overtime to lock a dynamic mix element down.
One classic example is using a fast compressor with a higher ratio, such as an 1176 with an 8:1 ratio, to catch the peaks of a signal, applying no more than 3-5 dB of compression. From there, add a slow compressor with a gentler ratio, such as an LA-2A, for another 3-5dB of compression.
Keeping it subtle at each step will give you the results you’re looking for rather than going heavy-handed with a single tool.
PRO TIP: Gain staging in mixing is one of the best processes to ensure your compressors aren’t working overtime.
7. Use High-Pass Filters (when necessary)

You’ve probably heard mixing engineers talk about the benefits of using high-pass filters in getting rid of mud and unnecessary low-end. They’re especially great for live recordings of non-bass instruments, such as vocals and guitars. Which don’t have a ton of low-frequency energy below 100 Hz.
With that said, the last thing you want to do is go too high with your high-pass filters, as it can result in a thin-sounding mix. I often like to bring my high-pass filter up until the element I’m working on starts sounding thin, then bring it back a little.

8. Stay Off the Solo Button

It’s easy to get into the habit of working with mix elements in solo, forgetting each element is a single piece of the overall track. Whenever I make EQ moves, I make them while playing the other elements in my mix.
Doing so might call for taking tons of low-mids out of an acoustic guitar, for example, which could make it sound thin in solo but perfect in context with everything else.
Remember, mixing is about making several different elements work well together.

9. Check Your Mix In Mono
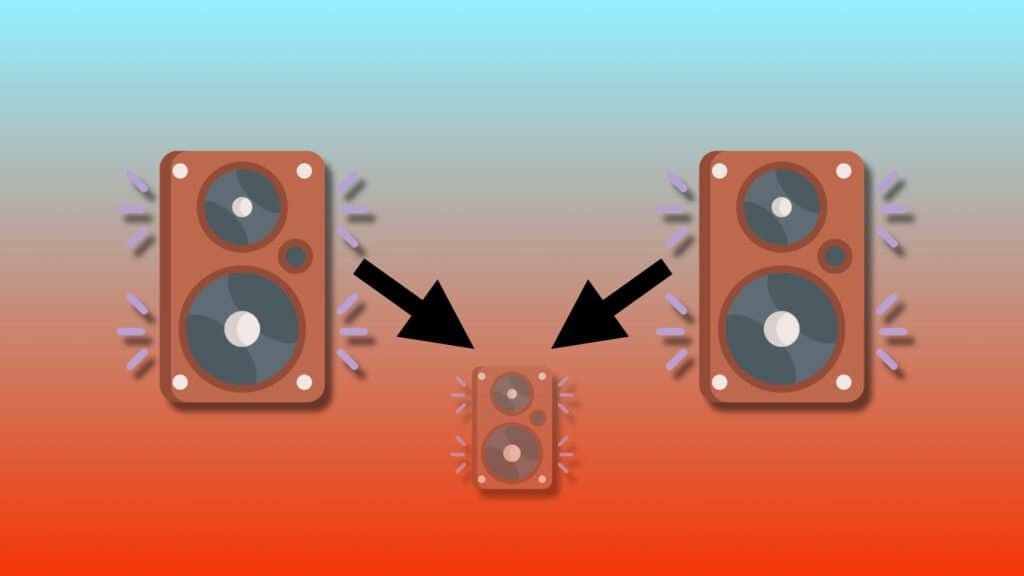
Even though we listen to most of our music in stereo these days, it’s still a good idea to check your mixes in mono. You most likely experience mono when listening to music in a club, off of your smartphone, and some Bluetooth speakers.
Making sure the most important elements in your mix aren’t negatively impacted when the left and right channels are summed together is key.

By switching your mix to mono, you can spot phase issues right away, which could otherwise be difficult to hear. Plus, it’s much easier to balance and EQ a mix, giving each element its own space without the handicap of panning.
In fact, Derek Ali, Kendrick Lamar’s mixing engineer, says that he spends around 80% of the mixing process in mono, referencing his mixes in stereo only once he gets near the end.
10. Check Your Mix on Multiple Systems
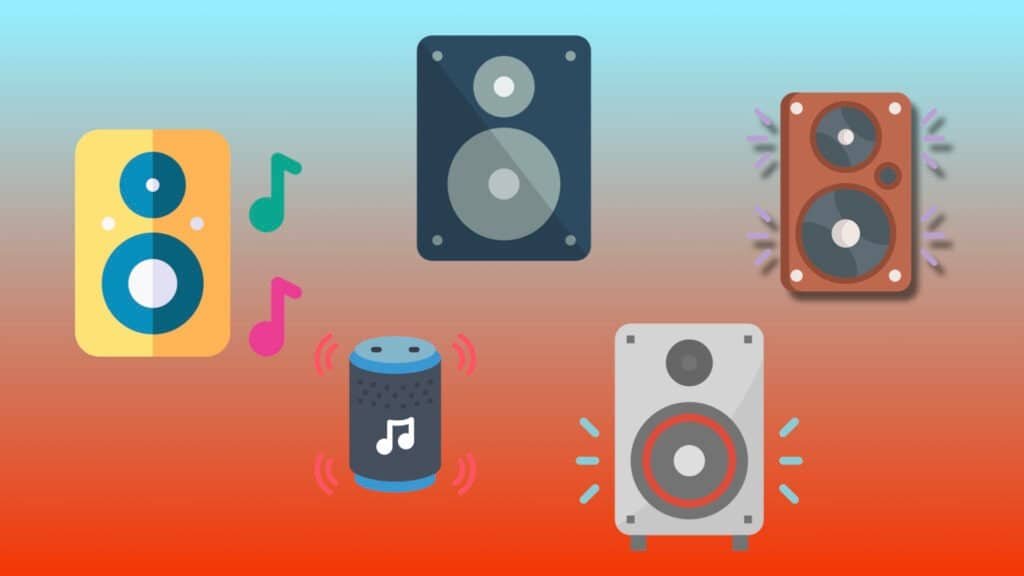
If you’ve ever worked endless hours on a song only to find out that it sounds like garbage when you get in the car, then you’re like every mixing engineer who has ever come before you.
The important takeaway here is that no matter how great your song sounds on your studio monitors, it doesn’t mean it’ll sound great everywhere else.

People will listen to your music on everything from AirPods to laptop speakers, and car stereos to massive concert venue monitors. The more you make a habit of checking your mix on as many different playback systems as possible, the more confident you’ll be knowing that your song sounds great no matter where it’s being listened to.
While listening to your tracks on different systems, such as a car stereo, for example, reference other professional mixes on those same systems to better gauge what your mix is lacking.
Final Thoughts
Remember, at the end of the day, you’ll only be able to tell a great mix by how it sounds and how it feels. Just because you go down the to-do list and check off all the boxes with the tips and tricks that you’ve added to your mixing arsenal over the years doesn’t mean you’ll end up with a great mix.
Keep the tips above on the back burner and follow your intuition, and you’ll be good to go!
Check out our blog for mixing and music production tips! And if you have any questions about this topic or about anything else if the field of music production, please contact us, we’ll be very happy to help!
Related Articles:
My favorite tools for mixing pop and hip-hop music:
Plugins
In the field of auto-tune, I’m convinced that nothing’s better and more efficient than Antares Auto-Tune Pro. As for the EQ’s, FabFilter Pro-Q3 and Slate Digital Infinity EQ are, in my opinion, the best tools. For compression, I have 2 favorites plugins: Waves RComp and UAD EL8 Distressor.
As for reverb, I’m a big fan of the Soundtoys Little Plate, but generally, I go for the Valhalla VintageVerb for its versatility. I also love the Arturia Rev PLATE-140 and the UAD Pure Plate for its organic side.
Headphones
The closed headphones I love and will always love using for mixing pop and hip-hop music are the Beyerdynamic DT-770. As for the best open-back headphones, I use the Sennheiser HD600 headphones, and I’m really happy of them!
Monitors
Having a pair of Yamaha HS7 in its studio or home studio is always cool for more excitement while listening to your mixes. The Adam Audio T7V monitors are also super accurate. In my studio, I also have a pair of Genelec 8030 for their reliability.
Hardware gear
For anyone who wants to start using hardware in their mixes, I always recommend these 2 units from Klark Teknik: the EQP-KT and the 76-KT. Don’t forget to use good converters, such as the Apollo interfaces. This is essential for a good rendering.


