In vocal mixing, making your vocals sound clean is relatively accessible to many novice producers and sound engineers. But how do you make vocals sound more powerful? How do you make them sound more exciting within the mix? I give you the answer in detail in this article.

Here are the steps to follow to make vocals more powerful within a mix:
- Focus your EQ on the presence range
- Use tonal compression
- Add warmth and brightness with saturation
- Try to use parallel compression
- Use multiband compression
- Use compression at the recording stage
- Invest in better recording equipment
- Focus more on the performance
Before we start
Before we dive into the heart of the matter, I would like to clarify that this is not a step-by-step guide. It’s a list of several ideas that could potentially make your vocals more powerful in your mixes.
Each of these tips is important. But each of them must be adapted to your needs. There is no point in changing everything in your vocal chain if some things work well.
Before applying anything, I advise you to first analyze the strengths and potential weaknesses of your current vocal chain. You will probably be able to link some of the flaws to the tips in this article.
In this article I will also talk about specific plugins. These are, in my opinion, the best in their respective fields. But you’re free to use other plugins that might better suit your taste and needs. These are just a few suggestions to explore!

1. Focus your EQ on the presence range
If your vocals sound too weak, it may be because they’re not well balanced in terms of frequency spectrum.
What you really need to know to equalize your vocals is that each frequency band is equivalent to a « feeling » for the listener.
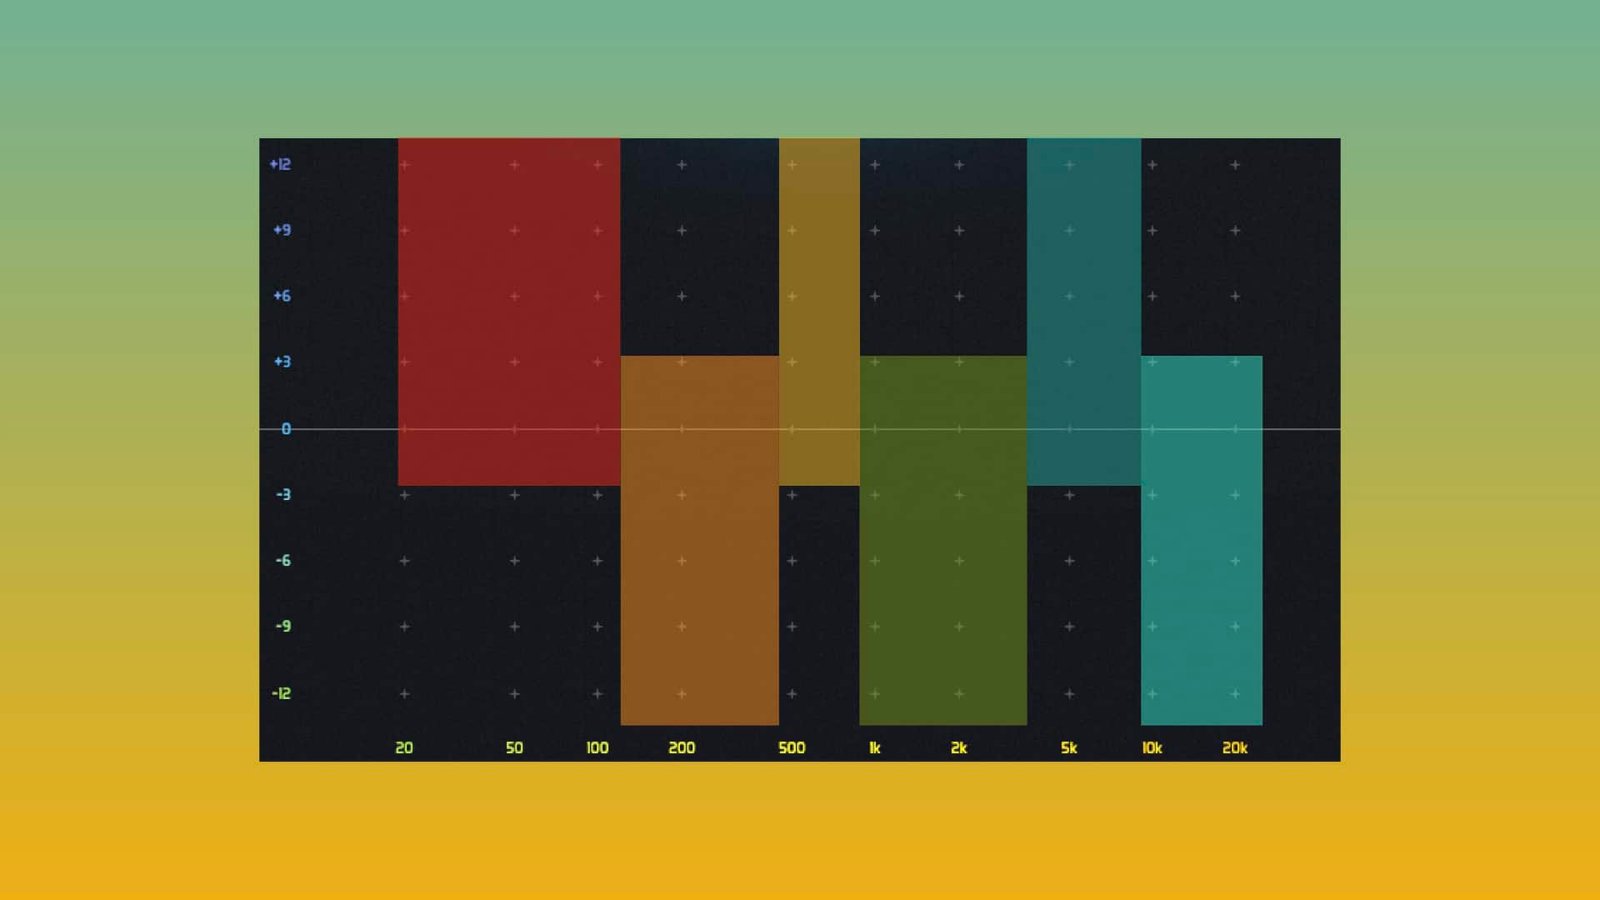
Low-mediums, for example, can be associated with warmth and roundness. Mediums with presence and closeness, etc. And then there are the high-mid frequencies which, when boosted, will really bring out that sensation of power and aggressiveness. Just what we need.
ℹ️ Do you mix rap vocals? Do you want to know about the best EQ plugins for vocals? Everything’s there: Top 6 EQ Plugins To Get Professional Rap Vocals
How to proceed?
It’s generally in the zone between 3.5 and 6 kHz that you’ll find this aggressive side in the human voice. You’ll generally find yourself above 3.5 for men and closer to 6 for women.
But to find the ideal frequency zone to boost, I advise you to…
- Choose a frequency band in this 3.5 – 6kHz range
- Boost by 2-3dB
- Sweep the entire frequency range and identify which brings the most power to the vocals
The way to do this is to take your eyes off the screen for a few seconds. This will help you avoid trapping your brain in what’s on the screen.
SSL emulations: The best for more character
I’m a big advocate of simple, easy-to-use tools for music mixing. But in some situations, like this one, certain tools are a complete game-changer.
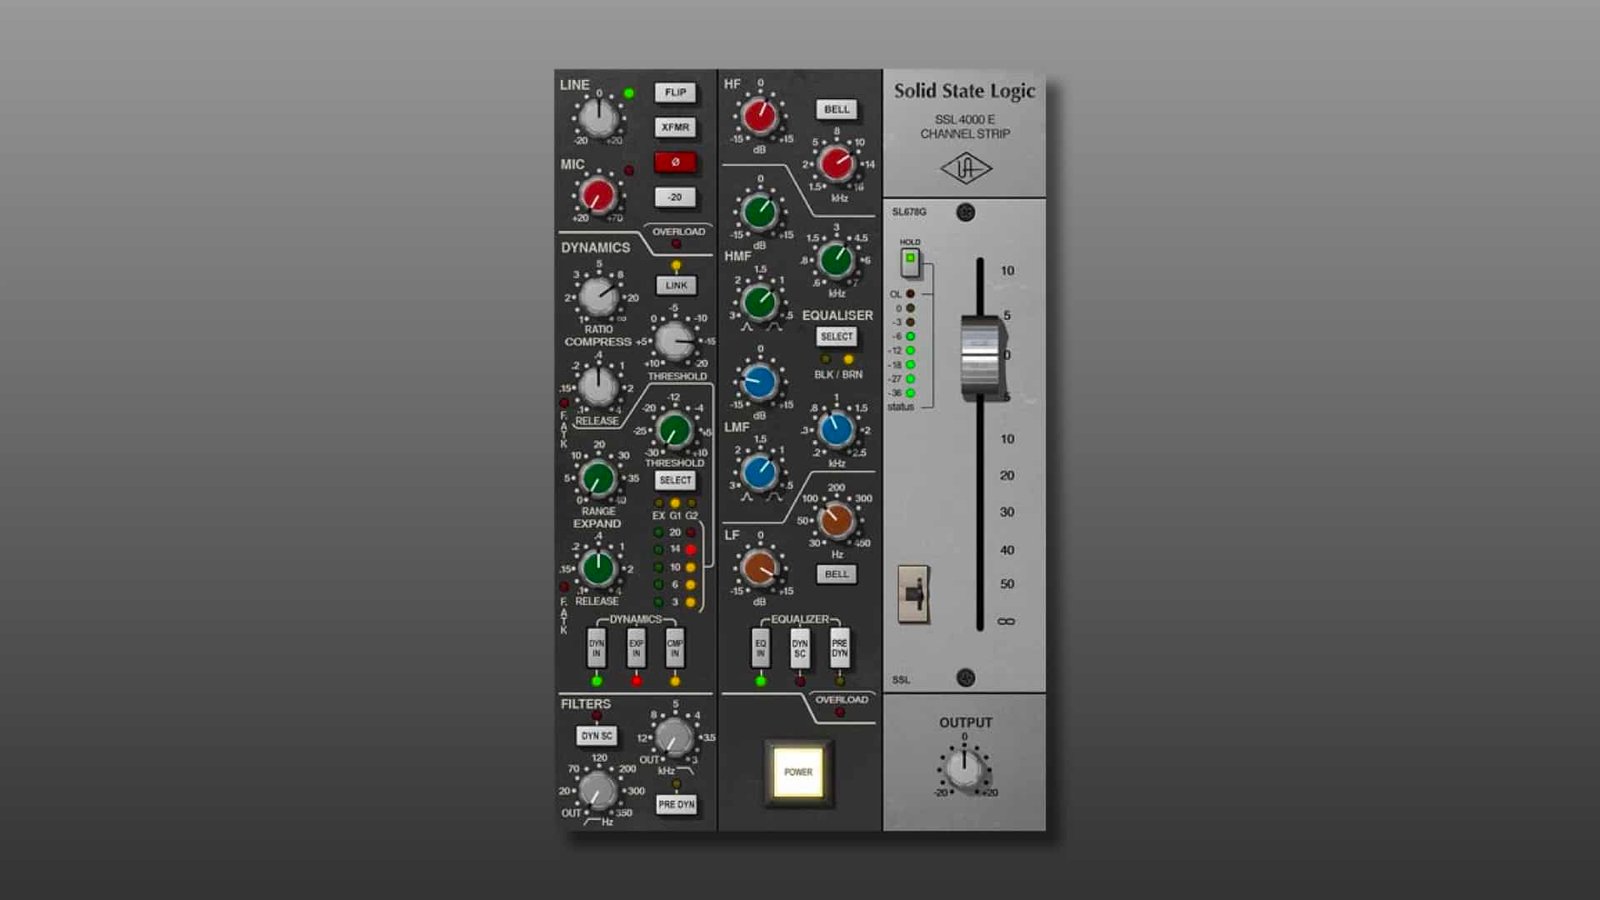
Such is the case with emulations of the legendary SSL EQ. An EQ known for adding an uncommon grain and character to the source being processed. It’s an EQ that will give your vocals more personality, something unique.
Most emulations available on the market will give you that unique touch that makes SSL EQ so rich. But I advise you to go for Slate Digital or Universal Audio. In my opinion, these are the 2 emulations that will give you the richest, most powerful character.
ℹ️ In vocal mixing, should you place your EQ before or after compression? You will get a full answer here: Vocal Mixing: EQ Before Or After Compression?
2. Use tonal compression
In vocal mixing, compression can be divided into two categories:
- Dynamic compression, which is used purely to control vocal dynamics.
- And so-called tonal compression, whose aim (in addition to bringing out more control) is to slightly color the voice, making it more aggressive and/or warm.
And it’s this tonal compression that can make all the difference if your vocals aren’t powerful enough in your mix. If used correctly, it will bring out the presence and power of the vocals, giving the listener that famous « in your face » effect.

The power of FET compressors
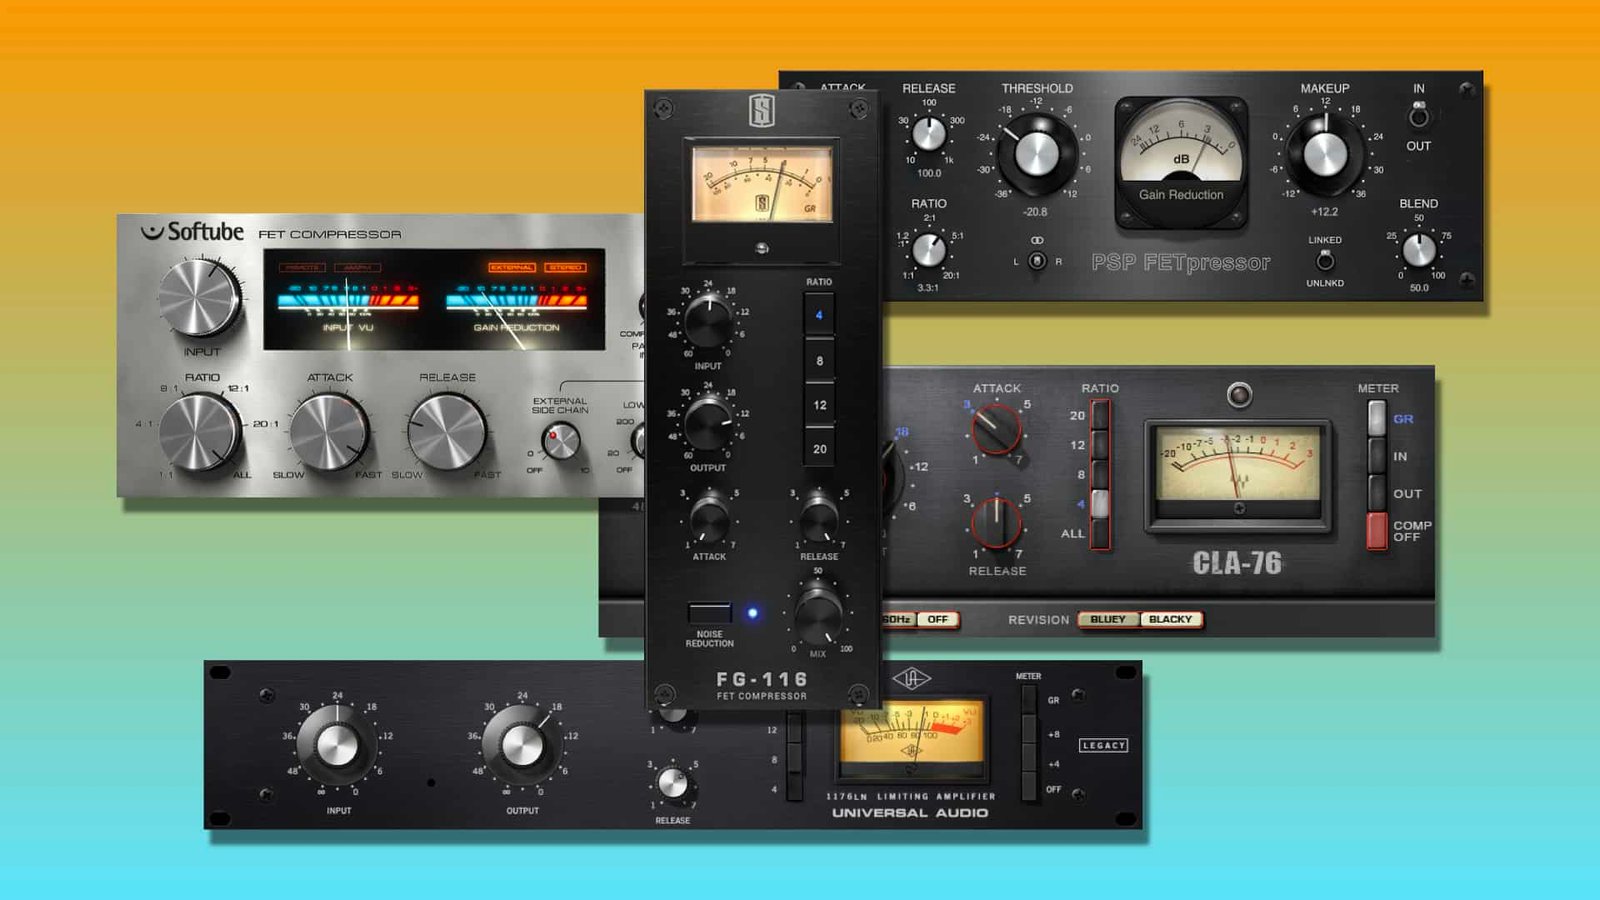
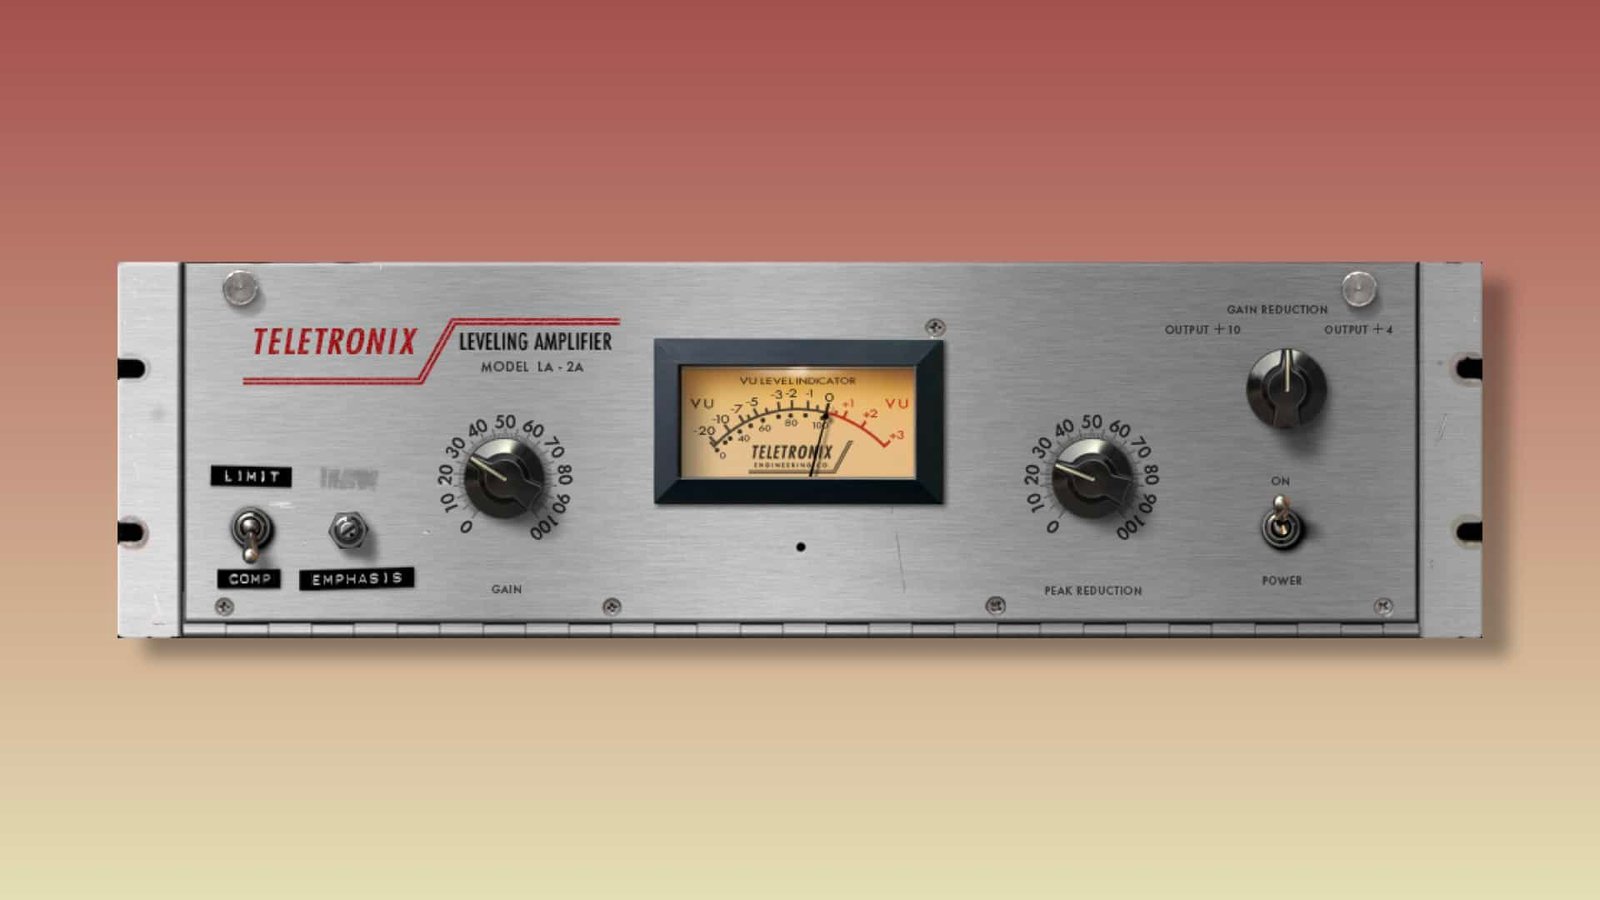
The compressor most often used for this purpose is probably the CLA-76 from Waves, an emulation of Universal Audio’s legendary 1176.
The 1176 is a FET compressor with an ultra-fast attack time. And it’s exactly this attack time that brings out the unique character of this compressor.
And if the Waves emulation is the most popular, it’s not because it’s the closest to the original. It’s because the Waves version quickly brings out a kind of harmonic richness when driven hard enough.
And this harmonic richness is much appreciated by modern producers and sound engineers, because they really make the vocals cut through the mix!
But it’s not just the 1176! Any FET compressor emulation generally does a very good job of getting that « in your face » effect. It’s up to you to test the plugins on the market and determine which one suits you best for each mixing situation.
3. Add warmth and brightness with saturation
You have to be very careful with saturation in vocal mixing. Because you can very quickly switch from punchy, powerful vocals to something that sounds amateurish, or even poor quality.
But used in the right way, saturation can be an unbeatable tool for adding power to vocals. It can create unique, inimitable sounds with more conventional tools such as EQs and compressors.
Used subtly within the mix, saturation will make your vocals much richer and warmer in terms of frequency spectrum.
Ideally, you should use a saturation plugin to adjust the balance between saturated and direct sound. This will enable you to add saturation to your vocals in a more precise and subtle way.
The first thing to do to properly add saturation to vocals is to push the drive knob (or whatever its equivalent is) until you hear almost no direct sound and almost exclusively saturation.
At this point, you can slightly lower it again to recover some of the direct sound. You can also filter the low frequencies slightly if you want to avoid getting a boomy sound.
All you have to do is slowly lower the mix knob until you can barely hear the saturation. You should be able to « feel » it in the power of the voice, but hardly hear it. Don’t hesitate to use the bypass knob to find the sweet spot.
Mix values are generally (depending on the tool used) between 2 and 5%, perhaps more in certain situations.
Decapitator: the most efficient tool for saturation

There are many incredible saturation tools on the audio market. But when it comes to vocal mixing, one of them stands out from the crowd: Soundtoys Decapitator.
The plugin is capable of emulating several types of saturation with precision and accuracy, and with great ease for the user.
By playing with the driver, tone and mix knobs, you can get everything you need for a more powerful voice: punch, brightness, warmth, grain, etc. You name it!
Of course, there are others like Saturn 2, Trash 2, Saturation Knob (free!), or Neutron 4! But for vocal mixing, Decapitator has something special.
Looking for a professional sound engineer specializing in pop and hip-hop music ? You’re in the right place! Mixing, mastering, production, editing,… we’ve got it all covered!
Let’s start now!
4. Try to use parallel compression
In music mixing, and particularly in mixing drums and vocals, the principle of parallel compression is widely used by the pros. It adds a punch and energy difficult to achieve with more « conventional » compression. But what exactly is parallel compression? And how can it be used in vocal mixing?
What is parallel compression?
Parallel compression is a mixing technique whose principle is to blend two identical tracks, one of which is not or slightly compressed (dry) and the other very heavily compressed, even squashed.
Parallel compression, also known as New York compression, is a very useful way of boosting the punch of the processed source without having to delve into overly complex compression parameters.
How to set up parallel compression?
There are two ways to set up parallel compression in your mixing session. Both have their advantages and disadvantages.
- The first is simply to duplicate the audio track to be compressed. This way, all you have to do is insert the compressor into the parallel track and you’re ready to go. The only drawback is that you still have to copy your processing to the duplicated track to maintain precision in parallel compression, which can be rather uncomfortable.
- The second technique is to use the auxiliary principle. To do this, create an auxiliary track and add an input bus to it. Then send your direct signal from the send section to the corresponding bus. Set your send to « PRE », insert your compressor, and you’re ready to go!
Setting up and using parallel compression isn’t easy if you don’t understand the basics. I suggest you visit this article on Parallel Compression if you want to use it in your next mix sessions.
In this article, I cover the subject in much greater depth and detail, so that you’ll be able to master it fully for the rest of your vocal mixing learning curve!

How to use parallel compression in vocal mixing?
Whether you’re mixing vocals or not, don’t be afraid to go hard on your parallel compression settings.
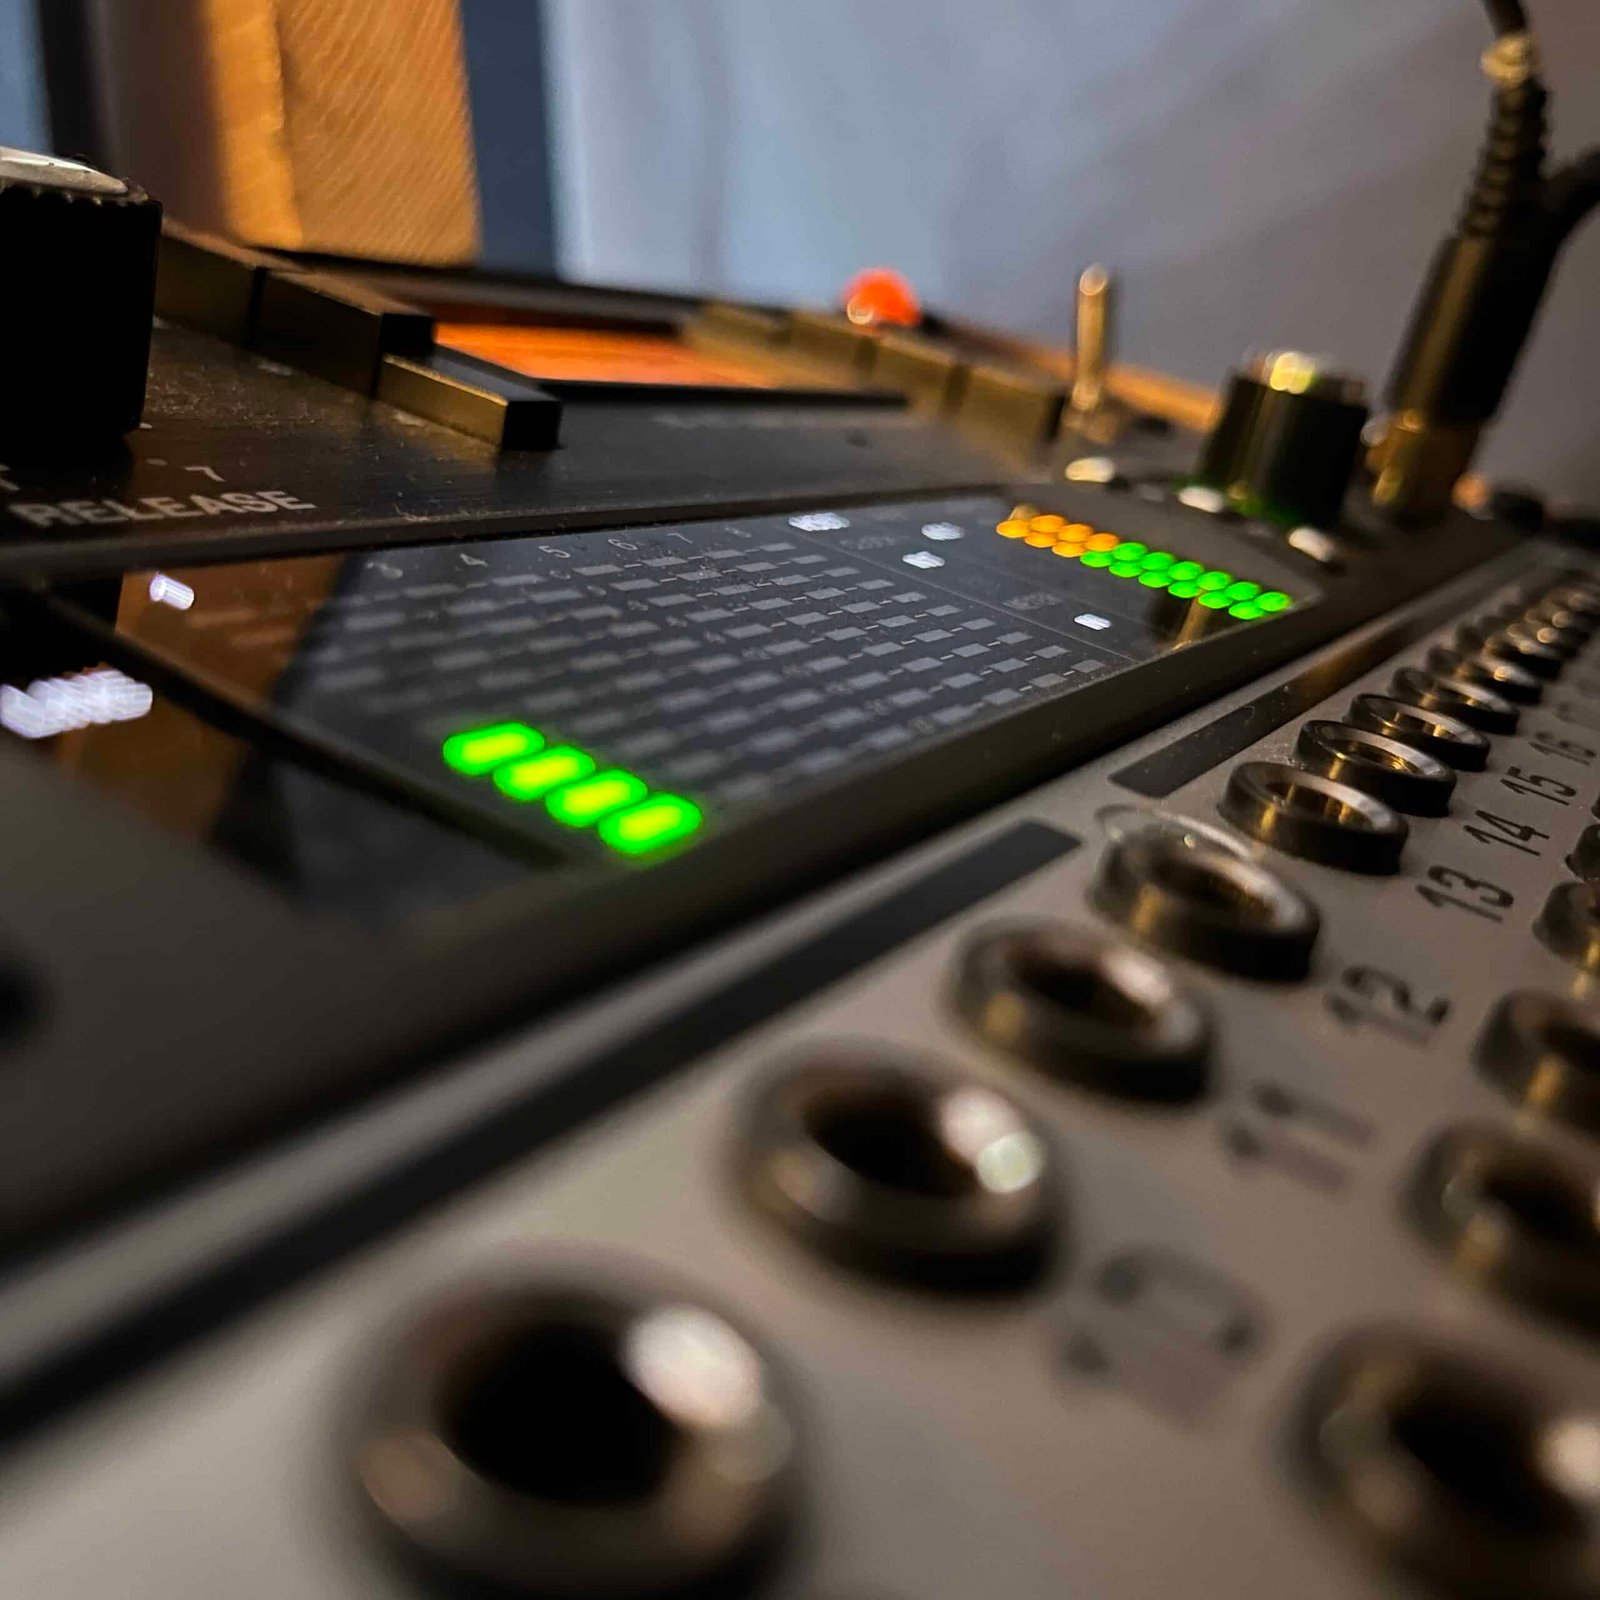
Aiming for a gain reduction of around -10dB is generally a good sweet spot for best results. Always keep in mind that the compression must literally squash the dynamics of the parallel track.
As far as attack time is concerned, I’d advise you to target very short values to avoid letting too violent peaks through. This can be counted in microseconds.
As for the release time, you need to find the right balance for the vocals you’re processing. Not too short to avoid creating a pumping effect, but not too long to avoid the compression completely suffocating the parallel track. Generally speaking, the best results are achieved around 80-100ms.
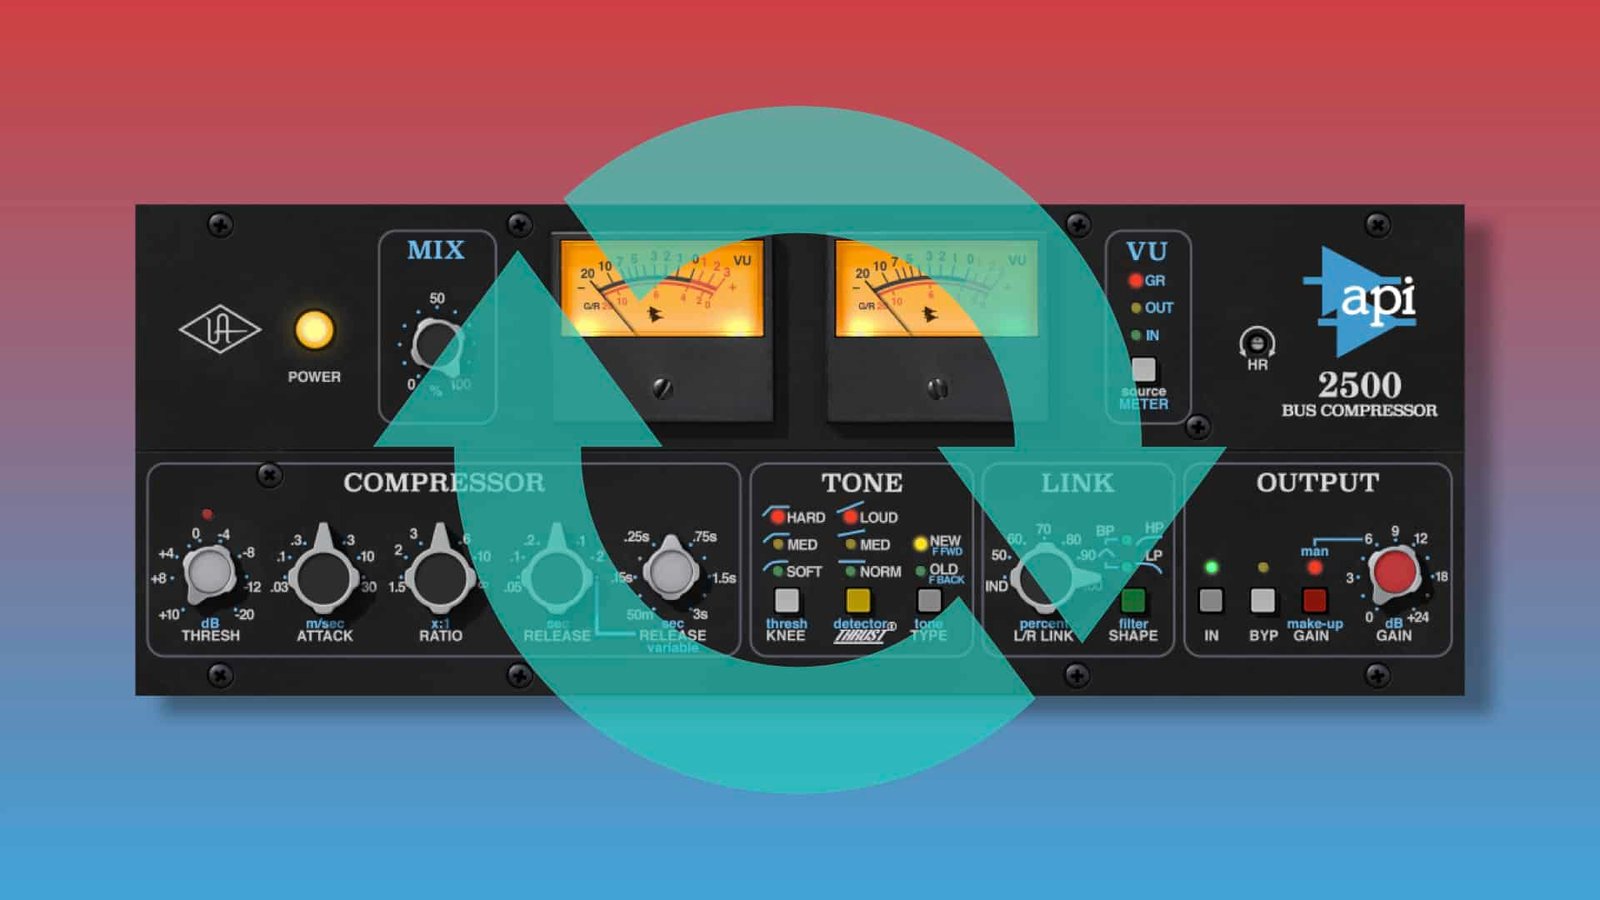
If you really want to bring out the aggressiveness and energy of parallel compression, I recommend using Waves’ CLA-76 (there it is again!). The slight saturation it brings out is highly suitable for this kind of mixing technique.
5. Use multiband compression
The multiband compressor is also a mixing tool that can add power to your vocals. To be more accurate, it’s more a « feeling » of power within the mix that multiband compression can bring out.
Because, used correctly, multiband compression will make your vocals sound much more controlled and balanced in terms of frequency spectrum. In other words, they will integrate more easily into the mix and enhance that feeling of energy and power for listeners.

How to use multiband compression?
Ideally, in vocal mixing, multiband compression should always be located at the end of the vocal chain. Because it’s the ideal tool for giving vocals that little touch of perfection.
It’s not a tool that has to completely change the color and tone of your vocals, just correct the slight flaws in the vocals that still need to be cleaned up at the end of the chain. That’s why you should always keep in mind that the processing should be light and relatively subtle.
It’s generally in the 200-300Hz range that flaws can remain, even through a very good vocal chain. You may also be left with a bit of excess in the bass range.
The multiband compressor can help you control this excess without distorting the very nature of the sound. By positioning the threshold so that it catches only the loudest signals, you can easily get rid of these slight flaws at the end of the chain.
If you’d like to have a broader and more complete view of multiband compression, I suggest you watch this video from Waves about the C4 plugin, a very good multiband compressor.
6. Use compression at the recording stage
To achieve a powerful, high-quality mix at the end of the mixing process, it’s essential to have quality sound beforehand. So why not process your vocals right from the recording stage?
That’s the big difference between amateur and professional music production. Everyone is capable of pressing a « record » button. But only recording engineers are capable of sculpting and shaping the sound right from the recording stage.
That’s exactly why I’d advise you to compress as soon as you record. That way, you’ll start every mix with vocals that are more robust and more solid in terms of dynamics. But how do you go about it?
How to use compression at the recording stage?
There are several ways of compressing vocal takes at the recording stage. Each will depend on the recording setup, but also on your preferences. Let’s take a closer look…
1. Directly in the session with an auxiliary track
The first way to compress while recording is to put a compressor in the form of a plugin in an auxiliary. It may sound complicated, but it’s actually very simple!
The first thing you do is create an auxiliary track into which you insert a compressor. There’s no need for a super-complex compressor, just keep it simple!
At the input of this track, you’ll select your microphone’s input, typically INPUT 1. And at the output, you’ll select a mono bus, say bus 1.
All that’s left to do is to create a mono audio track, which will be your recording track. Select bus 1 as your input, and all you have to do is record onto this track. That’s all there is to it!
Don’t forget to activate latency compensation!
2. With DSP processing
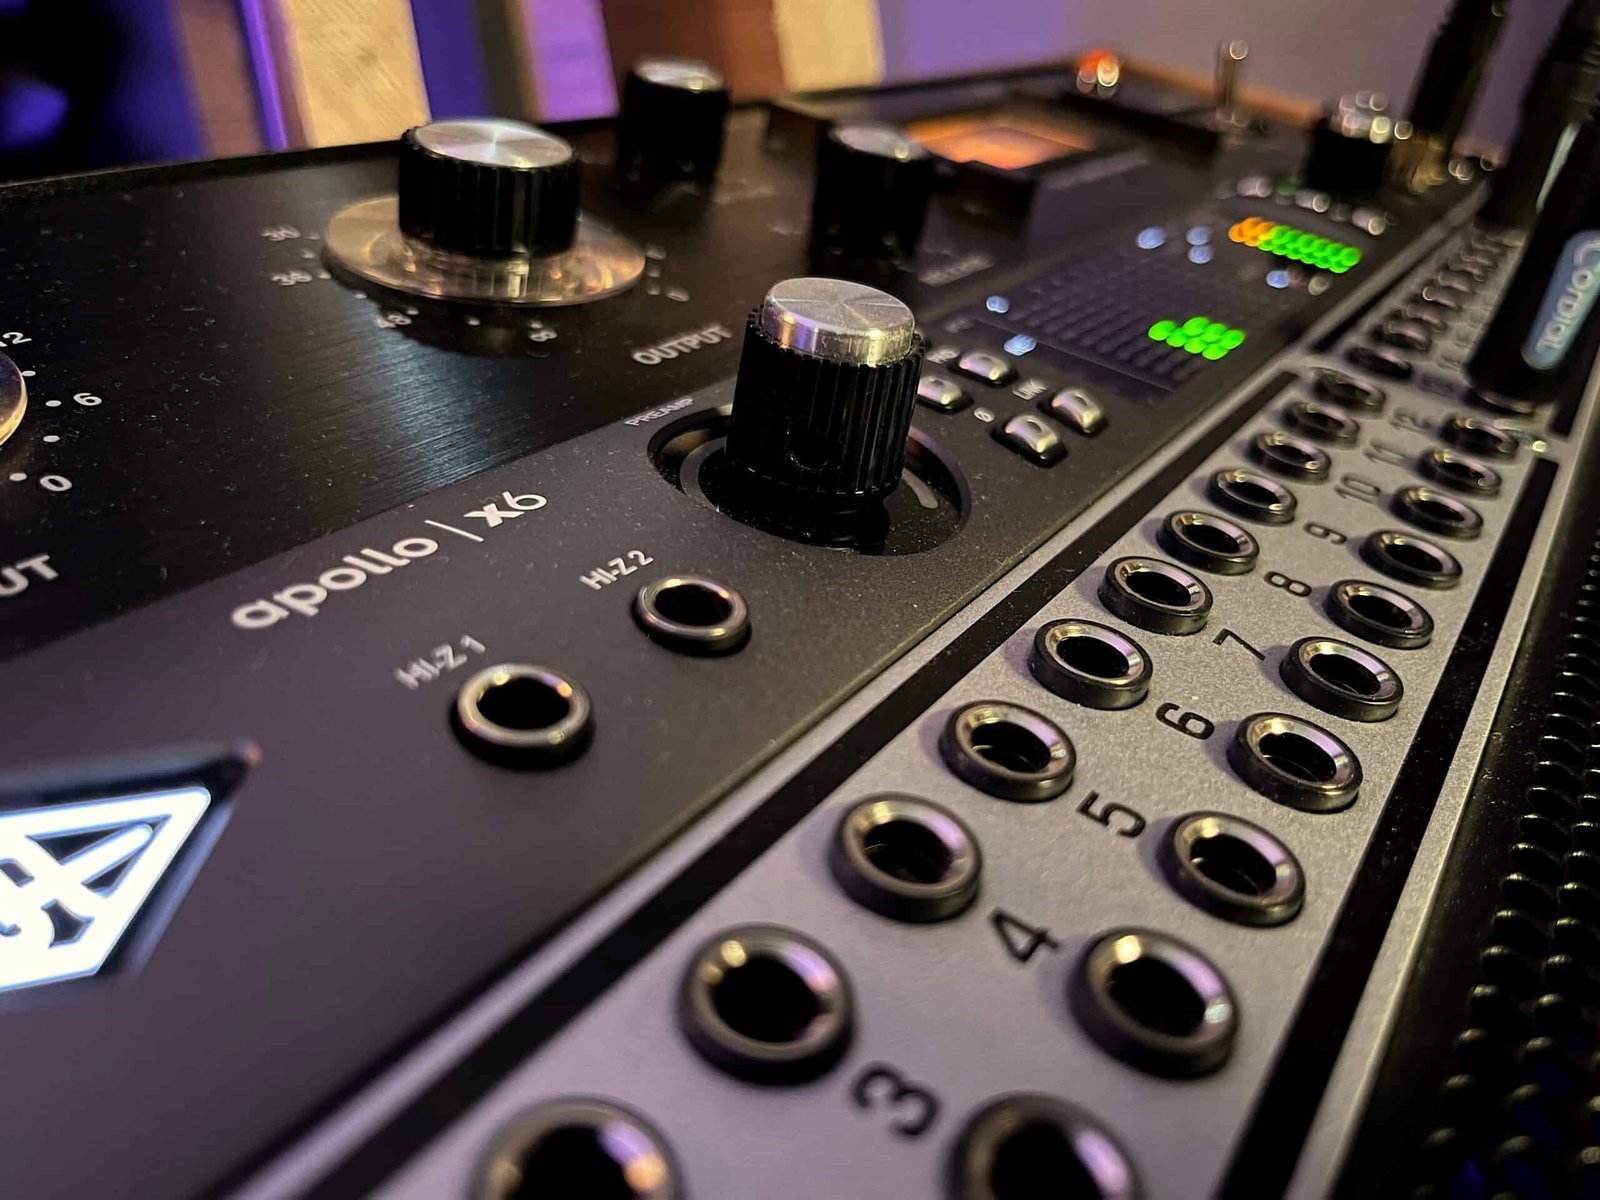
If you have an Apollo interface or anything else that supports the processing of certain plug-ins, then by all means, use a DSP compressor for your recordings! You won’t be disappointed!
The advantage of this system is that you can enjoy latency-free processing. Ideal for high-quality headphone monitoring for artists and singers.
All you need to do is insert a plug-in (say, UAD) into the recording track of the virtual interface supplied by the manufacturer. Your vocals will then be compressed as soon as they are recorded in your DAW, without any additional latency. A real luxury!
3. Through an hardware unit
While latency is a real concern for many amateur sound engineers, it can quickly be forgotten thanks to analog equipment. And even if it’s often more expensive, some affordable hardwares compressors can make a big difference to the quality of your recordings.
In addition to the practical side in terms of latency, you’ll be able to enjoy an analog tone in your vocal recordings, even with entry-level equipment. But how do you set up this hardware compressor to enjoy its power as soon as you start recording vocals?
Very easy: simply place it in series. Instead of plugging the XLR from your microphone into your interface, you plug it into the input of your compressor. And you’ll use the output of this compressor to go to your interface. It’s as simple as that.
If you want to start using hardware for your recordings, I’d advise you to turn to Klark Teknik products, like the 76-KT or the 2A-KT for a brighter tone.

Don’t compress too much at the recording stage!
Keep in mind that compressing at the recording stage is above all about controlling the dynamic range of the source. Whatever setup you use, your compressor should ideally only come on when more aggressive peaks attack the input.
And don’t forget that it’s almost impossible to « decompress » a compressed signal. If you’ve compressed too much at the recording stage, it’ll be too late to go back. So… it’s better to take a little margin!
7. Invest in better recording equipment
Many sound engineers and amateur producers think that a good mix will always sound professional at the end of the process. But to achieve such a result, you first need to have recorded good quality sound.
You could have the best music mixing skills in the world, but if the recorded material is bad, the result will never sound pro.
And while I’m not a big advocate of « gear » to achieve a pro sound in music production, you have to realize that there’s a big difference in quality between entry-level and high-end gear.
That’s why if you can’t get powerful vocals in your mixes, it may be because the quality of the recording simply doesn’t allow it. But how can you improve the quality of your vocal recordings? By buying a new microphone? Perhaps, but not only!
Preamps
Many people in the music production world are convinced that the microphone is the first thing to affect sound quality. And while many professional sound engineers might disagree with me, I’m convinced that it’s the quality of the preamp that is the main factor.
A good preamp will shape your sound, giving it a certain tone, a very specific, richer color. Whereas a bad preamp, whatever the microphone, will give you a poor, very « small » sound when converted in your DAW.
It’s always better to use an entry-level mic with a very good preamp than a very high-end mic with a bad preamp.
The hiss (signal-to-noise ratio) found in poor preamps can also ruin the quality of your vocals in your mix. And take away any chance of making them powerful at the end of the process.
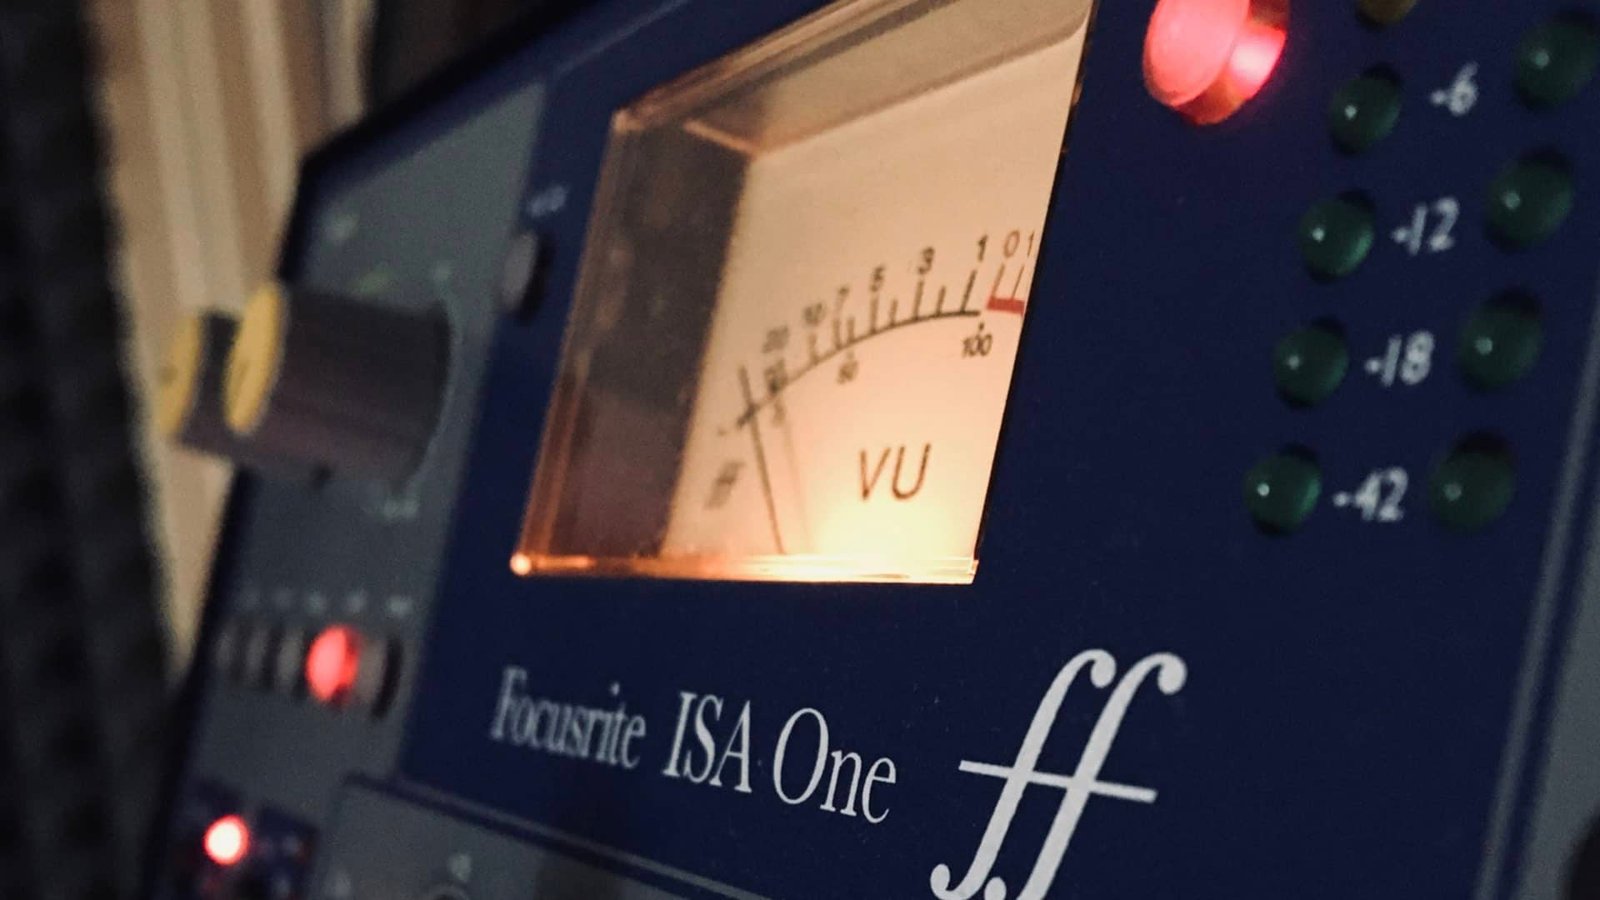
If you want to invest in a preamp, I’d recommend the Focusrite ISA One. It’s a super-versatile preamp that captures recordings with impressive precision.
But there are of course many other possibilities on the audio market. If you want to be sure you’re making the right choice of mic preamp, check out this article on The 9 Best Mic Preamps For Recording Vocals (Any Budget)
Microphone
But, of course, you shouldn’t underestimate the importance of the microphone in your vocal recordings. It is the first receiver of the vocals that will enter your DAW. It must therefore be of good quality.
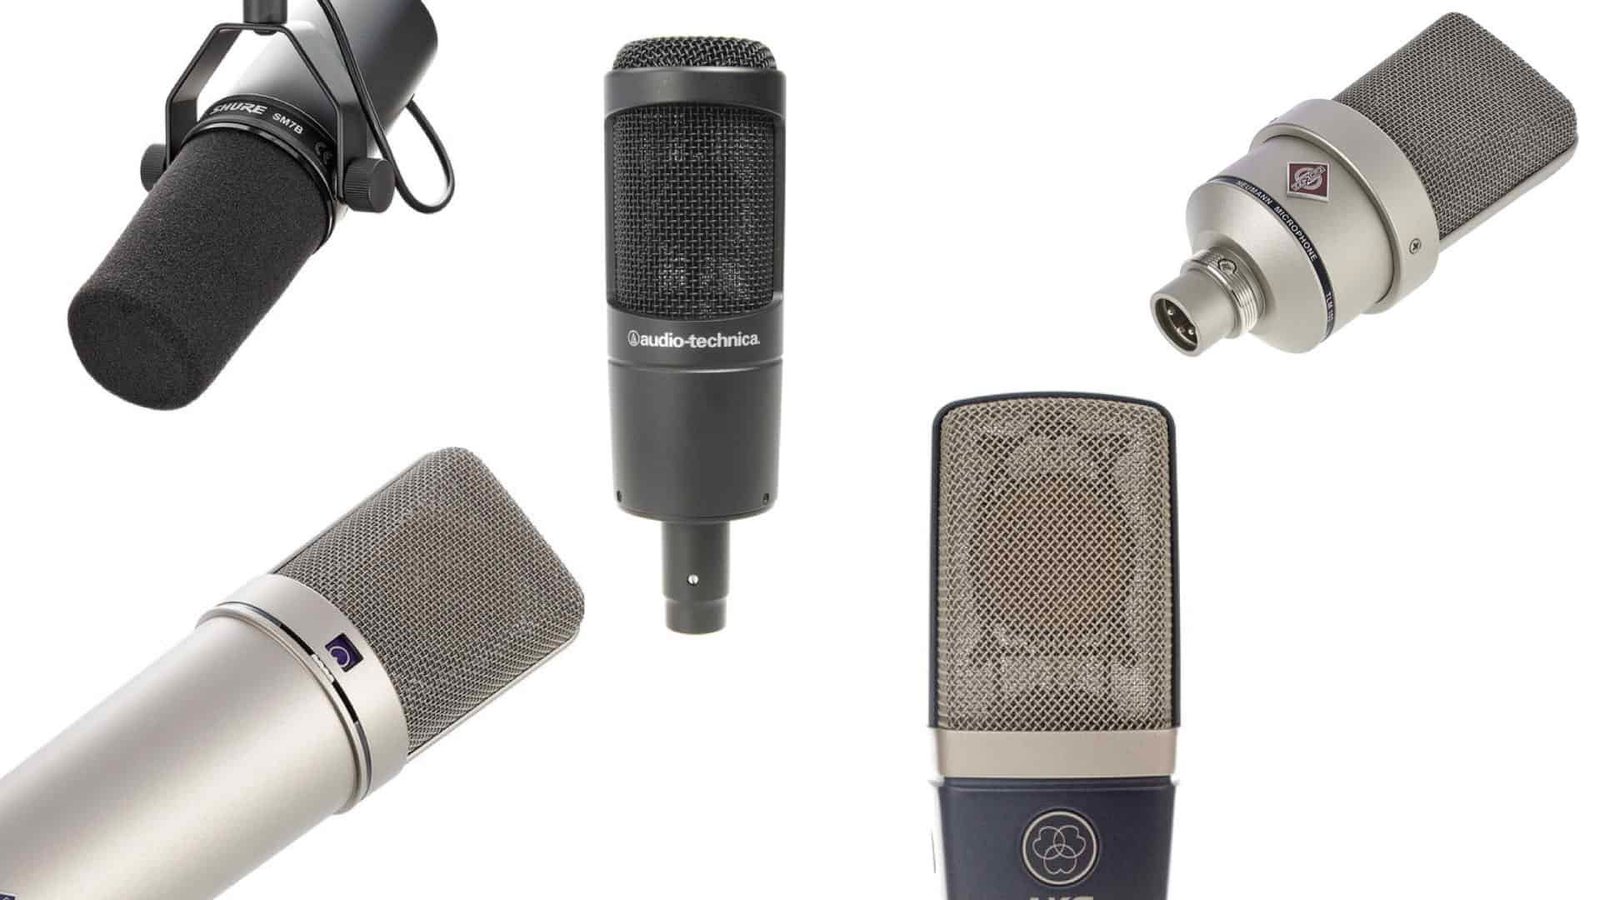
With microphones in the $100-300 range, you’ll be able to find equipment that will potentially provide you with « good » quality, but nothing more. Rode NT1-A, Aston Origin, AKG P420, AT 2035,… These are mics that will enable you to make very decent mixes. But you’ll need a very good sound engineer behind the console to make it sound professional.
Between $400 and $700, you can achieve a pro sound if the mixing phase is well executed. Pickups such as the AKG C314, TLM 102 or Aventone CV-12 are typical of this range. The vocals that come out of these mics can produce breathtaking results if they’re well processed afterwards.
If you’re looking for a high-end mic, let’s say over $800. Then your vocals will enter your DAW with impressive robustness and clarity. Which will require less in-depth processing to obtain more powerful vocals. The best-known examples are the AKG C414, the Neumann TLM103, the Telefunken TF11, and many others…
Of course, you need to match the quality of your microphone to the quality of your preamp, and vice versa… But also to the quality… of the converters! Let’s talk about it!
Converters
Have you ever wondered why there’s such a huge price difference between interfaces such as Focusrite and Apollo? Well, one of the reasons is the quality of analog/digital conversion.
Indeed, for the vocals you record to find their way into your DAW, they have to be sampled and then digitized into bits. And this process is not always carried out very well with entry-level interfaces.
And a poor conversion can literally kill your sound, making your vocal recordings very dull and lifeless. So perhaps it’s your interface that needs improving.
For vocal recording, Apollo Twin interfaces remain the most popular. But you can also turn to the Antelope Zen Q Synergy Core. If you don’t want to invest so much money, then I recommend the new Volt interfaces from Universal Audio, which are really impressive!
8. Focus more on the performance
This is probably the least expected aspect of the whole list. And yet, it’s a point that can change everything in your mixes. But also in your vision of music production in general.
As a mixing engineer, there’s nothing worse than trying to make powerful vocals that have no energy, no life. And it’s the perfect proof that, before focusing on mixing tools and techniques, you need to focus first and foremost on the performance of the singer or rapper behind the mic.
If the performance is sincere, powerful, authentic and full of energy, the process of making the vocals more powerful within the mix will be very easy.
If you’re the singer yourself, then maybe try focusing on the energy you’re giving behind the mic. And if you’re a novice sound engineer, then don’t hesitate to coach the artists you’re recording. Few artists won’t appreciate being coached.
Most artists like to feel that the person recording is also living their world and wants to push it to the limit. So… think about it for your next recording sessions.
Conclusion
Many little techniques can make vocals more powerful in your mixes. But you don’t necessarily have to apply them all to get a good result. Because it also depends on your workflow.
My best advice is to try out all the techniques you didn’t know about before reading this article. And see which ones seem to be the most effective in your way of working. You might not like some of them, that’s not a problem. But above all: give it a try! Because that’s the only way you’re going to improve your vocal mixing skills.
If you have any questions about this topic or about anything in the field of vocal mixing, please contact me, I’m always very happy to help!
Related Articles:
My favorite tools for mixing pop and hip-hop music:
Plugins
In the field of auto-tune, I’m convinced that nothing’s better and more efficient than Antares Auto-Tune Pro. As for the EQ’s, FabFilter Pro-Q3 and Slate Digital Infinity EQ are, in my opinion, the best tools. For compression, I have 2 favorites plugins: Waves RComp and UAD EL8 Distressor.
As for reverb, I’m a big fan of the Soundtoys Little Plate, but generally, I go for the Valhalla VintageVerb for its versatility. I also love the Arturia Rev PLATE-140 and the UAD Pure Plate for its organic side.
Headphones
The closed headphones I love and will always love using for mixing pop and hip-hop music are the Beyerdynamic DT-770. As for the best open-back headphones, I use the Sennheiser HD600 headphones, and I’m really happy of them!
Monitors
Having a pair of Yamaha HS7 in its studio or home studio is always cool for more excitement while listening to your mixes. The Adam Audio T7V monitors are also super accurate. In my studio, I also have a pair of Genelec 8030 for their reliability.
Hardware gear
For anyone who wants to start using hardware in their mixes, I always recommend these 2 units from Klark Teknik: the EQP-KT and the 76-KT. Don’t forget to use good converters, such as the Apollo interfaces. This is essential for a good rendering.


