Parallel compression : What does that mean exactly ? Whether you’re an amateur sound engineer, musician, producer or artist looking for audio mixing techniques that can improve the quality of your demos, you probably already heard of that technique called parallel compression. Knowing what it is can completely change your perception of audio mixing.
In audio, parallel compression is an advanced mixing technique that allows, by the principle of duplicate or auxiliary, to blend two identical sources of which one of the two is « dry » or smoothly compressed, and the other one heavily compressed, even crushed.
The main purpose of this principle, also called New York compression, is to give more power, fullness and robustness to the processed source.
Quick History
The principle of parallel compression was invented in 1965 in the laboratories of Dolby, when the engineers of the English firm created a system of parallel circuits, one of which was heavily compressed. At the time, the system was not very elaborate and nobody in the audio world was talking about it.
The first engineer to start using this mixing technique was Lawrence Horn. He was an engineer at Motown Records, one of the most popular labels of the 60’s. He duplicated his vocal tracks and hard compressed the parallel track by adding a high-shelf filter.
But for several years, even decades, this principle will be very discreet in the studio world. Until, in the 90’s, New York engineers such as Tony Maserati or Michael Brauer started to use this technique again in an extreme way, especially on drums. From this decade on, the principle of parallel compression became popular and became an advanced mixing technique recognized by all the greatest sound engineers.
Today, this principle is still used daily.
Setup
The basic principle of parallel compression is to obtain a « clone » of the audio track on which we want to work. There are two ways of doing this :
A. Duplicate
The first way to use the parallel compression principle is simply to duplicate the audio track and apply the (heavier) compression to the duplicated track.
This principle allows you to have a visual on the signal that is being processed by the compression. But it has the disadvantage that you will always have to duplicate plugins such as EQ’s and compressors to have exactly the same signal in parallel.
For example, let’s say that on a part of a song, you want to cut the high frequencies of a voice. You will then have to copy this automation to the duplicated track as well, which can become very time consuming and uncomfortable.

B. Auxiliary
The second way to use parallel compression is to use the auxiliary principle. To do this, you need to send your signal through a bus to your auxiliary track. On this auxiliary track, all you need to do is place the appropriate compressor (we’ll come to that later).
This allows you to automatically copy all the processing of the « dry » track to the compressed track, which is extremely practical in the mixing stage.
It is also important to set your send bus to « pre », so that the input volume on the parallel compression is unified.
To summarize, you should proceed as follows :
- Create an auxiliary track
- Put the compressor in insert
- Choose a certain bus in input of that auxiliary track (let’s say Bus 11-12)
- In your send busses, choose Bus 11-12 and send it all the way (0 dB)
- Choose « pre » in your send bus
- You are ready for the next step

In most cases, the second way to proceed will be preferred. Because it allows to have 100% control on your audio source and saves a lot of time when it comes to automations. This technique will also allow to work on a clean parallel source.
Need a professional sound engineer specializing in pop and hip-hop mixing ? Great! Take a look at our services and let’s blow up your career together!
Let’s start now!
C. Process
Whatever direction you choose to set up your parallel compression system, what follows is equivalent for both.
Now that you have your system in place, you are probably asking yourself the question, « How should I process this parallel source to get the best results? » That’s why I’m going to give you all the information you’ll need, in detail and with precision, using very simple tools.
Compression parameters
To get the best results from parallel compression, you must not be afraid to do things 100%, in an extreme way. As a reminder, the auxiliary and/or parallel track must be heavily compressed so that the mix of the two sources creates something powerful and robust.
Some tools will be preferred over others for this purpose, but to explain this principle as simply as possible, we will use the Pro Tools stock compressor. If you use another DAW, there is no problem, the settings will be the same.
This is how our initial mix sounds, without parallel compression applied to the voice.
If you need a refresher on what a compressor is and how to use it properly, you can click here. You will have all the information you need to read the rest of this article comfortably.
Threshold level :
The compression we are going to apply to our parallel track is far from being a classic compression. We will have to act on the whole signal, even the quietest ones. This is why it is important to set the threshold very low, so that even the lowest levels are compressed.
If the source has been recorded with good gain staging, the threshold level will generally be between -20db and -40 db. To get a guideline, you can determine where the lowest levels are and set the threshold at that exact level or a little lower. By doing this, you ensure that the entire signal is compressed.
Ratio :
The ratio has to be high for the best results. I’d say that, depending on the dynamics of the recorded vocals, the ratio should be sit between 15:1 and 30:1.
Attack time :
The attack time is supposed to be short enough to grab all the aggressive transients of the audio source, in our case, vocals. If your compressor is capable of going down to a few microseconds, don’t hesitate to go for these values. Too slow an attack would very quickly bring out unpleasant clicks and pops when listening.
Release time :
This is the most difficult value to adjust. In fact, long release times will make the compressor completely fall asleep, while a too short release time will create unwanted pumping. You will generally target values between 100 ms and 250 ms.
The general rule of thumb should be to target around 12 dB of gain reduction

If you have chosen the right parameter values, your compression should sound like this :
We can clearly hear the very extreme compression on the voice, which does not let any transient through and completely crushes the source. This is exactly what we are looking for.
Balance
Now that we have compressed the parallel source in the right way, it is time to find the right balance between the direct and the compressed voice.

The goal will be to adjust the output level of the parallel track so that its effect is noticeable without overpowering the main track. Let’s take two extreme examples to illustrate the principle.
1. NO PARALLEL COMPRESSION
In this audio clip, the voice lacks punch, character and strength. It’s precise and clear, but this kind of source is likely to be quickly masked by the rest of the mix.
2. FULL PARALLEL COMPRESSION (0DB)
In this second clip, the parallel compression clearly takes over from the direct source. The voice becomes over-compressed, the acoustics of the recording place stand out and it completely lacks precision.
By slowly traveling the output volume of the parallel track, the sweet spot I found was -11 dB. But again, this value is not to be applied in all your mixes.
In the case of a pop project like this one, a fairly hard compression was appropriate. But for a rock project, for example, a « smoother » compression is often preferred.
After adjusting the volumes of each track correctly, this is the result of the combination of the two sound sources in the mix.
In any case, whatever the musical genre and despite the extreme values recommended on the parallel track, parallel compression remains an art of subtlety.
The parallel track can never, under any circumstances, take over from the « dry » track.
Applications
Now that we know how to use the parallel compression mixing technique, we can ask the question : In what situations can I use it? In fact, all situations. Anything that requires more power, robustness, fullness, and consistency in volume can be handled by parallel compression. But there are some more typical applications.
A. Vocals
If you remember, history told us that the first applications were on vocals. The purpose of parallel compression at the time was not exactly the same because the technology did not yet allow it. But it is still the audio source on which the mixing technique is still most applied.
Why is this so? Simply because voice is an instrument that is very often at the forefront of songs nowadays. So when mixing vocals, you will always have to find an efficient way to do this. Parallel compression is one of them.
This mixing principle also has the advantage of leaving almost total control over the attack. Indeed, parallel compression will allow the attacks to be brought out more or less strongly depending on the attack time chosen.
Some genres require stronger voices with more character than others. In pop or electro, for example, parallel compression can be pushed to the extreme than in other genres. Don’t forget to trust your ears!
B. Drum Bus
It is not uncommon, especially in the production phase, for percussion groups to lack character and punch. When this is the case, it often sounds like each sound source is in a separate environment. In short, a lack of cohesion.
In such cases, using parallel compression is THE way to bring back punch, character and most importantly cohesion to percussion ensembles. Whether they are acoustic or not.
If you are a producer, don’t hesitate to create a drum bus through which you would send the percussion ensemble to a parallel compressed track.

For best results, a slightly shorter release time than normal is often preferred. As far as the attack time is concerned, it can be very interesting to emphasize the transients of the drums by slightly lengthening the attack time.
In fact, on drum buses, parallel compression acts as a powerful transient shaper. Let’s listen to how it sounds like.
Drum Bus
This is our drum bus without any parallel compression. It sounds good already, but we can certainly give more punch and character to the ensemble.
Compression only
This our parallel compression track only. Already adjusted at the correct level. You can hear how squashed the sound is by still letting the transients speak.
Drum Bus + Compression
Everything is more powerful, has more character and is more punchy and aggressive. This is exactly what we were initially looking for. Job done!
C. Guitar
Parallel compression is very popular on guitars by professional sound engineers, especially acoustic guitars. This mixing technique brings out the strumming of the strings and the brilliance of the instrument. While giving it more body and robustness.

It will be very important to choose an appropriate release time to avoid any form of pumping. This can become very unpleasant on guitars.
In the case of the guitar, very short attacks and longer releases are to be preferred, but don’t forget to adapt all values according to what you hear!
Original Guitar
This is our original guitar with a very slight compression applied. It could be more powerful.
Guitar + Parallel compression
Our parallel compression brings more energy and power to the entire signal. Ideal for pop songs!
Why use parallel compression
But after reading all this, you might rightly ask, why use parallel compression? Why not just apply « normal » compression to the main source? Actually, there are several reasons for this.
Extreme Values for Subtle Results
In audio mixing, compression should remain a subtle part of the mix. Logic would dictate that the compression parameters should also be subtle.
But what is practical with parallel compression, and this can almost become a creative element, is that you have to tweak parameters in an extreme/heavy way to get the best results.
This creates a new way of perceiving the audio mix and allows for creativity and novelty
Control
Remember that the principle of parallel compression requires working with a squashed and compressed source. This is a real open door to more control.
Indeed, with parallel compression, you avoid level jumps and you keep almost total control over the dynamics of the processed signal.
Character and Energy
Pushed to their limits, mixing tools will always create sound effects that are not the purpose of the tool used. For example, an EQ band pushed over several tens of dB will inevitably create some distortion, pleasant / suitable or not.
However, on the parallel compression track, the aim is to push the compressor to its limits, which will create a sound color and character that can be very appreciated.
We will see in the next point that, depending on the plugin and/or the tool used, the color of the distortion will be very different.
Tools and plugins
As with every subfield of mixing, some compression tools are much more suitable than others. Let’s take a closer look at which tools to use in which situation.
CLA-76 (Waves)
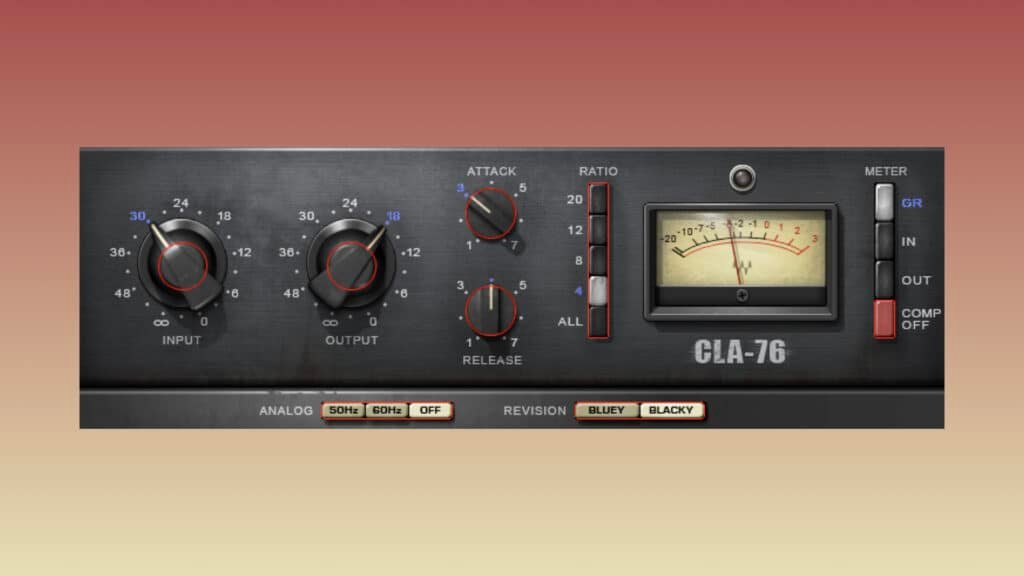
The CLA-76 is an emulation of the legendary 1176 hardware unit from Universal Audio. The 1176 is a FET-compressor, that are known for their extreme fast attacks and also for the character and the color they add to the source when the tool is pushed heavily.
There are dozens of emulations of 1176. Some are close to the original, others less so. But what makes the strength of this CLA-76 is the very marked distortion that it brings out when pushed to the extreme.
This plugin will be effective for any kind of audio source. You will have to pay special attention to the output level you choose.
Indeed, this distortion very appreciated by professional sound engineers can quickly become a trap if you push it too far. So be careful!
In general, FET-compressors are very efficient when it comes to parallel compression.
FG-Stress (Slate Digital)
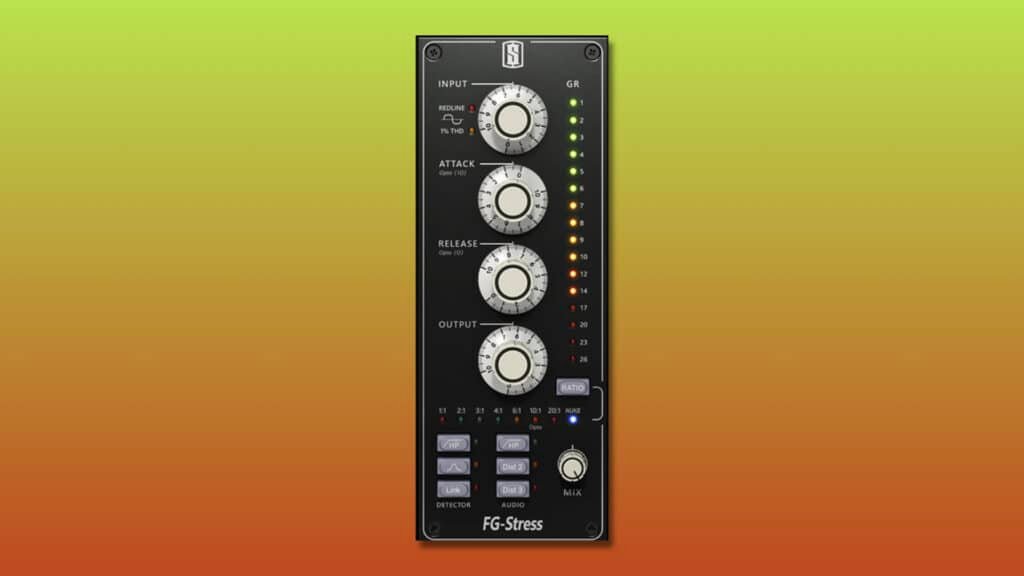
FG-Stress is an emulation of the legendary Distressor from Empirical Labs (a legendary piece of hardware, once again!). Just like the previous compressor, there are many emulations of the Distressor on the plugin market.
But the best emulation in my opinion is the one from Slate Digital: the FG-Stress. It simulates almost perfectly all the good aspects of the Distressor. The compression is ultra versatile, the attack and release times are respected and, above all, the distortion knobs (Dist 2, Dist 3) are perfectly reproduced.
Professional sound engineers like to use it on acoustic drum sets because the attack and release times are very suitable and the distortion created by the unit is inimitable.
The reason it works well as a parallel compressor lies in the transparency of the compression, while being full of energy, powerful and robust. Its ability to mimic any type of compressor, from tube to optical to VCA, is also a huge advantage.
With this plugin in your hands, don’t hesitate to push the knobs to the max! That’s how you’ll find the right values
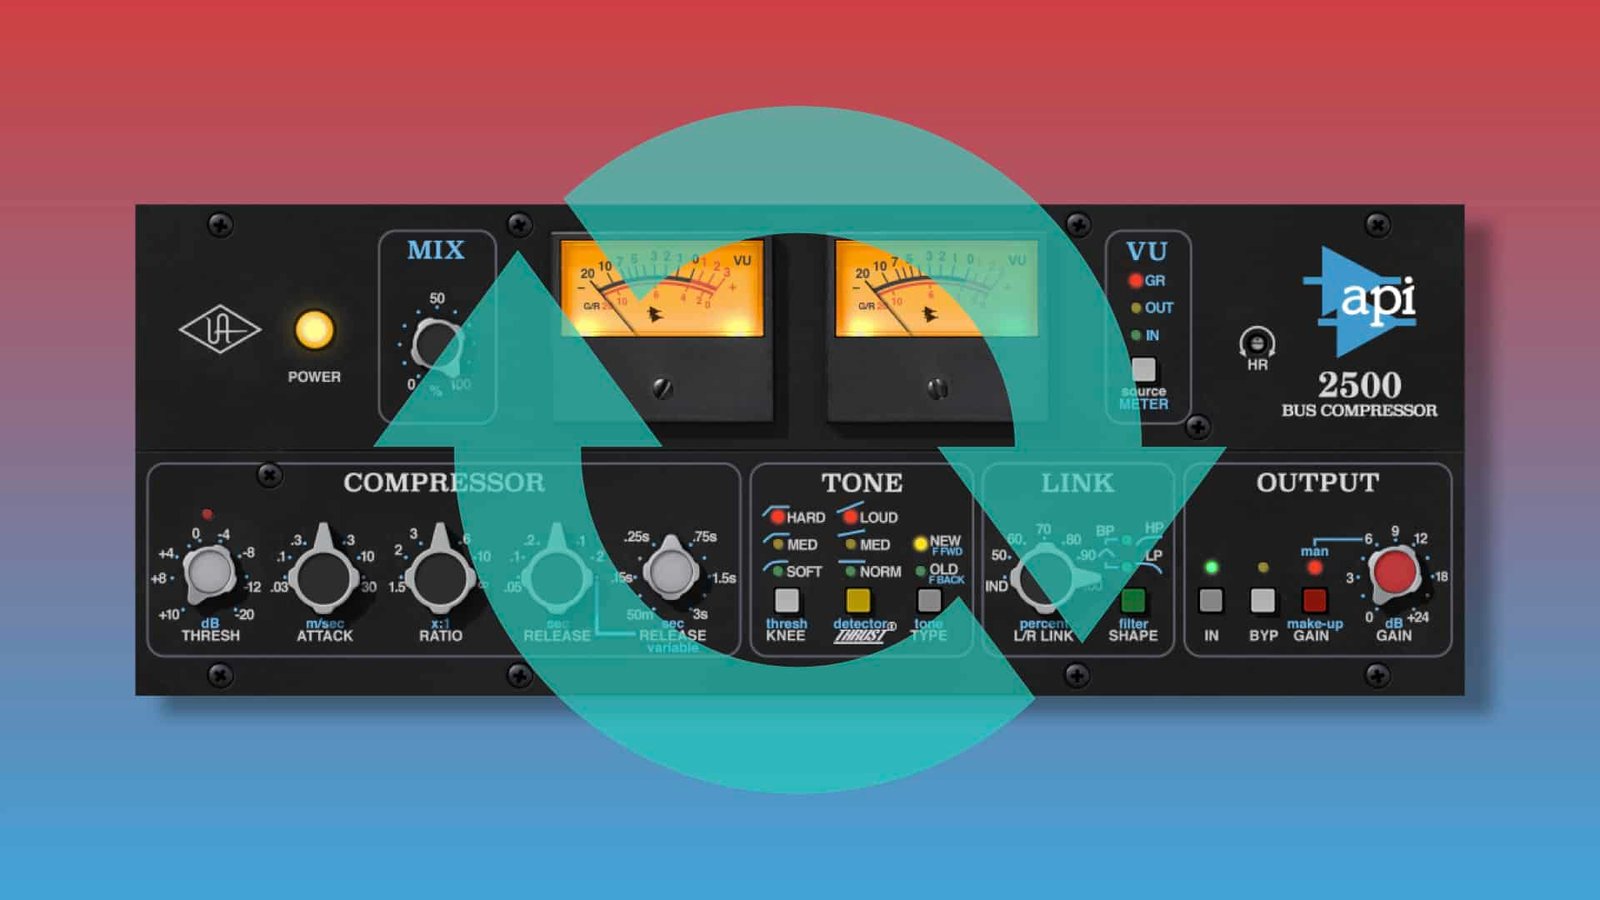
API 2500 (UAD)

The API 2500 is one of the largest VCA compressors in the history of music. The UAD emulation is without a doubt one of the best.
This type of compressors is not meant to be used in a mix, but rather on mix busses. They are often called « glue » compressors.
But where this type of compressor, and especially the API 2500, becomes interesting is that they can add a lot of punch to the processed source.
Pushing it further will also add a sense of movement and energy which, when subtly added to the main source, will give an impressive robustness to the processed audio.

But in fact, all the beauty of the API 2500 is in the Tone section. In this section you have the possibility to set it to « old » to imitate the character of the very first API pieces.
And with the « detector » button, you can completely vary the output energy of the plugin (I advise you to choose « loud » in parallel).
It sculpts the sound very clearly and is unlike any other compressor on the market.
Conclusion
Parallel compression is a principle of audio mixing that allows you to blend a « flat » source with a heavily compressed source. This technique is certainly not the easiest to master in the field of music mixing, but it is one of those that offers the most creativity to the mixer.
The beauty of this principle is the subtlety it requires, despite the often extreme parameters of the parallel track.
The only two pitfalls with parallel compression are that it is either too prominent and does not allow the dynamics to breathe, or that the transients are too prominent. So always pay attention to the attack time, release time, and output volume of the track. Apart from that… have fun!
If you have any questions about parallel compression or anything in the music mixing field, contact me, I’m always very happy to help!
My favorite tools for mixing pop and hip-hop music:
Plugins
In the field of auto-tune, I’m convinced that nothing’s better and more efficient than Antares Auto-Tune Pro. As for the EQ’s, FabFilter Pro-Q3 and Slate Digital Infinity EQ are, in my opinion, the best tools. For compression, I have 2 favorites plugins: Waves RComp and UAD EL8 Distressor.
As for reverb, I’m a big fan of the Soundtoys Little Plate, but generally, I go for the Valhalla VintageVerb for its versatility. I also love the Arturia Rev PLATE-140 and the UAD Pure Plate for its organic side.
Headphones
The closed headphones I love and will always love using for mixing pop and hip-hop music are the Beyerdynamic DT-770. As for the best open-back headphones, I use the Sennheiser HD600 headphones, and I’m really happy of them!
Monitors
Having a pair of Yamaha HS7 in its studio or home studio is always cool for more excitement while listening to your mixes. The Adam Audio T7V monitors are also super accurate. In my studio, I also have a pair of Genelec 8030 for their reliability.
Hardware gear
For anyone who wants to start using hardware in their mixes, I always recommend these 2 units from Klark Teknik: the EQP-KT and the 76-KT. Don’t forget to use good converters, such as the Apollo interfaces. This is essential for a good rendering.


