In vocal mixing, being able to mix backing vocals correctly is essentiel to give more energy, power and robustness to the vocal section. But how do you ensure that they blend well with the lead vocal and integrate well into the mix? In this article, I give you the 8 steps to follow to get the best results.

Here are the 8 steps to follow to mix backing vocals like a pro:
- Align them to the lead vocal
- Adjust the balance and levels
- Remove unnecessary frequencies
- Add width
- Use compression
- De-ess the backing vocals
- Process them as a whole
- Add reverb and delay
Before you dive any further into this article, keep in mind that all mixing principles and techniques must always be adapted to each mixing situation you encounter.
This means that these steps to follow could work very well in one situation, and not so well in another. These 8 tips are there to guide your mind and keep your ideas structured when it comes to mixing your backing vocals.
And while these 8 mixing steps are likely to work almost every time, you should always trust your ears first. They’re your main working tool, so trust them!
With that in mind, let’s take a look at the 8 steps to mixing backing vocals like a pro!

What are backing vocals
But before we get into all the techniques for mixing backing vocals correctly, it’s important to know what backing vocals are exactly.
In music, backing vocals are a type of vocal that supports the lead vocal. Giving it more energy, depth and power. They are usually found in the background, whether for live performances or studio productions. In most cases, they follow the same melodic structure as the lead vocal.
Backing vocals can be very diverse. Especially in music production. They can be a single voice, or a combination of several voices. In the studio, it’s often the same voice as the lead. Sometimes, however, backing vocals are performed by different singers.
In addition to the aspect of energy, power and depth, backing vocals can also add another color and tone to backing vocals. Making them more unique.
Ever since the advent of pop in the 60s, backing vocals have been a fixture in the music world. Today, they can be found in the vast majority of tracks available on streaming platforms.

1. Align them to the lead vocal
When you think of vocal production, you might think of compression, EQ and complex mixing techniques. But in reality, the priority is editing!
The first thing to do is to match the backing vocals to the lead vocal. This is essential for a quality result. Because no matter how well you process your backing vocals, if they’re out of sync with the lead vocal, they’ll sound very amateurish.
And even a few milliseconds can be enough to catch the ear of even the most attentive listener. That’s why you really shouldn’t neglect this step, and put it first on your backing vocal mixing to-do list.
There are two ways to edit backing vocals. The first is more tedious than the second, but requires no plug-ins or software. Let’s take a closer look.
A. Manual editing
The first way is to edit your backing vocals manually. In other words, replace them on the lead vocal with your mouse.
This can be very time-consuming, especially if there are a lot of backing vocals. But with this technique, you have the advantage of being sure of what you’re doing and of not creating unwanted artifacts. Just make sure you use fades to avoid any click generation in your mix.
Another positive aspect of this technique is that no plug-ins are required. Which is good news for your wallet and your CPU.
B. Automatic Replacement
The second, much faster and more efficient way, requires the use of plugins dedicated to automatic replacement. There are many such plug-ins on the market. But VocAlign is probably the best known and most widely used.
With just a few clicks, this type of plugin lets you replace the waveform of one audio clip (usually backing vocals) with another (the reference, usually the lead vocal).
This kind of tool is quite impressive. It does in a few seconds what a human could do in several minutes. With a very limited error rate.
And even if these plugins aren’t free (at least the good ones aren’t), they can save you an awful lot of time. If vocal mixing is your main activity, or if it takes up a large part of your time, it’s an investment you should make with your eyes closed!

2. Adjust the balance and levels
The next step is to adjust the balance between your backing vocals and your lead vocal. This is also an essential step. Because, if your backing vocals sound too loud, they’ll drown out the energy of the lead vocal. But if they’re too weak, they’ll simply be useless in your mix.
And whether you’re mixing vocals or not, adjusting the balance between all the audio sources in your mix should always be at the beginning of your process. Not only does this form the basis of any quality mix, but it also gives you a better idea of how your mix is evolving.

How to find the sweet spot?
When it comes to vocal mixing, there’s no such thing as a typical balance. It depends on the vibe of the track, the energy and also the artist’s intentions.
In terms of balance, finding the sweet spot isn’t easy. My best advice: listen to your feelings and trust your ears. This will help you avoid an overly « technical » process that could lead to indecision or even bad decisions.
To find the ideal balance between backing vocals and lead vocals, the first thing to do is close your eyes and turn the backing vocals all the way down. Don’t hesitate to make a group if there are several backing vocals in the project.
While playing your mix in its current state, slightly and gently increase your backing vocals. Until you feel that they provide the necessary support to the lead vocal, while not being intrusive.
From there, you can (very) slightly lower their level, in anticipation of the compression stage that will come later in the process. This will give more punch to the backing vocals.
3. Remove Unnecessary Frequencies
Leaving the full frequency spectrum of backing vocals in your mix is generally not necessary. And it can even have a negative effect on the vibe you want to bring out.
Before initiating any processing on your backing vocals, always bear in mind that the way you process lead vocals and backing vocals will always be different.
And, above all, don’t think that processing them in the same way will make them sound more unified and harmonious. It just doesn’t work that way! To help you structure your ideas and workflow, I’ll give you the typical frequency bands to focus on.

The Usual Critical Frequency Bands
To mix backing vocals correctly, the first frequency zone to clean up is the bass range. This frequency range is generally useless when mixing backing vocals.
By cutting this frequency range (with a low-cut filter), you prevent your mix from losing precision and punch. You can generally turn your low cut up to 150-200 Hz.
Then, it’s in the low-mid range that we also find frequencies typically to be reduced on backing vocals. Around 500 Hz, poorly cleaned backing vocals can quickly create a sensation of muddiness in the vocals. This should be avoided.
And finally, it’s the high frequencies that can also be critical. But you’ll see later in this article that a simple EQ isn’t necessarily enough to deal with this kind of problem.

4. Add Width
As well as adding depth, backing vocals also add width to your mix. You’ll sometimes find backing vocals in the center, in mono, but this is quite rare.
Whatever the genre, backing vocals are usually panned to the sides, to give width to the mix. The only thing to remember is to keep the stereo image balanced at all times.
For example, if you have two identical backing vocals, pan them full left-right. If you have three, leave one in the center and the other two on the sides. And if you have several (more than 3), don’t hesitate to spread them out over your stereo image. Don’t always put everything on the extremes.
And if there’s only one backing vocal
The only exception is when you only have one backing vocal. In this very specific case, you can decide to break the stereo balance and place it a little to the left, or a little to the right. The result is often quite cool! But what if you want to enjoy width with one backing vocal?
This is often the case in pop or rap music: the artist records a single backing vocal, but wants to have width in the vocal mix. What to do in this case?
Well, there are two solutions. Either you use a doubling plugin (such as Waves Doubler), or you manually create a fake stereo with your backing vocal.
The first option (using a plugin) has the advantage of being fast and efficient. But the second gives you more freedom in each separate channel (left and right).
If you want to opt for the second option, there are several ways to proceed. You can use a simple short delay, a chorus, a vibrato or a pitch shifter… Many different ways, each with its own advantages and disadvantages.
I tell you more about them in this article on How To Create A Fake Stereo – 5 Ways To Proceed

5. Use compression
This is a step not to be missed if you want good results. Compression may sometimes seem a futile and unimportant step to many, but for backing vocals, it really makes the difference.
Because backing vocals are an element that, whatever the song, absolutely must be dynamically controlled.
You don’t want to lose them at the bottom of the mix during quieter moments, but you also don’t want them popping into your face during the more energetic parts of the track.
And since using volume automations can be very time-consuming, compression is a perfect alternative for keeping the volume of your backing vocals even throughout the track.

What are the best compressors for backing vocals?
FET compressors are often the best alternative for backing vocals. By pushing them to their limits, this type of compressor always gives aggressiveness, power and punch to the processed source. But optical compressors can also be a good choice for smoother compression.
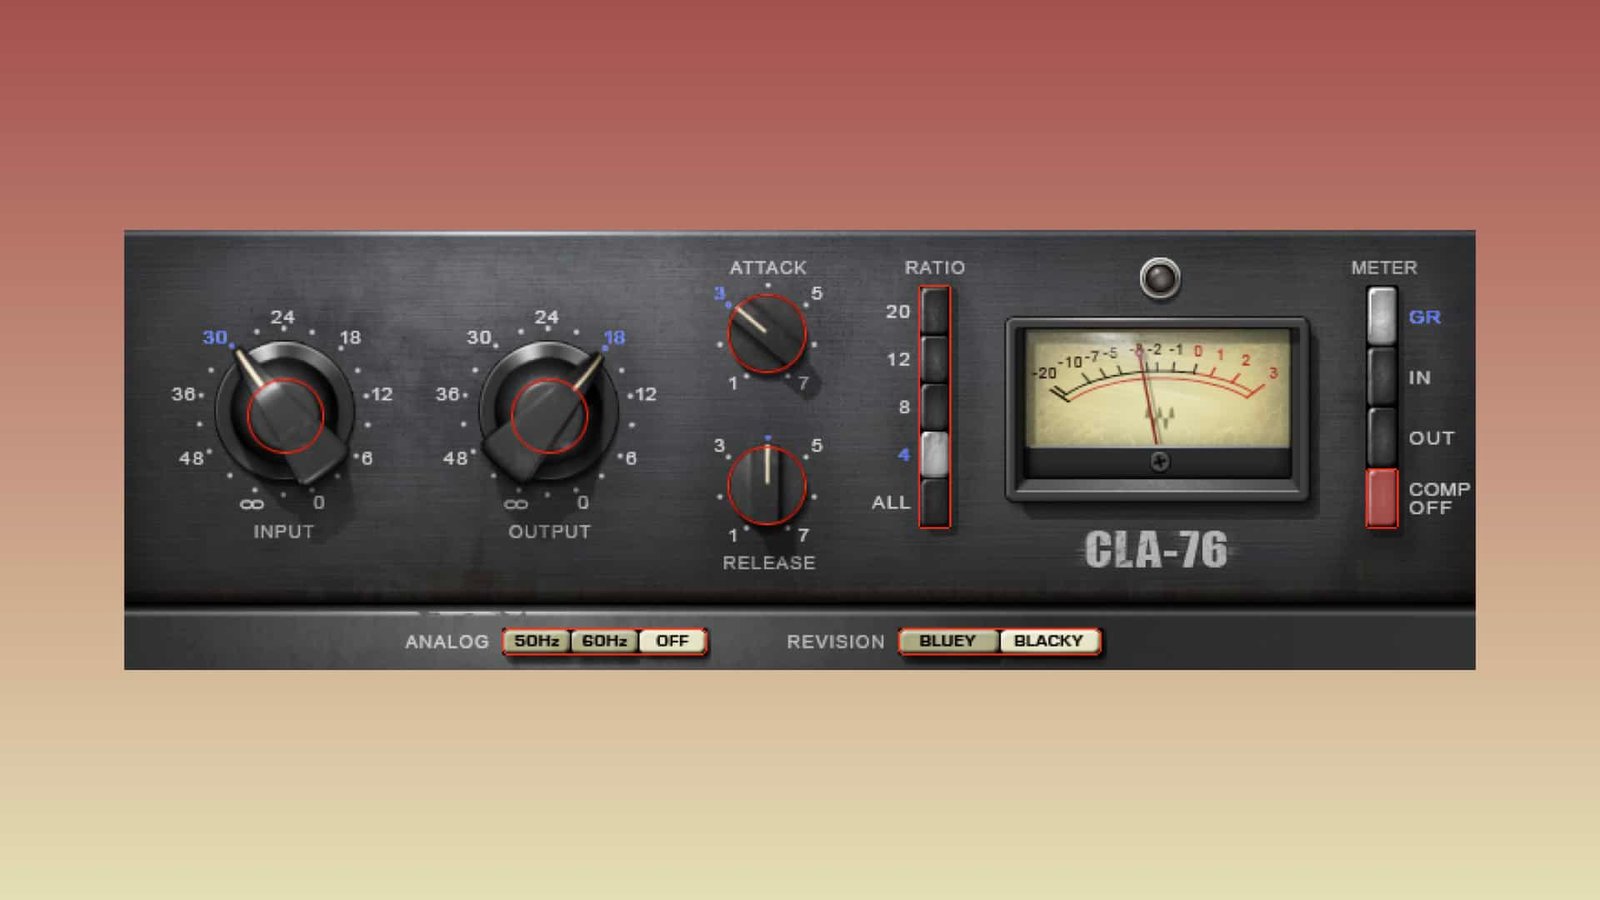
The most popular option is undoubtedly the CLA-76 from Waves. This is the most aggressive and punchy emulation of the 1176. But I must say that I also like to use the UAD emulation of the LA-2A (optical compressor).
Optical compressors tend to have a much slower attack time, which can let backing vocals breathe. Whereas the very fast attack of FET compressors will give your backing vocals a snappier edge. It’s up to you to decide which is more suitable!
If you don’t want to bother too much with compression parameters, I recommend RVox from Waves. It’s a plugin that lets you use a single fader to reduce dynamics while automatically raising the makeup gain.
But don’t just take our word for it! Don’t hesitate to try out different compressors and play with their parameters, from the most extreme to the gentlest. That’s sometimes how you find the best compression settings.
6. De-ess the backing vocals
As you saw a few paragraphs ago, some frequency bands are more critical than others for backing vocals.
But in the sibilance zone (between 6 and 10 kHz), things get more complex. Because sibilant sounds (s, t, f, q,…) appear in shorter, momentary intervals. So we need to find a way of getting rid of these sounds, without damaging the overall signal. This is the role of the de-esser.
And unlike lead vocals, you have to go hard with your de-esser to get the best results. Remember this: As a general rule, you never need more than one « s ». The « s » generalizes all sibilant sounds.
This means that with backing vocals, you don’t just need to reduce sibilance slightly, but almost get rid of it altogether. Because, believe me, badly de-essed backing vocals can completely break the lead vocal’s diction. And at the same time, take the listener out of the song’s atmosphere.
So… go wild! And don’t forget to listen to your backing vocals in context, not solo. It can quickly trick the ears.

7. Process them as a whole
In music mixing, sometimes wanting to treat everything in detail can make your mixes less lively and duller. Indeed, trying to achieve absolute cleanliness on every track is not the right way to look at things.
In the case of mixing backing vocals, when you have several of them, it’s important that you force yourself to process them as a whole and not track by track.
Not only will this save you an incredible amount of time in your mixing, it will also make your backing vocals more glued together. And integrate more easily into your overall mix.
Whether it’s for compression, EQ or effects (which we’ll look at in the next section), treating your backing vocals as a whole will completely change your workflow and the final result.
How to proceed?
But how do you process backing vocals as a whole? What can you put in place to do this?
The most practical way at all levels is to create an auxiliary into which you send all your backing tracks through a stereo bus.
It’s very easy to do. Start by creating a stereo auxiliary track. At the input, select a free stereo bus (say, bus 11-12). Then select all your backing vocal tracks, and assign them the 11-12 bus as output (not as send – you want your tracks to go straight into your aux!).
You can now insert all your plug-ins into your backing vocals auxiliary to treat them as a set. A word of advice: don’t forget to name your tracks and busses, as this will increase your efficiency tenfold.
The only processing that potentially needs to be carried out track by track is de-essing (as mentioned above) and tuning (if required). Everything else will be handled in your auxiliary.
Doing it this way will also save you a lot of CPU, which you can use for other things in your mix.
8. Add reverb and delay
Just because backing vocals are (generally) not in the foreground doesn’t mean they shouldn’t be given some depth with effects.
In many amateur mixes, backing vocals are often heard without reverb or delay. This is a mistake, as leaving them « flat » can sometimes drown out your mix. You need to give your vocal section some breathing space, and add real depth to the mix.
But which effects should you choose? What kind of reverb and delay? And in what situation? I’ll give you a few ideas to explore in your next mixes!
First of all, the first thing you need to know is that reverb by itself doesn’t add depth. Contrary to what many people think, no, a long reverb hall doesn’t necessarily give more depth than a room. What gives depth is the pre-delay. That said, here are a few typical effects.
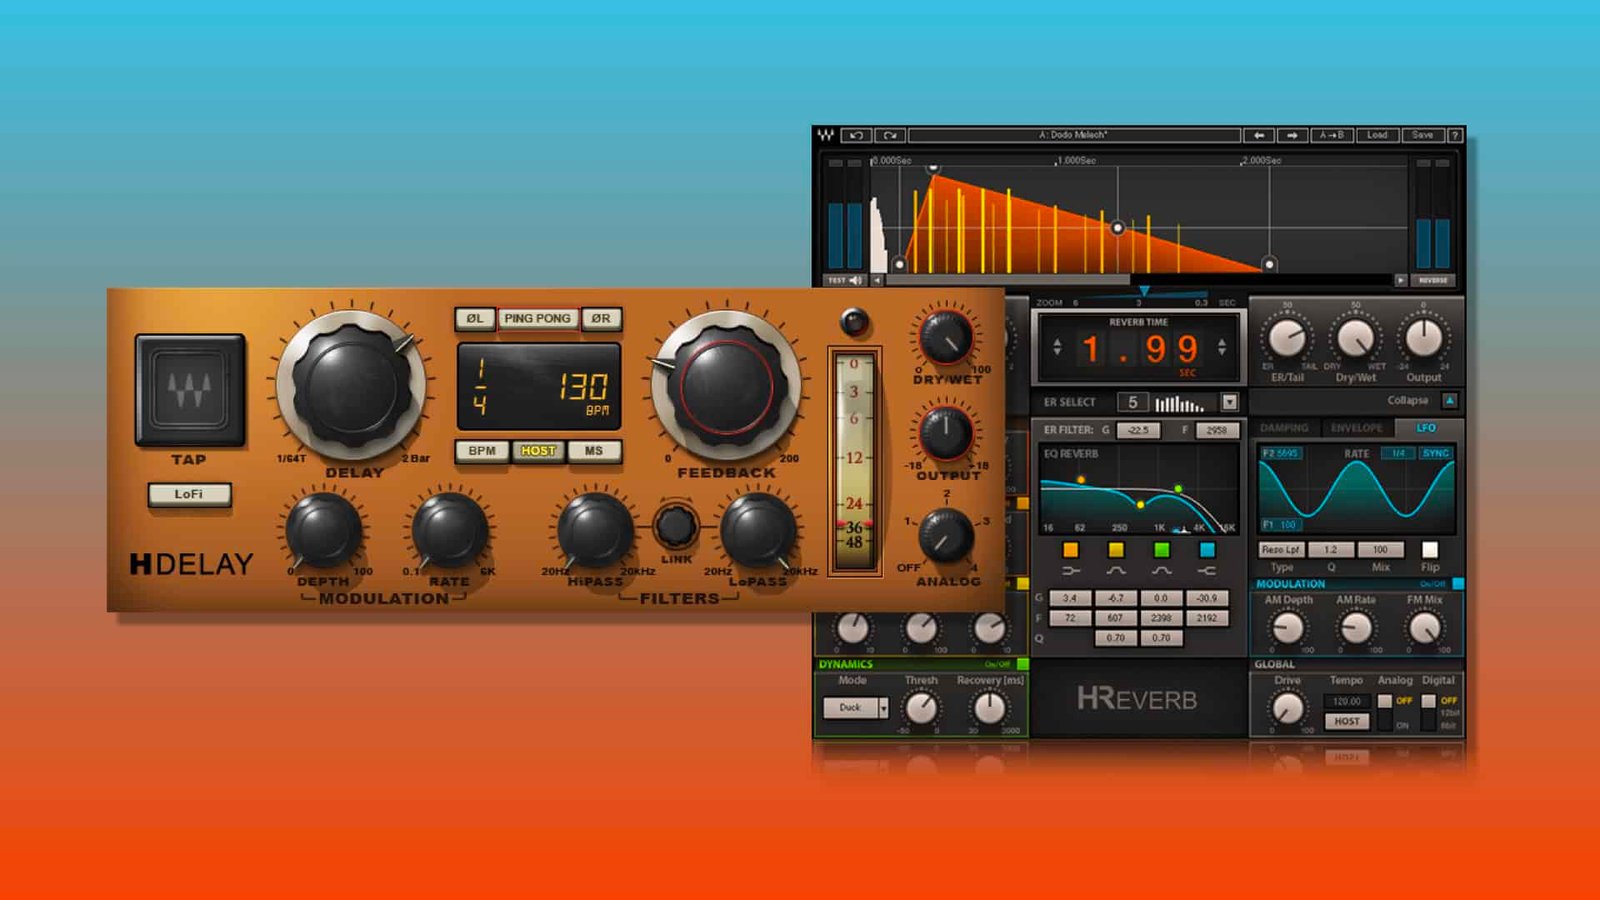
The first effect to explore for your backing vocals is simply the same reverb you chose for your lead. This will automatically place your entire vocal section in the same space. Your vocals will sound immediately more unified and harmonious.
You can also try sending your backing vocal group into a fairly fast delay with relatively low feedback. Or simply start with a slap delay preset! This will bring your backing vocals to life and reinforce the depth within the mix.
And finally, you could also try sending your backing vocals into a room reverb. This often works very well, as it reinforces the feeling of « glue » between each separate backing vocal, but also with the lead vocal.
But these are just ideas! Don’t be afraid to try others and listen to the results. In music mixing, experimentation should be your best friend.
Conclusion
Even if they are in the background of most musical mixes, backing vocals must be processed with precision to reinforce the energy, power and punch of the vocal section.
And although it may seem tedious, following these 8 steps should help you mix your backing vocals efficiently, quickly and with the best results. But once again, don’t hesitate to experiment with different tools during the mixing stage to see what works best in your mixes.
If you have any question about backing vocals or about anything in the field of vocal mixing, please contact me, I’m always very happy to help!
Related Articles:
My favorite tools for mixing pop and hip-hop music:
Plugins
In the field of auto-tune, I’m convinced that nothing’s better and more efficient than Antares Auto-Tune Pro. As for the EQ’s, FabFilter Pro-Q3 and Slate Digital Infinity EQ are, in my opinion, the best tools. For compression, I have 2 favorites plugins: Waves RComp and UAD EL8 Distressor.
As for reverb, I’m a big fan of the Soundtoys Little Plate, but generally, I go for the Valhalla VintageVerb for its versatility. I also love the Arturia Rev PLATE-140 and the UAD Pure Plate for its organic side.
Headphones
The closed headphones I love and will always love using for mixing pop and hip-hop music are the Beyerdynamic DT-770. As for the best open-back headphones, I use the Sennheiser HD600 headphones, and I’m really happy of them!
Monitors
Having a pair of Yamaha HS7 in its studio or home studio is always cool for more excitement while listening to your mixes. The Adam Audio T7V monitors are also super accurate. In my studio, I also have a pair of Genelec 8030 for their reliability.
Hardware gear
For anyone who wants to start using hardware in their mixes, I always recommend these 2 units from Klark Teknik: the EQP-KT and the 76-KT. Don’t forget to use good converters, such as the Apollo interfaces. This is essential for a good rendering.


