« How do you create a fake stereo? » is a question I asked myself many times in my early days in the music production business. Having found the answer by practicing and trying many techniques for several years, I can now give you the precise answer to this question.
There are 5 main ways to create a fake stereo from a mono track:
- Chorus
- Vibrato
- Pitch shifting
- Formant shifting
- Modulated delay
What not to do…
In order to create a fake stereo from a mono track, and before thinking of all the possible techniques to achieve it, we must first highlight what NOT to do.
When you first started mixing music, you probably already tried this very instinctive technique of duplicating the mono track, then panning one of them to the right and the other to the left.
But unfortunately, you can do whatever you want, this technique will never work. At least not if you stop at this point in the process. And by the way, why does the signal seem to remain mono when one of the tracks is on the far left and the other on the far right?
You should know that in stereophonic listening (L-R), a so-called « mono » signal is in fact a summation of a right + left. The signal being exactly the same on both channels, a mono « image » is created between the two channels.
If we return to our initial situation, a duplicate of a mono track that we would split on the right and left channels would simply create the same signal (when listening) but boosted by +3dB (due to the summation of the two waveforms).
You will have understood: don’t proceed like that to create a fake stereo.

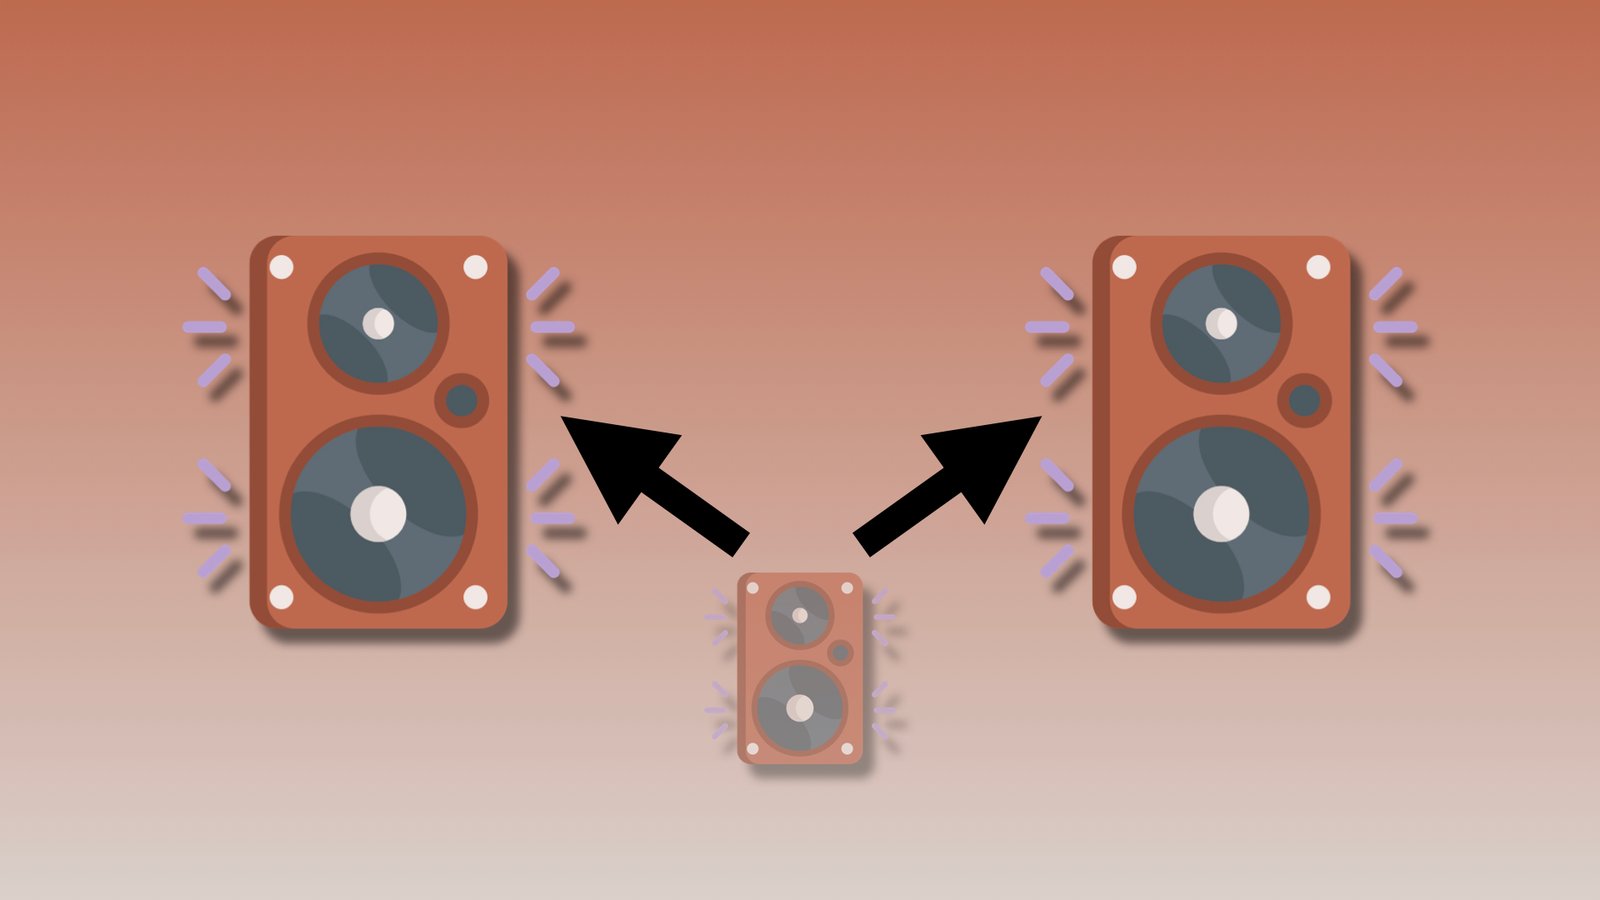
Initial Situation
The situations in which we could need a stereo fake are multiple: widen a synth, double a guitar, create more imposing claps,… There are hundreds of them!
But the situation we will take is the following: from mono background vocals, we want to make them stereo to give width to the vocal lead.
This is a situation that happens very often when the producer or the artist himself decides to record only one backing vocal track when the song needs more width in the vocal tracks.
Here we go, let’s see how we can proceed to give width to these background vocals!
This is how the lead vocal + backing vocals combination sounds so far:
In solo, we can hear that the backing vocals are purely mono:
1. Chorus

Adding a chorus to a mono track is the simplest and most effective way to add width to a mono track. This is easily explained: this tool is made to give the listener a feeling of multiple sources.
But even if its definition is to give the impression of multiplication, this effect is often used in another way. Indeed, it is often used to give a more floating side to the processed audio source. The result will obviously always depend on the chorus used, but the objective always remains the same.
If you want to know more about the chorus effect and how to use it with vocals, I suggest you read this article: What Is A Chorus Effect ? How To Use It With Vocals ?
Here’s what we would get with Chorus JUN-6 from Arturia:
In context:
The mono audio track is now clearly stereo and gives much more width to the source. But despite its ease of use and implementation, this technique may not be the best…
✅ Pros ✅
✅ Super fast and efficient
✅ Adds a soaring side
✅ No need for a duplicate
❌ Cons ❌
❌ Unaccurate high-end frequencies
❌ Unnatural
❌ Slight phasing effect
ℹ️ Knowing how to mix backing vocals is very important in music mixing. You can learn more about this topic here: How To Mix Backing Vocals ?
2. Vibrato

A vibrato is a tool that allows you to vary the pitch of an audio signal in a constant and regular way. The vibrato depends on two main parameters: the amount of pitch variation and the speed of this variation. This tool is often used to add more expression to the source which is often melodic.
In our case, this tool can be very useful! It can indeed allow us, by using two different vibrato settings, to differentiate two initially identical audio tracks. Here is how to proceed:
Take your mono audio track (completely flat and without effect) and duplicate it. Pan one of the tracks completely to the left and the other completely to the right. So far, nothing is happening, that’s normal.
On the first track, let’s say the left one, insert a vibrato. I am personally a big fan of MeldaProductions’ MVibrato for its simplicity and audio quality. But of course anything that acts as a vibrato will be good!
Concerning the parameters to be favored, here they are:
- Rate: From 1 Hz to 2 Hz. Lower than 1 Hz might not emphasize the vibrato effect enough, but higher than 2 Hz might create harmonic dissonance with the original track.
- Depth: A depth of 5% to 15% would normally be ideal for fake stereo.
The vibrato settings of each track must obviously be different for this technique to work. I suggest you make one of the two tracks have a higher rate and a smaller depth. And a slower rate but higher depth for the other track.
Here is the result obtained with MVibrato:
In context:
✅ Pros ✅
✅ Natural color
✅ Keeps the high-ends intact
✅ Detailled result
❌ Cons ❌
❌ Lack of robustness in the stereo channels (some kind of beat frequency makes the signal come back to the center on a regular basis)
❌ Lack of accuracy in the pitch (even if very light)
❌ Takes some time to set up
3. Pitch shifting

A pitch shifter is a tool that allows you to modify the pitch (or frequency) of a sound source. Pitch changes can be made in cents, semitones (100 cents) or octaves (12 semitones).
Using it in a subtle and light way, this audio tool can help us create a robust and clear fake stereo. But how to do it? The principle is actually quite similar to that of vibrato, but more risky in terms of accuracy.
Let’s start from the same principle as for the previous technique. Let’s duplicate our mono track and place each track on the left and right sides.
Once this is done, we can add a pitch shifter to each track. For this example, I used Pitch Shifter from Kilohearts. A very easy to use plugin with great audio quality. I highly recommend you to buy the Kilohearts Ultimate bundle!
What remains to be done is very simple. On a channel, you would drop the pitch by about 6 to 10 cents. On the other, you would increase it by 6 to 10 cents. The lower the vocals are, the more I would suggest you go for 10 and -10. But for female vocals for example, a variation of 6 or 7 cents should be enough. It’s as simple as that!
Here’s the sound result with Pitch Shifter:
In context:
✅ Pros ✅
✅ Super robust and detailled result
✅ Very natural
✅ Produces a lot of width
❌ Cons ❌
❌ Lack of melodic accuracy (big risk with longer notes)

4. Formant shifting

The formant is more complex than the pitch. In fact, the formant shifter is a tool that allows you to modify the tone of a source without changing the frequency. It makes the signal either tend towards something lower or towards something higher (in terms of tone, not frequency!)
By changing the formant of a source, you also change its waveform. Knowing this, we can alter each source very slightly to make them subtly different and create our fake stereo. Here is how to do it:
As with the other techniques (yes, again!), duplicate the mono track and then split them on the right-left channels. On one of the two tracks, you will decrease the formant by about 0.5. On the other side, you will increase it by 0.5. The slight differences in tone will support the stereo.
When I do this, I like to use Little AlterBoy which, to be honest, is one of my favorite plugins when it comes to being creative.
ℹ️ I also wrote an article about this tool and how to use it creatively, you can find it right here: Little AlterBoy : The Most Creative Tool For Vocal Mixing
Here’s the sound result with Little AlterBoy:
In context:
The sound result is… let’s say special!
✅ Pros ✅
✅ Creates a very special timbre that can be a plus for creative mixing
❌ Cons ❌
❌ Very strongly alters the spectrum of the audio source
❌ Creates an unpleasant sensation where the brain cannot identify the location of the source
❌ Lacks robustness
5. modulated delay
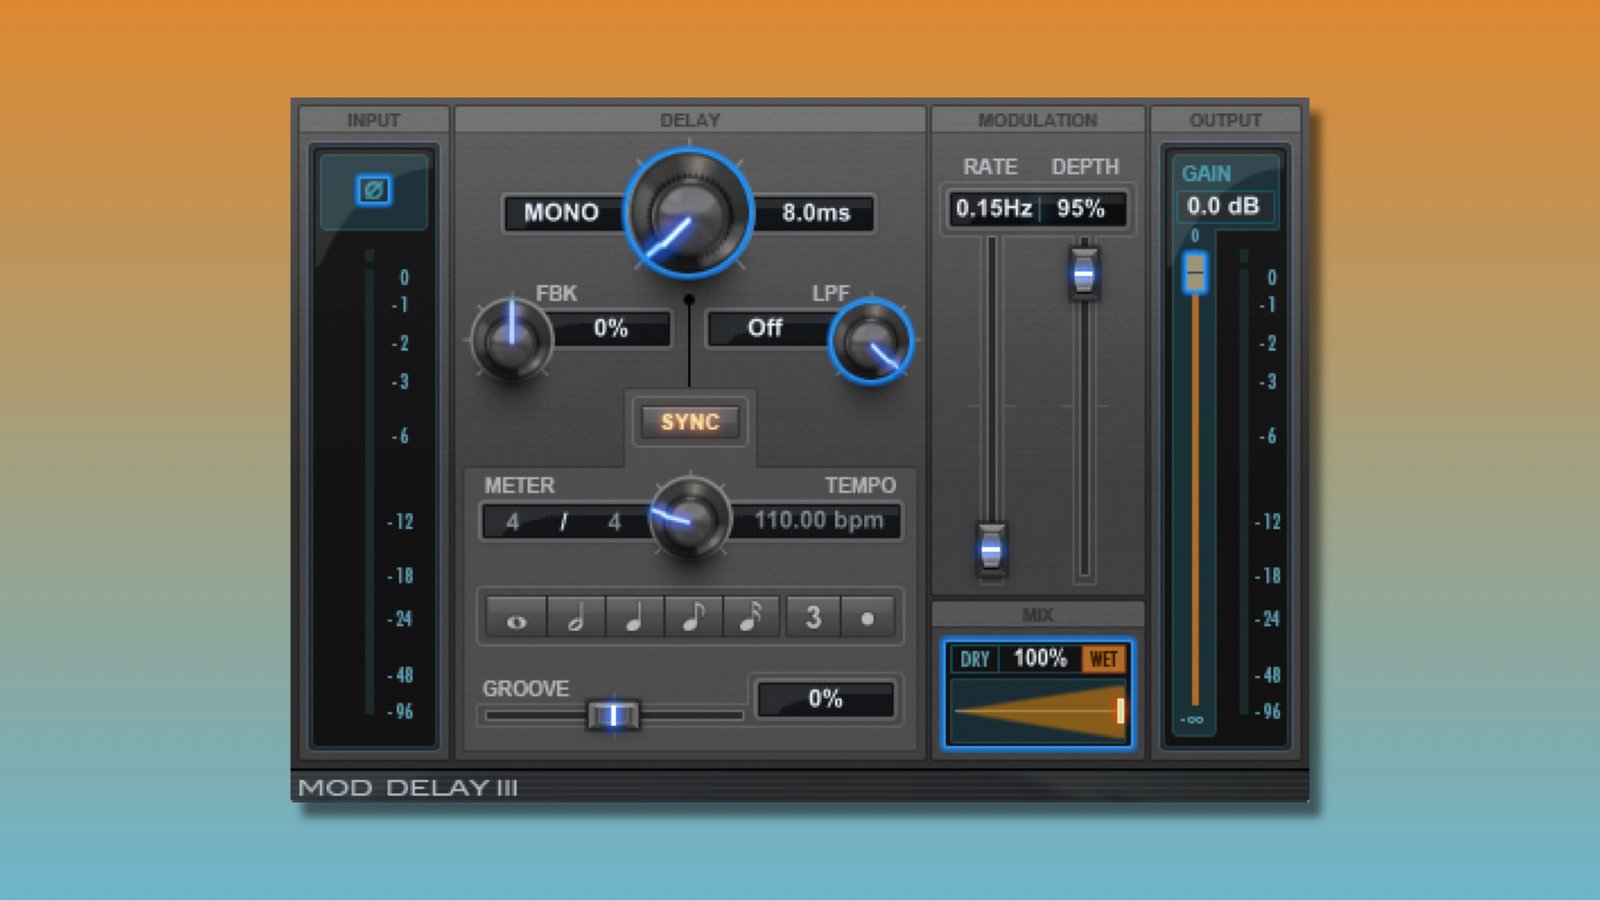
A delay is able to do much more than reproduce a source on a note, a 1/4, a 1/8 note etc,… It also allows, when the delay values are very short, to create more particular effects! It is the principle of modulated delay that is used to create chorus, phasers, flangers,…
But how can you create a fake stereo with a simple delay at hand? I’ll explain it to you now!
Let’s start with our two left-right panned tracks. To start, just leave one of them without any insert or effect. On the second one, you will place a delay with the following settings:
- Delay: Between 5ms and 10ms
- Rate: Below 0,5 Hz
- Depth: Between 90% and 100%
This very simple technique, used for decades in the studio world, actually summarizes a very well known effect in the audio world called the Haas effect.
Here’s the result with a basic delay:
In context:
The only problem with this technique, although it is natural and keeps the frequency spectrum of the source intact, is that one side will always be perceived louder by the brain. Indeed, in physiological acoustics, it is proven that a source arriving before another identical source with a delay of less than 25ms will always be perceived louder than the « delayed » source.
This fake stereo will therefore be totally unbalanced in our ears and will not create the desired sensation of width. This is the reason why I rarely use this technique in my mixes anymore.
✅ Pros ✅
✅ Very clean and natural
❌ Cons ❌
❌ Big imbalance in the stereo
Looking for a professional sound engineer specializing in pop and hip-hop music ? You’re in the right place! Mixing, mastering, production, editing,… we’ve got it all covered!
Let’s start now!
Conclusion
Whether it’s with a chorus, a pitch shifter, a formant shifter, a vibrato or a simple delay, creating a stereo fake is far from complicated when you know the right techniques, you just have to choose the right one depending on the desired result.
If you have any questions about fake stereo or about anything in the mixing field, please contact me, I’m always very happy to help!
Related Articles:
My favorite tools for mixing pop and hip-hop music:
Plugins
In the field of auto-tune, I’m convinced that nothing’s better and more efficient than Antares Auto-Tune Pro. As for the EQ’s, FabFilter Pro-Q3 and Slate Digital Infinity EQ are, in my opinion, the best tools. For compression, I have 2 favorites plugins: Waves RComp and UAD EL8 Distressor.
As for reverb, I’m a big fan of the Soundtoys Little Plate, but generally, I go for the Valhalla VintageVerb for its versatility. I also love the Arturia Rev PLATE-140 and the UAD Pure Plate for its organic side.
Headphones
The closed headphones I love and will always love using for mixing pop and hip-hop music are the Beyerdynamic DT-770. As for the best open-back headphones, I use the Sennheiser HD600 headphones, and I’m really happy of them!
Monitors
Having a pair of Yamaha HS7 in its studio or home studio is always cool for more excitement while listening to your mixes. The Adam Audio T7V monitors are also super accurate. In my studio, I also have a pair of Genelec 8030 for their reliability.
Hardware gear
For anyone who wants to start using hardware in their mixes, I always recommend these 2 units from Klark Teknik: the EQP-KT and the 76-KT. Don’t forget to use good converters, such as the Apollo interfaces. This is essential for a good rendering.


