Mixing vocals is not easy. And one of the most difficult things to master in this field is the use of reverb. How to choose the right reverb for vocals? Is there a particular method to follow in every mix? Can you put in place techniques to find the right reverb for your vocals every time? The answer is simple: yes! And I give you all the tips you need in this article.
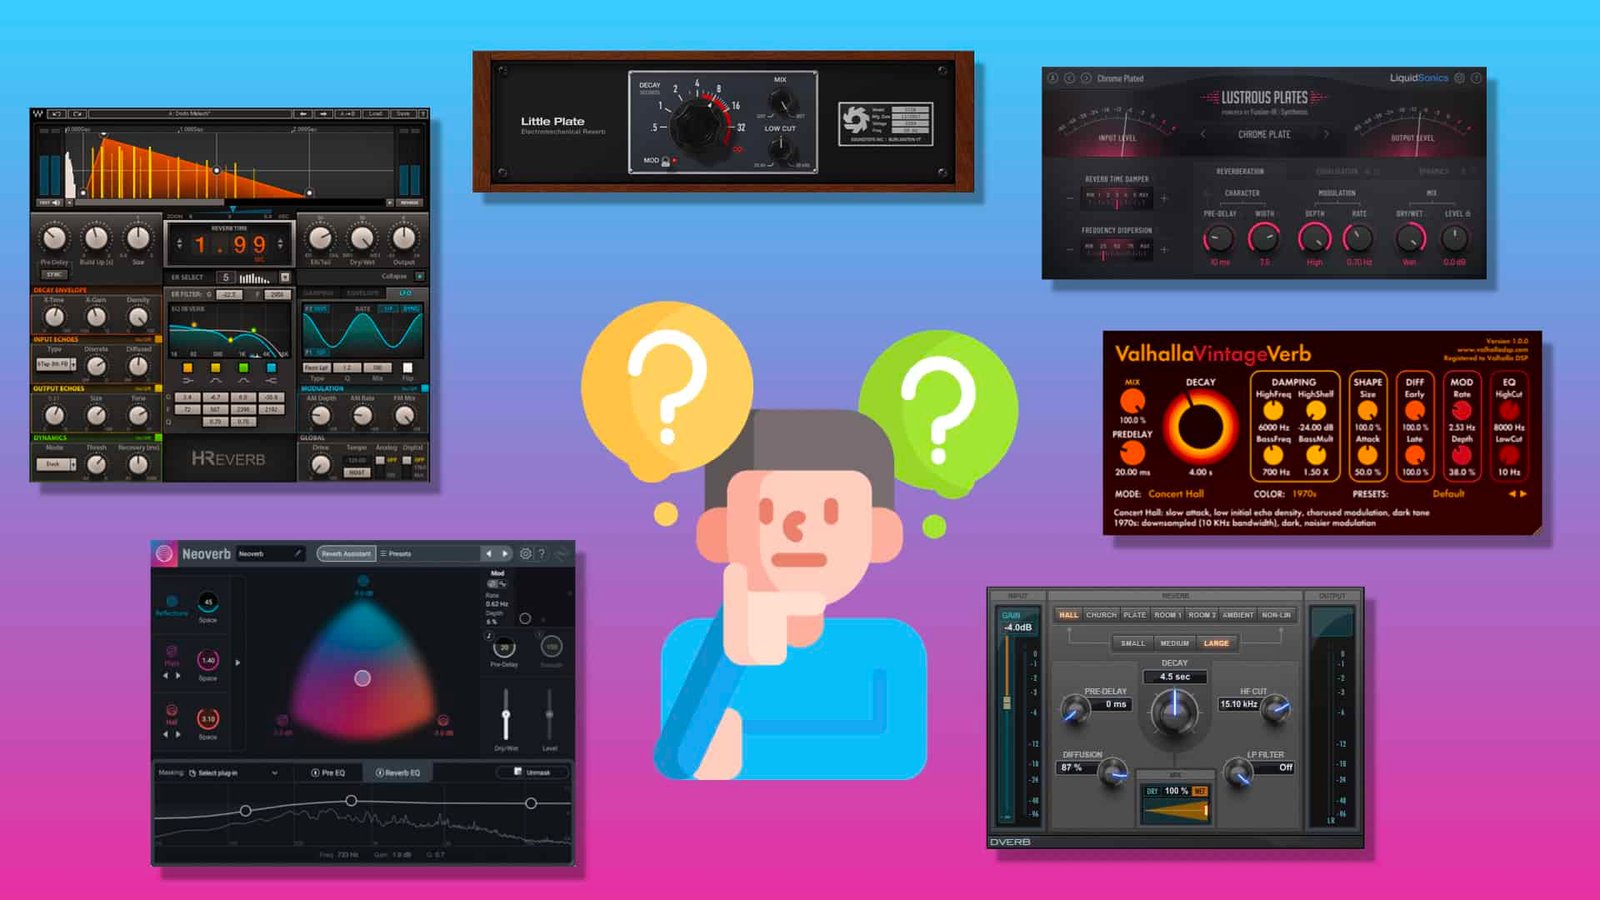
Generally speaking, to choose the right reverb for vocals, you should first identify the rhythm of the song, then try to put words to the general atmosphere and then associate these two elements to your choice of reverb.
But this is just a very simplified version of what you really need to do when it comes to finding the right reverb on vocals. To make sure you choose exactly what you need in a reverb, you’ll need to follow a very specific process.
This may take some time at first. But as you apply it to each vocal mix, you’ll find that over time you’ll pick the right reverb every time in a very short time.
💡 Need more general advices about How To Use Reverb On Vocals ? Then click the link in blue to read a super complete article about this topic!
The ultimate goal is actually, in the long run, to choose your reverb quickly and naturally. And that takes a certain process to repeat. That’s exactly what I’m going to explain to you in this article.
If you have any questions about this, don’t hesitate to contact me, I’m always happy to help!

Essentiel parameters of a reverb
When it comes to learning how to mix and use reverbs, the priority should be to know the main parameters found in a reverb plugin.
It is important to note that some parameter names may vary depending on the manufacturer. But the parameters presented in this list are found in 90% of the cases.
- 1. Decay Time: The decay time, also called reverb time by many manufacturers, represents the time that the reverb takes, from its very first reflections, to reach -60 dBFS. At a normal listening level, this level approximatively corresponds to the silence threshold for the human ear.
- 2. Predelay: The predelay represents the time between the direct sound and the first reflections of the reverb. This parameter has a primordial influence on the perceived distance. The longer the predelay, the closer the source will sound.
Note: Whatever the reverb is, it should always be seen as a piece that will « bounce » the waves emitted by the source in a more or less strong way. The sound has a certain speed (344m/s), so it is natural that there is a slight latency between the direct sound and the first reflections.
- 3. Early Reflections: As the name indicates, the early reflections represent the very first waves of the reverb. If we think of the reverb as a room, it is the signal that has made a single round trip between the source and the nearest wall. The louder the early reflections, the smaller the room will appear.
- 4. Damping: The damping is a more specific parameter that allows to decrease the reverb time in the higher frequencies. The goal is to make the reverb more natural and less « digital ». In the real world, high frequencies are more easily absorbed than low frequencies, hence the existence of this parameter.
Less common, but still popular parameters
- Diffusion: The diffusion determines how close the reflections are to each other. In other words, it gives an indication of the density of the reverb. The higher the diffusion, the more natural the reverb sounds. But it can also make your mix sound more cluttered.
- Width: The Width parameter simply determines the width of the stereo image of the reverb. It is sometimes appropriate to push it a little to emphasize the immersive nature of the reverb. However, you should not overdo it, as this can lead to phase problems.
- EQ: Many current reverb plugins have an EQ built into the interface. Always very efficient to shape the color of the reverb in output.
- Mix (dry/wet): It is not uncommon to find a dry/wet mix knob in reverb plugins. But usually it is useless since in vocal mixing you will always use the reverb as an auxiliary and not as an insert. If you want to know more, you can read this article on Why And How To Use Reverb In Auxiliary
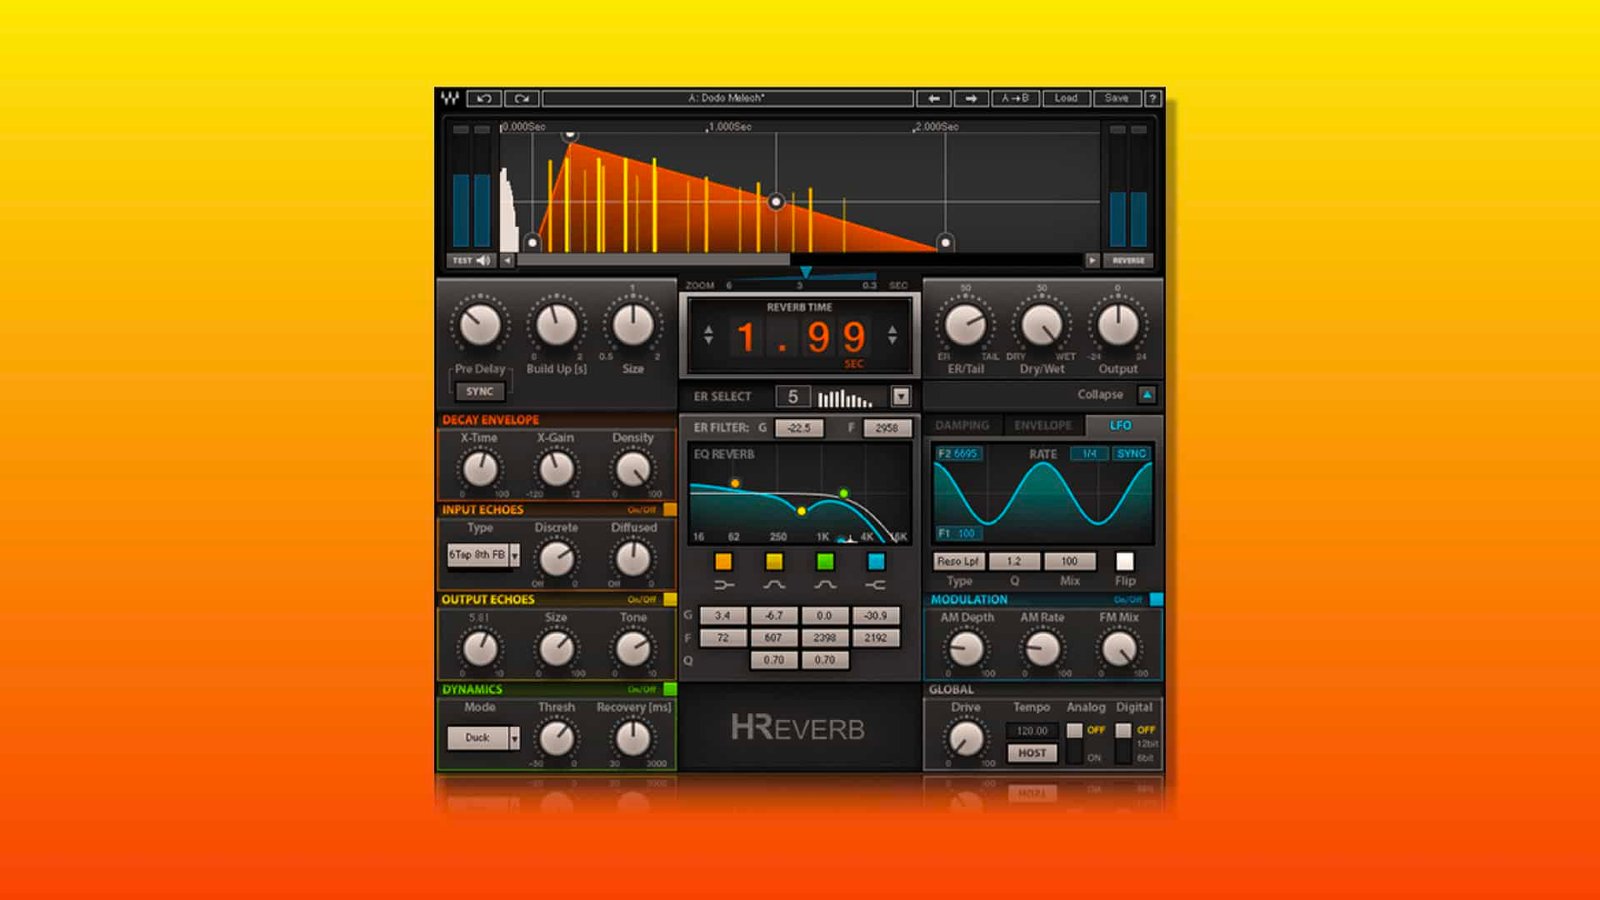
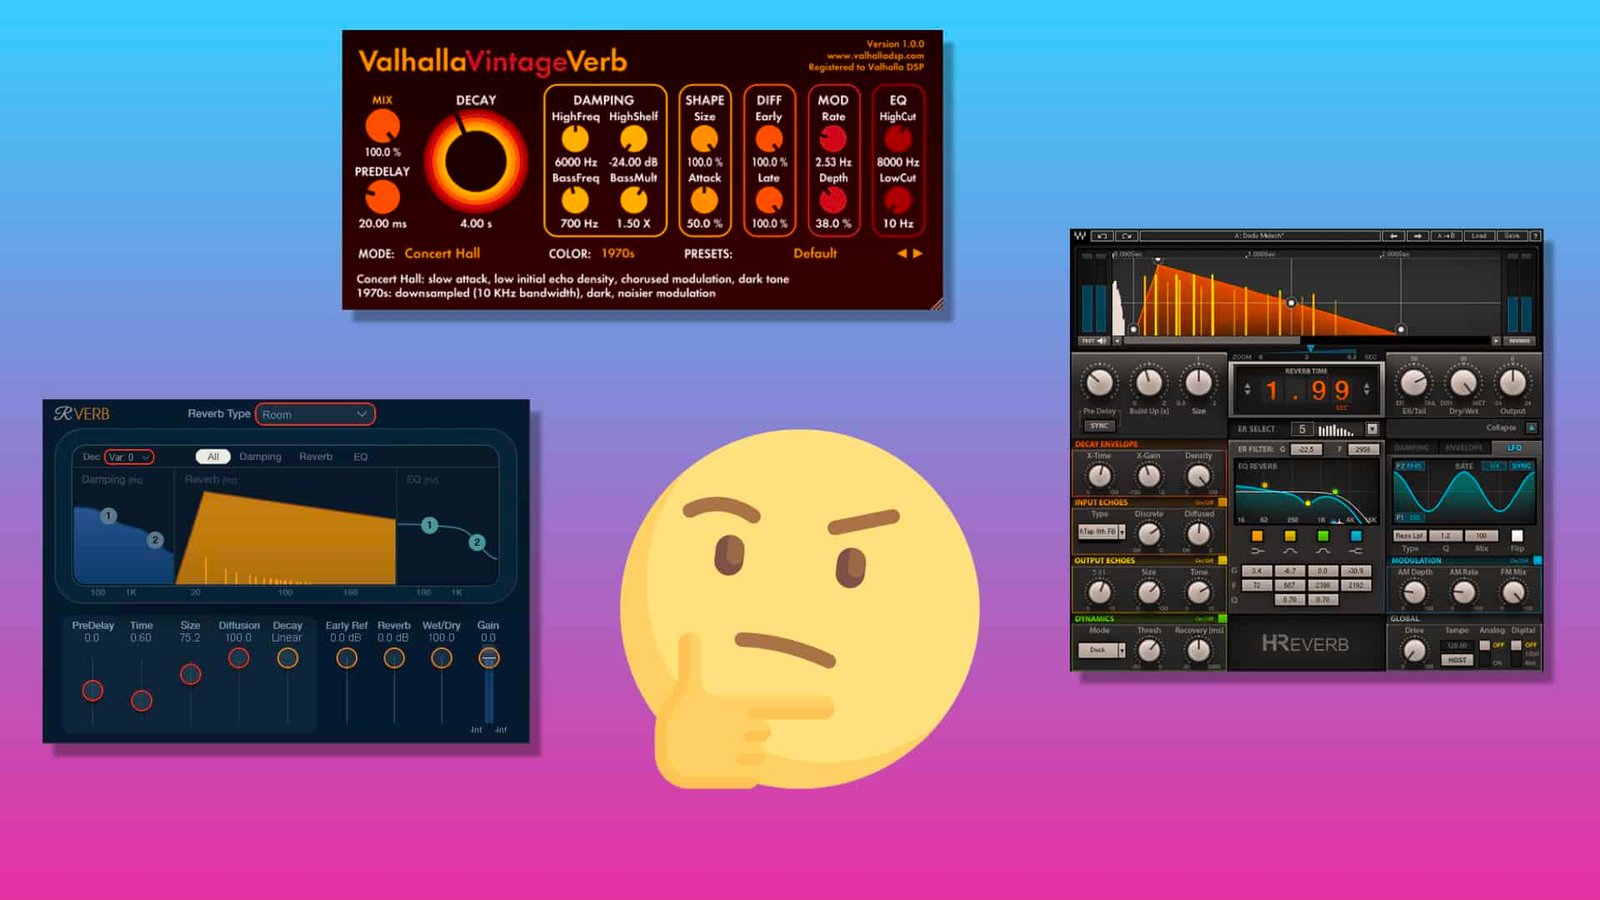
You will obviously find much more complete reverbs on the plugin market, like the H-Reverb from Waves. But also much more simplistic reverbs, like the Little Plate from SoundToys.
When you discover new parameters that you don’t know, I have only one advice to give you: try and experiment. That’s how you’ll get the best mix results.
The 5 Different Types of Reverb
In order to choose the right reverb for vocals, you must know the 5 types of reverbs and reverb emulations that exist on the market.
And even if the number of reverbs in the form of plugins is increasing every year, it is still essential to be able to identify each type of reverb to make a more accurate choice.
Here are the 5 types of reverb that exist nowadays. Both in the form of a plugin and in hardware form:
A. Hall Reverb
Hall reverbs are the most used and popular reverbs in the music world. As the name implies, hall reverbs are designed to imitate and emulate the reverbs of natural spaces such as concert halls or any large indoor space.
Some plugins, like Altiverb, are able to emulate real places with precision thanks to the convolution principle. But as a rule, hall presets are listed according to the size of the room being imitated.
Hall reverbs very often have a long decay (sometimes also called reverb time). Most hall presets found in the most popular reverb plugins are between 2 and 5 seconds. But it is not uncommon to find shorter hall reverbs. Or even much longer, sometimes over 10 seconds!
Characteristics:
Hall reverbs are known to be very airy, spacious and sometimes even atmospheric for some. They can take up a lot of space and are therefore easily noticeable in a mix through their fairly pronounced high end. You should not push them too much in a mix to avoid any form of clutter or masking.
B. Plate Reverb

The second most used type of reverb in music mixing and also in vocal mixing is the plate reverb. This type of reverb aims to replicate a system commonly used in the first big recording studios. The principle consists in sending the dry signal in a metal plate to make it vibrate.
This vibration then emits a sound with a certain reverb tail which is then recovered in the mixer or DAW. Several parameters can vary the tone of a plate, including the dimensions, but also the material of the plate (gold, steel, bronze, platinum, …).
The decay time of a plate is generally comparable to that of a hall reverb, ranging from 1.5 to several seconds for the longest.
Characteristics:
Plate reverbs are often appreciated for the warmth and body they add to mixes. Especially with vocals or snares, for example. Unlike hall reverbs, plate reverbs are not very dense and are perceived as lighter.
C. Room Reverb

Room reverb is also a very popular type of reverb in music mixing. It is based on the same principle as hall reverbs: to replicate the real acoustics of indoor rooms.
But here, the imitated rooms are smaller, denser, more powerful and punchy. Studios, live rooms, bedrooms, any small rooms,… Room reverbs are not made to give air, but rather to create space and depth within the mix.
The decay time of room reverbs is usually quite short. Ranging from 0.5 to 2.5 seconds for the longest. At the right dosage, room reverbs can give a lot of life to a source such as a voice.
Characteristics:
This type of reverb can be seen as a very lively and organic element while maintaining an intimate feel that attracts many contemporary producers and sound engineers.
D. Spring Reverb
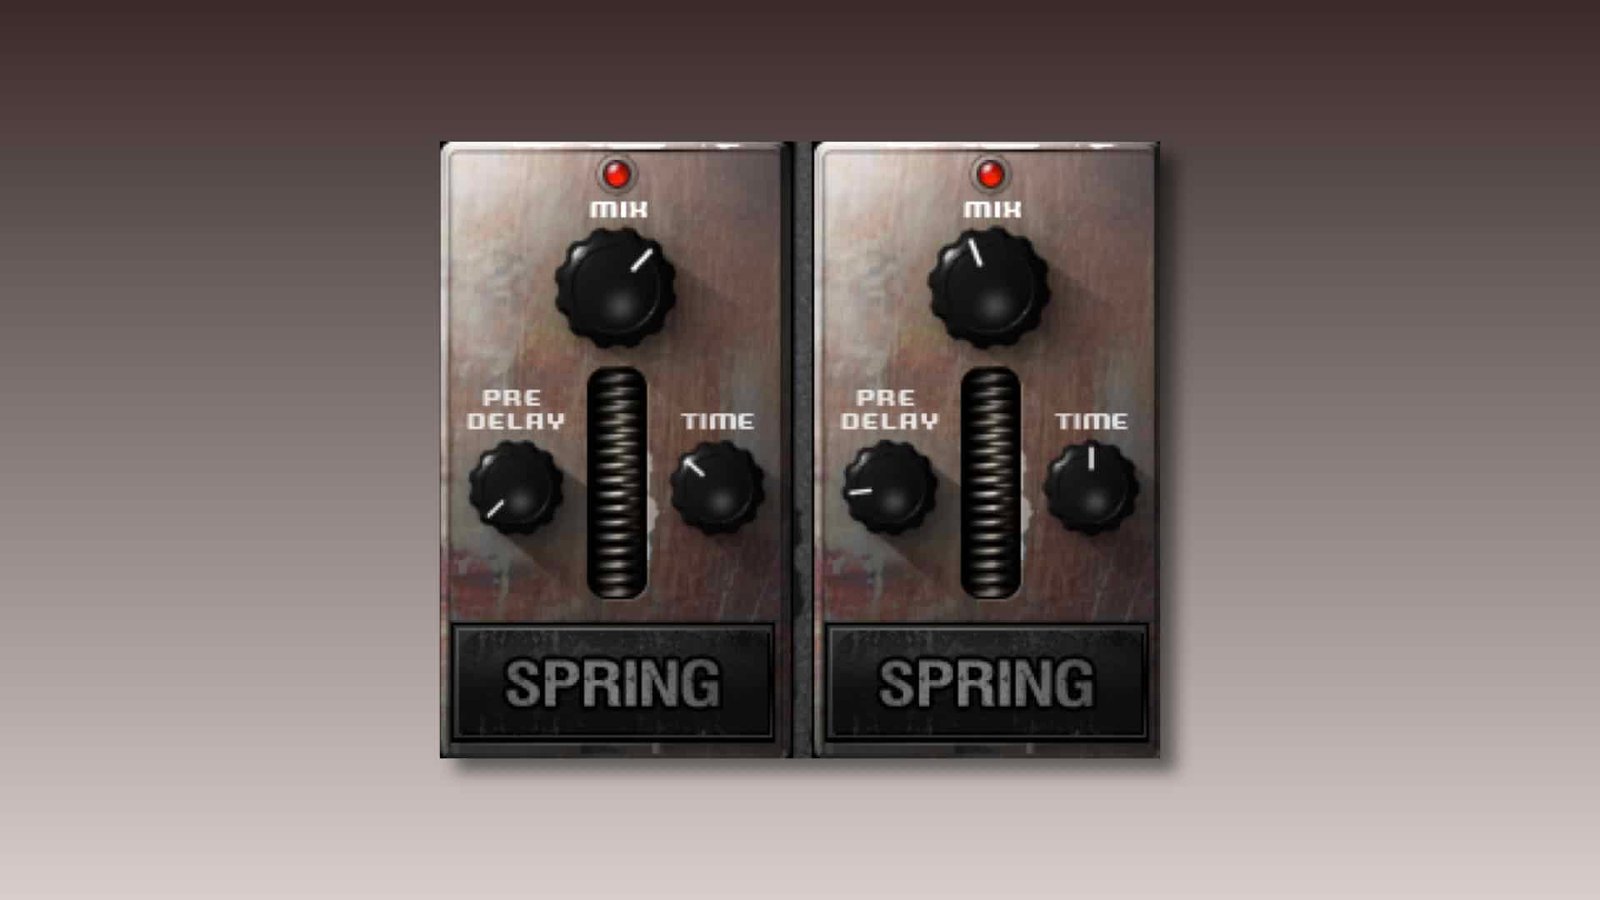
Of all the types of reverbs that exist today, spring reverbs have the most unique and special tone. And this is due to the way it produces the reverb (in its hardware form).
The principle is to send the dry signal into a spring, which will then emit a vibration that will be sent back into the mix. The audio output of a spring reverb sounds like a very short delay repeated many times, which gives the impression of a modulated reverb.
This type of reverb was originally found in guitar amps, but soon became popular when combined with other sources (snare, vocals,…) for its uncommon sound.
Its decay time is medium, ranging from 1 to 4 seconds for most of them.
Characteristics:
Spring reverb, which is often in mono, often gives a very experimental side when it is not used on electric guitars. With its warm, bright and snappy tone, it can give a unique depth to the processed source.
E. Chamber Reverb
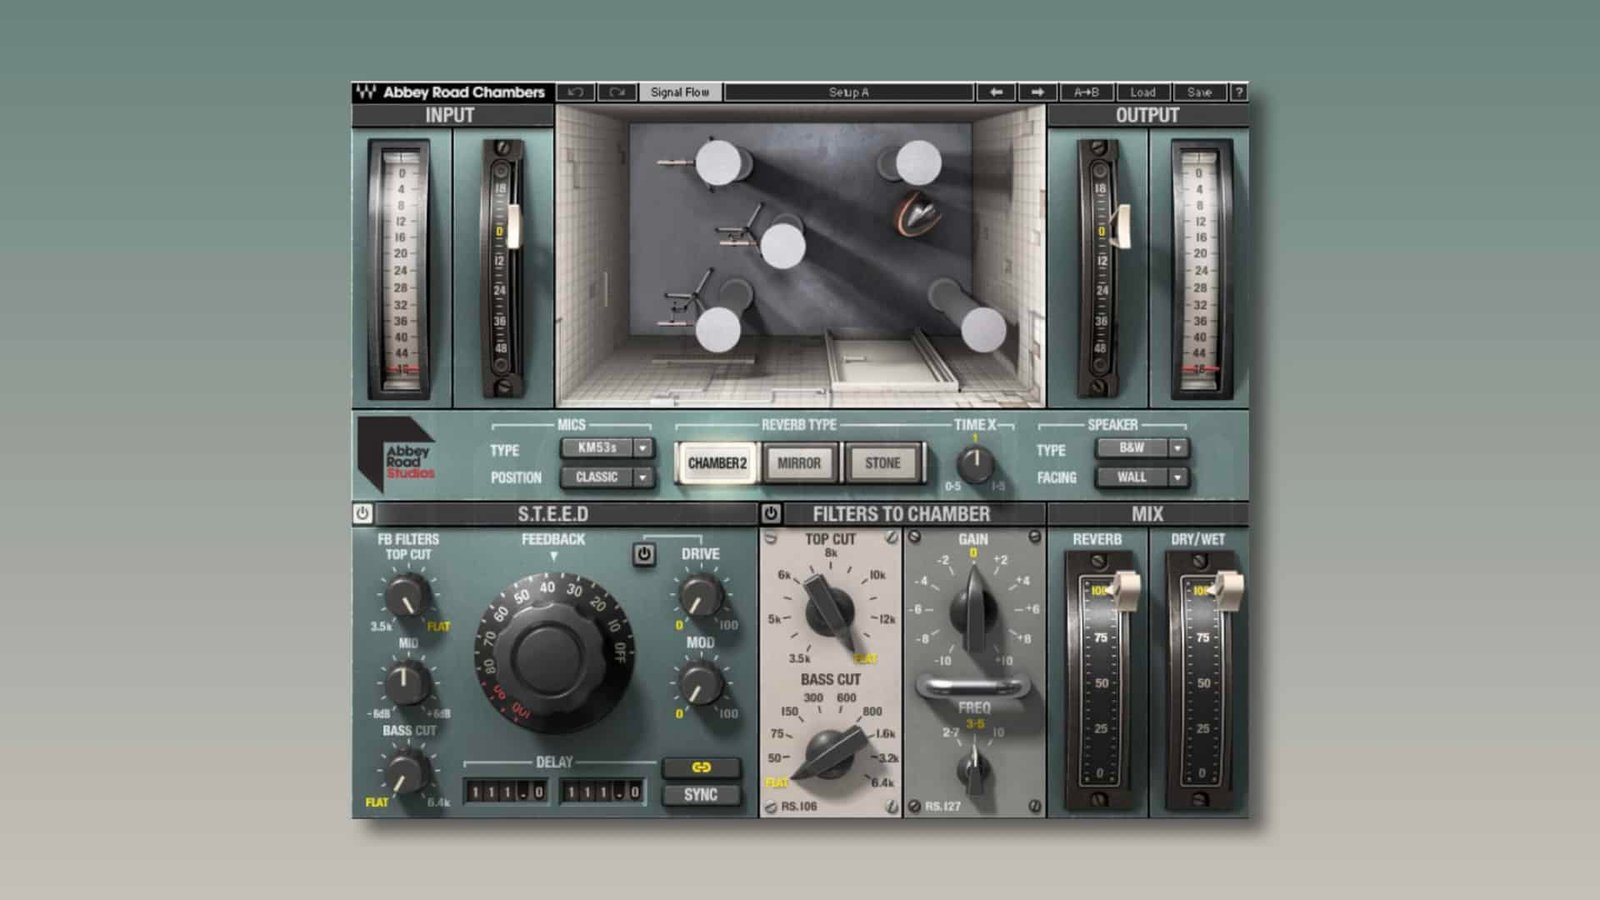
Chamber reverbs are quite similar to hall reverbs. But the color and tone of this type of reverb is completely different. Chambers are indeed brighter and more organic. The clarity of chamber reverbs is completely different from other types of reverbs.
The origin of this reverb is also unique. Historically, in the first large studios, a room was sometimes dedicated entirely to reverb production. Just like the plates and springs, the dry signal was sent through a speaker, and the reverberated signal was then picked up through a microphone placed in the room. This signal was then fed into the mixer or recorder.
The decay time of a chamber reverb can vary greatly depending on the size of the room. But most are between 2 and 6 seconds.
Characteristics:
The highly reflective walls make chamber reverbs a very bright and dense type of reverb, which can give a lot of power and punch to any type of source.
We now have all the tools we need to get into the thick of things properly. Feel free to bookmark this page in case you need a refresher on the basics of reverb. There’s no shame in forgetting a few things at times!
Also keep in mind that what you’ll read in the rest of this article is not an absolute truth (that would be very pretentious of me). It is a guideline that should simply help you structure your ideas during the mixing phase.
It’s up to you to adapt it over time! Depending on your needs, your workflow, but also on each project.
Enough talk… Let’s go!

Here are the essential steps to choose the right reverb for vocals:
- Put mixing intentions first
- Identify the rythm of the vocals
- Identify the general atmosphere
- Identify the tempo and the rythm of the song
- Determine the overall depth of the song.
- Try to imagine how you hear the reverb
- Choose the plugin you want to work with
In the context of this article, the order of this process is of crucial importance: the first one takes priority over all the others, and so on.
But again, you are free to adapt it if you feel you need it to be more efficient. The only « condition » is to have… good reasons to do it!
1. Put mixing intentions first

If we were to make a diagram of this process, this point would be the one that would cover all the others. Why is that? Because the mix intentions should always be the guideline of a mix.
More and more artists, producers and sound engineers are breaking the codes these days. And even if sometimes, some choices seem counter-intuitive, it’s also what made some hits.
Mixing intentions generally touch 4 aspects: wetness, depth, general frequency spectrum and balance between each source. Reverb choices can have a huge influence on the first 3 aspects, so it’s clearly not to be neglected.
Here are a few examples that may help you:
I’m looking for an intimate, close and dry vibe through the mix
Go for a short room to emphasize the proximity with the listener. If it doesn’t work, you could also think about a medium decay dark plate, just to make the vocals breathe a little.
I’d like to get something very airy and lively, without making the mix too cluttered and muddy.
For this example, you would have the choice between two types of reverb. Either a long and airy hall reverb to give an extra energy to the whole. Or a chamber reverb to emphasize the lively side and avoid cluttering up the mix. Whatever the final choice, you should always trust your ears!
2. Identify the rythm of the vocals

When choosing a reverb, you might think by instinct that the most important element is the overall rhythm of the song, but… no!
Because the goal is not to add reverb to the whole song, but only to the vocals. The focus must absolutely be on this element of the mix to get the best results.
But be careful, this doesn’t mean that you have to put all the other elements of the mix aside. Don’t forget that music mixing is also and above all about being able to form a united piece with several audio sources in your hands.
Fast rythm:
For fast flowing vocals, you should generally use short reverbs, like room reverbs for example. This way, you will automatically emphasize the precision of the syllables and make the lyrics easier to understand.
You could also opt for a dark plate, to create a more airy atmosphere without masking the vocals.
Whatever reverb you choose, you should always prioritize the understanding of all syllables, especially with fast rhythms. This will often be the case with rap vocals, for example.
Slow rythm:
For slower paced vocals, it is (usually) better to choose longer, airy reverbs such as hall reverbs. Chamber reverbs can also sometimes give stunning results. Bringing out a vintage and organic feel.
3. Identify the general atmosphere

As I said before, music mixing is mostly about creating a unity.
The reverb that you will choose for your vocals has to fit with the universe that surrounds them. In fact, you have to find a balance between detaching the vocals from the rest and putting them slightly forward. And keep a certain unity within the track.
Because, on the one hand, if you detach too much the vocals, the listeners will have the impression to listen to a singer who sings on an instrumental. But on the other hand, if you treat them too much like a simple instrument, they will blend in too much and won’t have the desired impact.
Here are my best tips to analyze this point in the right way.
- The most important thing to do when trying to analyze the atmosphere of a song is to mute the vocals and listen only to the instrumental. That way you’ll have an idea of what kind of reverb you can add on top.
- When you’ve done that, now listen in a different way: focusing on each element of the mix, one by one. Also try to establish a hierarchy of depth for each of these elements. From the ones in the foreground, to the ones in the background.
4. Identify the tempo and the rythm of the song

Now that you have taken into account the mix intentions, the rhythm of the vocals and the general atmosphere, you can analyze the rhythm of the song.
But before diving into this point without looking, it is important not to confuse two things: rhythm and tempo. Two tempos could be the same and have a completely different rhythm.
This depends on the placement of the percussion, but also on the way the instruments and synths are played. For example, very airy pads can make a song feel slow, even if the tempo is high. On the contrary, an arpeggiator synth can give a very high rhythm.
And to do this analysis in the best possible way, I have a tip that may sound stupid, but is very effective: let your head move naturally to the rhythm. You will see that you will get answers very quickly. This is a tip I learned myself from a legendary sound engineer: Michael Brauer.
In general:
- Faster beats will give way to shorter, warmer, more intimate reverbs. This makes sense because a higher tempo means a higher amount of audio information per second. So you don’t want to take up too much space with the reverb.
- Slower rhythms will be better suited to longer, more airy and brighter reverbs. The reverb can normally take up a larger part of the mix.
5. Determine the overall depth of the song.

Mixing music also means being able to put some depth into the track. Sometimes, this depth is very marked and the feeling of 3D is strong. But in other cases, all the elements of the mix are said to be « in your face ». In other words, everything is in the foreground.
Most cases fall somewhere in between, few are the extremes. But it is important to realize that depending on the depth of the track, the place of the reverb in the vocals will differ greatly.
In this case, it is not the decay time that should be chosen, but rather the tone.
- In tracks that are more « 2D », more « in your face », very bright and dense reverbs such as hall reverbs will often do the trick. Chamber reverbs or rooms reverbs can also take their place very well, depending on the previous points.
- In songs with a lot of depth, it will always be more complicated to add very noticeable reverbs on the vocals. Warm plate reverbs or rooms that are not too bright are often efficient.
💡 Do you want to learn more about how to master depth in your mixes? This article should interest you: How To Push Something Further In Your Mixes
6. Try to imagine how you hear the reverb

Of all the steps listed in this article, this is clearly the most complicated to master. It requires a lot of concentration.
The question is: « In what kind of space do you imagine the vocals? ». The previous points will surely have helped you to find a specific type of reverb. But sometimes, nothing helps. The reverb that the song really needs is not at all the one that should theoretically take place.
This is why it is essentiel to go through this stage before completing your choice. And here are some questions you can ask yourself to make sure you make the right choice:
- Wide or narrow?
- Bright or relatively muffled?
- Big or small?
- Dense or airy?
- Punchy or soft?
- Intimate or not?
- Close or loose?
If you know how to answer each question precisely, you will most likely come across a specific type of reverb. And probably even on the exact reverb plugin and preset you need!
7. Choose the plugin you want to work with
In music mixing, there’s nothing worse than hesitating. Hesitation is one of the worst enemies of the mixing engineer and the producer. That’s why you should avoid clicking on 10 reverb plugins before making your choice.
If you have followed the above process, you should be 100% sure of the type of reverb you need. And if you have done it really thoroughly, you should also be able to target a specific plugin.
Note: In music mixing or even in music production in general, it is essential to know your plugin library. This way, the decision making is much faster and more efficient. That’s why you should also be careful not to overdo it on plugin purchases.
From there, it’s okay to travel between several presets to find the exact reverb tone you need for vocals. Especially if the plugin in question was only built to produce one type of reverb.
If you still can’t decide what reverb you need on vocals. Don’t hesitate to start the process from scratch. Sometimes you have to start from scratch to make the best mixing decisions. You might save a lot of time in the end.
💡 Delay is also a super important tool for vocal mixing. And knowing How To Blend Reverb And Delay With Rap Vocals is essentiel for getting pro results
Go further than a reverb choice
Have you chosen your reverb? Perfect! But that’s not all. Mixing music requires a lot more work than just picking the right tools and letting the song flow to the end.
Let’s take a look at what you can do to get the best mix results from your reverb choice!
Automation is your friend
There are many things that can differentiate an amateur mix from a pro mix. The use of automation is clearly one of them.
With automation you can adjust the balance between vocals and reverb throughout the song. But you can also adjust the decay time. Or the many parameters that some reverbs have in their interface.
A simple tool, but so effective!
💡 Do you know the 5 things that differentiate an amateur mix from a pro mix? Here they are: 5 Things That Differentiate An Amateur Mix From A Pro Mix
EQ your reverb
As mentioned at the beginning of this article, some reverb plugins have EQs built into the interface. But these often lack precision.
This is why it is sometimes necessary to add an EQ just after the reverb to filter out unwanted frequencies or, precisely, to boost certain frequency zones.
Experiment, try, play,…!
In today’s music industry, codes are more and more put aside for experimentation. And for some, this is a direct path to success. We can see it in particular with an artist like Billie Eilish.
Experimentation sometimes gives amazing results. But by not trying, you can’t find out. Today’s technology pushes the boundaries of experimentation ever further. Let’s take advantage of it!
Looking for a professional sound engineer specializing in pop and hip-hop music ? You’re in the right place! Mixing, mastering, production, editing,… we’ve got it all covered!
Let’s start now!
Conclusion
Choosing the right reverb for vocals is not an easy area of music mixing. But by following this step-by-step process and structuring your ideas well, this choice can be quick and efficient.
What is also essential is to know the tools you have at your disposal. Buying plugins is good, but you have to know them and master them to get quality results. Some reverb plugins could be monsters, if you don’t know how to use them properly, it’s better to switch to other plugins.
If you have any questions about this topic or about anything in the field of vocal mixing, please contact me, I’m always very happy to help!
Related Articles:
My favorite tools for mixing pop and hip-hop music:
Plugins
In the field of auto-tune, I’m convinced that nothing’s better and more efficient than Antares Auto-Tune Pro. As for the EQ’s, FabFilter Pro-Q3 and Slate Digital Infinity EQ are, in my opinion, the best tools. For compression, I have 2 favorites plugins: Waves RComp and UAD EL8 Distressor.
As for reverb, I’m a big fan of the Soundtoys Little Plate, but generally, I go for the Valhalla VintageVerb for its versatility. I also love the Arturia Rev PLATE-140 and the UAD Pure Plate for its organic side.
Headphones
The closed headphones I love and will always love using for mixing pop and hip-hop music are the Beyerdynamic DT-770. As for the best open-back headphones, I use the Sennheiser HD600 headphones, and I’m really happy of them!
Monitors
Having a pair of Yamaha HS7 in its studio or home studio is always cool for more excitement while listening to your mixes. The Adam Audio T7V monitors are also super accurate. In my studio, I also have a pair of Genelec 8030 for their reliability.
Hardware gear
For anyone who wants to start using hardware in their mixes, I always recommend these 2 units from Klark Teknik: the EQP-KT and the 76-KT. Don’t forget to use good converters, such as the Apollo interfaces. This is essential for a good rendering.


