Comparing your mixes with pro mixes can be either very frustrating or motivating. In both cases, you may wonder what makes the difference between amateur and professional vocal mixes. To help you out, I’m going to give you 6 simple tips on how to mix vocals like a pro.
Here are 6 simple tips to follow to mix vocals like a pro:
- Mix them in context
- Use automation
- Use effects in auxiliary
- Don’t mix them too late in the process
- Proceed step by step
- Listen to reference tracks

Learning to mix takes time
Learning to mix takes time, a lot of time. It often takes years. And the learning process can sometimes take you through complicated and frustrating moments.
BUT…
There are many small and simple things that can speed up the process. And sometimes it’s easier to apply than you think… That’s why, in this article, I’m going to introduce you to 6 of these simple things that can help you mix like a pro.
These are obviously not magic formulas that will instantly transform your mixes, but they are techniques that can be easily implemented in your workflow.
If you apply these 6 tips in your future mixes, you can be sure that the quality of your vocal mixes will improve very quickly.
Let’s get started!
ℹ️ Do you know what differentiate an amateur mix from a pro mix? Here’s the answer: 5 Things That Differentiate An Amateur Mix From A Pro Mix
1. Mix Your Vocals in context
Mixing means what it means: the goal is to mix all the tracks of a song to create a united and coherent musical universe. Even more important: the audience doesn’t have access to your multitrack, they will always listen to the whole song, not the tracks.
These two reasons explain why mixing in context is a priority to get a professional result at the end of the mixing process. A voice could sound great as a solo and be completely unsuitable for the song, this can happen very often!
If you are the kind of person who uses the solo button a lot during your mixes, you should try to limit its use as much as possible, because it increases the risk of a mix without coherence and without substance.
Always keep in mind that all sound sources have a certain frequency range which must have their place within all other elements.
To give you an idea, I advise you never to use a Solo for more than 30 to 40 seconds, at the risk of getting your ear used to something that is not true to reality.
Remember this: In music mixing, context always comes first.
Need a professional sound engineer specializing in pop and hip-hop mixing ? Great! Take a look at our services and let’s blow up your career together!
Let’s start now!
2. Use effects in auxiliary
This might seem obvious to you. However, far too many music mixing enthusiasts miss this basic principle: always use effects (especially delay and reverb) as auxiliaries.
This is even more important in vocal mixing, as vocals often require a lot of effect tracking. Inserting effects can quickly unbalance your mix.
But how do you go about doing this?
A. Create an auxiliary track (stereo)
The first thing to do when using an effect like a reverb or delay in parallel is to create a stereo auxiliary track. If you are using Pro Tools, you can use the keyboard shortcut Shift + Command + N (Mac) or Shift + Ctrl + N (Windows) to open the track creation window. From there you can select the track you want to create.

B. Select an input + Send
Now that you have created your stereo auxiliary track, you need to find a way to link it to your voice track. For this, you can use the bus system, common to all DAWs available on the market (Pro Tools, FL Studio, Ableton, Logic Pro, Reaper,…).
On the input button of your auxiliary track, select a stereo bus. Let’s say bus 11-12 (it doesn’t matter much as long as the bus is not already used by something else).
In the send section of your vocal track (here named « Lead »), select the bus you have chosen as the input of the auxiliary track, in our case, bus 11-12.

C. Add a reverb or Delay
In your new aux track, add a reverb (or delay) insert (not in the lead track!). Whatever you use as an effect, the mix knob must be set to 100%.
This way you will have a track for vocals only and a track for effects only.

D. Adjust the send fader
When you click on « Bus 11-12 » in your send section, a small window with a fader will open, this is the send level. This fader will allow you to determine how much reverb or delay you want to add to the vocals, without changing the level of the lead track.

ℹ️ Do you want to learn how to blend reverb and delay with rap vocals? Everything you need to know is here: How To Blend Reverb And Delay With Rap Vocals
3. Use automation
Mixing music is not just a matter of choosing the right effects, EQ and compressors for each track and letting the song flow from start to finish without changing or moving anything.
In 2022, we have the chance to have access to the principle of automation through digital, let’s use it! As a reminder, this principle allows you to vary all the parameters you want in an automated way. A few years ago, this would have been a huge luxury!
But which parameters of a mix usually deserve automation? I’ll give you some general trends below:
A. Volume
Whatever genre you’re working in, the volume of each audio track is clearly the parameter that most deserves to be accurately automated.
This is even more important in our case with vocals, as it is an element that should always remain in the foreground in music (except in rare cases).
The typical case is the chorus which is often more energetic than the verse and therefore also louder. Without automation, your vocals are always at risk of being masked.
Always make sure that all words are easily understandable. Don’t hesitate to put yourself in the shoes of future listeners.


B. Effects
If you use the auxiliary technique as recommended in the previous point, you can easily automate the sending and/or return of your reverbs and delays without changing the volume of the vocals. And to get a quality result, this is precious!
Some genres like rock, soul or metal don’t usually require much automation of effects. But in other genres like rap, RnB or pop, it’s often essential to be able to use automations with your effects.
To give you an idea, here’s what my automations look like when sending to different reverbs and delays (pop):

Be careful, although automations are in my opinion essential to a modern and qualitative mix, you should not abuse them, especially with delays and reverbs.
A mix should always remain natural for the future listener and too much variation can sometimes take him out of the song and the universe highlighted by the mix.
ℹ️ Before wanting to mix like a pro, it is essential to target what’s wrong in your process. I might know why…: Top 10 Reasons Why Your Mixes Sound Amateur
4. Don’t mix Vocals too late in the process
In music, there is an eternal debate about when vocals should be introduced into the mix. At the beginning? At the end? In the middle? There is no clear answer because every professional mixing engineer works in its own way.
In my opinion, the best time to introduce vocals is right after processing the drums. This may not be ideal for all musical genres, but it probably is in pop and hip-hop mixing, which are my specialty as a mixing engineer. But why this choice?
Well, the two most energetic elements in a song are, most of the time, the kick and the snare. The kick is often a guide for the overall volume of the mix, while the snare is a very good guide for the volume of the vocals.
By balancing these 3 elements together already, you will make the rest of the process easier, especially the overall balance process, which is the priority in music mixing.
In some situations you might have to place the vocals at the very end of the balance process, but always try to introduce them as soon as possible after the drums.
In any case, I don’t advise you to mix the vocals first in your process, especially if you are a beginner in music mixing.
ℹ️ In vocal mixing, is it better to put the EQ before the compressor? Or the opposite? I give you a complete answer here: Vocal Mixing: EQ Before Or After Compression?
5. Proceed step by step
This may seem trivial, but it is probably one of the most important tips on this list. Being structured in the processing of vocals is essential.
You can have the best ideas in the world, if you can’t structure them, it’s very difficult to stay creative. Creativity is an essential part of mixing music, so it’s something to be avoided.
Here are the steps I advise you to follow for the best results…
A. Balance
Having a good balance between the vocals and the other elements of the mix should definitely be a priority in your process. This is true for music mixing in general, not just for vocal mixing.
Being able to get the balance right allows you to have a better base to work from and therefore be more productive for the rest of the process. A well-balanced mix is already on the right path to sounding professional.

B. Compression
When the balance is well established, you can now compress the vocals slightly to give them more robustness and presence in the mix.
Doing a slight compression like this allows you to get a feel for how the vocals will sound later in the process, when they are more compressed.

C. Cleaning
Now that the balance is good and the voice is slightly compressed for comfort, it is now necessary to clean up the critical frequencies or frequency zones. We will then use a subtractive EQ.
This is also the right time to choose an adapted de-esser that will control the energy of the sibilance.

D. Enhancement
At this stage of the process, you can now think about enhancing the vocals, making them more powerful, more robust and more at the forefront of the mix.
For enhance vocals, I’m thinking of:
- Harder compression to give more character and warmth to the vocals
- Slight distortion to enrich the frequency spectrum of the vocals

E. Reverbs & Delays
I advise you to go to this step only when you are sure to have the desired result, or very close. Because if you change your compressor, EQ or any other plugin settings, you will also change the way the effects sound. So you might get lost in the process.
Don’t forget to listen in context!

ℹ️ Crafting a vocal chain is very important to be efficient in mixing. Here’s an article that should help you: Crafting A Pop Vocal Chain: The Pro Guide
6. Listen to reference tracks
Your best music mixing teacher is you! Yes, today we are lucky to have access to music in a very fast and qualitative way, which gives us a big opportunity for us, sound engineers, producers and musicians: to use references.
Understanding that doing this could be a springboard in my evolution in music mixing a few years ago changed everything! More than I thought it would.
But the important thing with this technique is to use it at the right time in the process. I advise you to listen to references…:
- Before you start mixing, to calibrate your ears for the following hours
- When the mix is at a relatively advanced stage of the process
- At the end of the process, to rebalance the whole mix
Like any other technique, you should not overuse it. At the end of the process, for example, the goal is to have a spectral and dynamic reference, not to imitate someone else’s mix. It’s up to you to find the right balance between useful and excessive.
Need a professional sound engineer specializing in pop and hip-hop mixing ? Great! Take a look at our services and let’s blow up your career together!
Let’s start now!
Conclusion
Mixing music like a pro is not always about technical aspects. But also specific visions and ways of proceeding that quickly lead to a more professional result.
If you apply all these points carefully and precisely in your next mixes, you will surely notice very fast results! At the end of the day, in music mixing, the goal is to please the audience. So if you can put yourself in the audience’s shoes and act accordingly, the quality of your mixes will automatically increase!
If you have any questions about this topic or about anything in the field of music mixing, please contact me, i’m always very happy to help!
Related Articles:
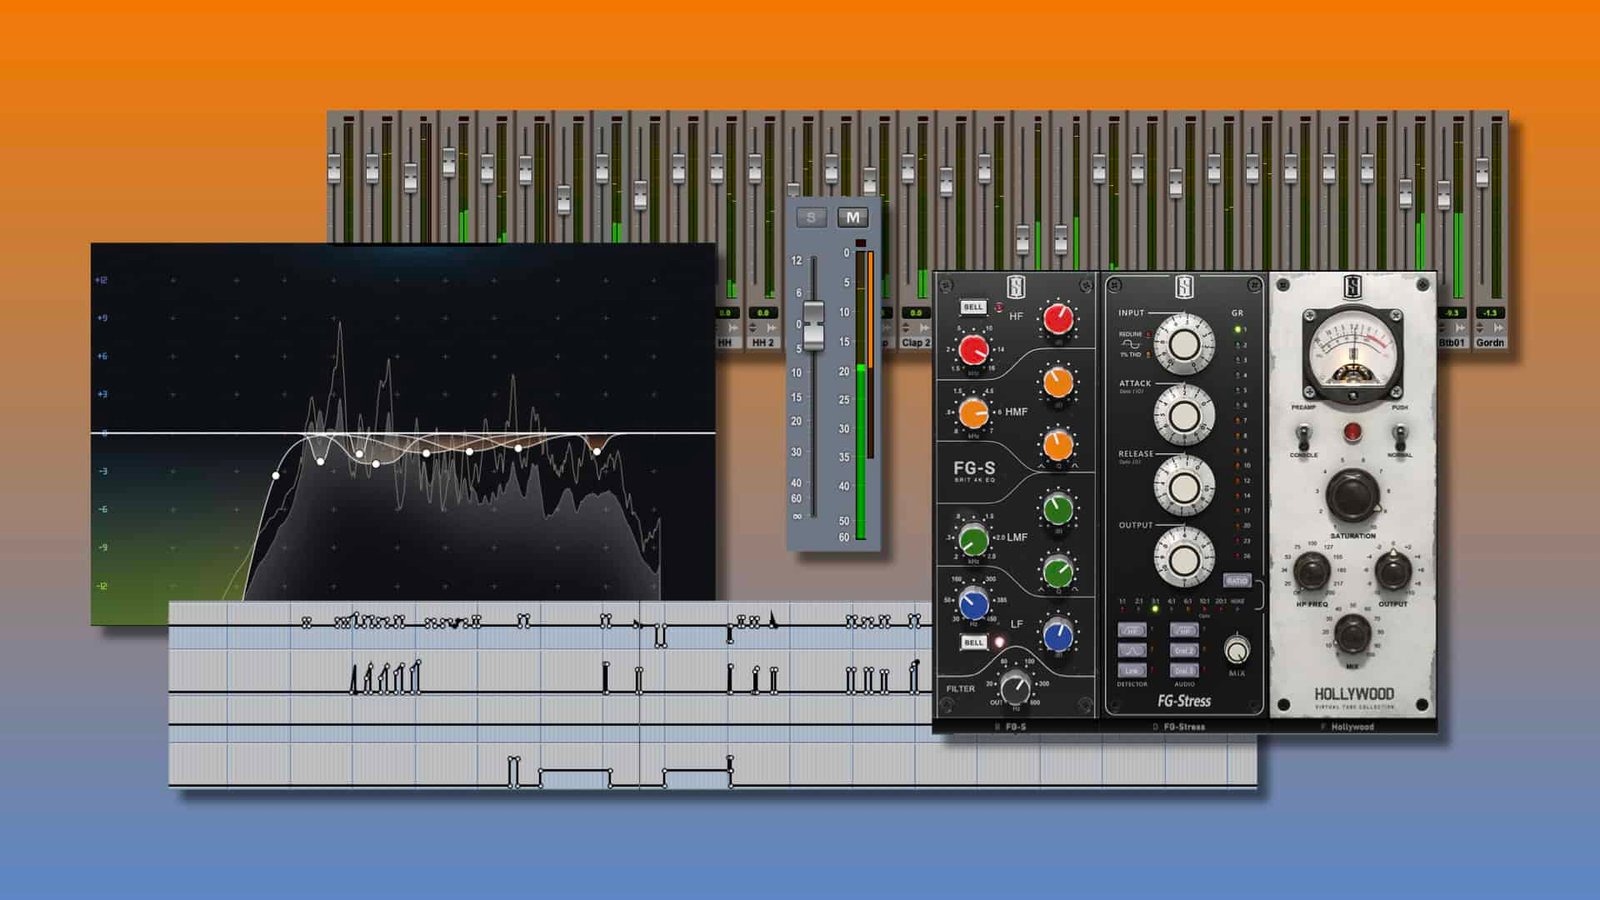
My favorite tools for mixing pop and hip-hop music:
Plugins
In the field of auto-tune, I’m convinced that nothing’s better and more efficient than Antares Auto-Tune Pro. As for the EQ’s, FabFilter Pro-Q3 and Slate Digital Infinity EQ are, in my opinion, the best tools. For compression, I have 2 favorites plugins: Waves RComp and UAD EL8 Distressor.
As for reverb, I’m a big fan of the Soundtoys Little Plate, but generally, I go for the Valhalla VintageVerb for its versatility. I also love the Arturia Rev PLATE-140 and the UAD Pure Plate for its organic side.
Headphones
The closed headphones I love and will always love using for mixing pop and hip-hop music are the Beyerdynamic DT-770. As for the best open-back headphones, I use the Sennheiser HD600 headphones, and I’m really happy of them!
Monitors
Having a pair of Yamaha HS7 in its studio or home studio is always cool for more excitement while listening to your mixes. The Adam Audio T7V monitors are also super accurate. In my studio, I also have a pair of Genelec 8030 for their reliability.
Hardware gear
For anyone who wants to start using hardware in their mixes, I always recommend these 2 units from Klark Teknik: the EQP-KT and the 76-KT. Don’t forget to use good converters, such as the Apollo interfaces. This is essential for a good rendering.


