In music mixing, reverb is probably one of the most difficult tools to master. Using reverb on vocals is even more complex. It requires detail and precision and must be totally mastered to get pro results. In this article, I will give you some tips that I use every day that will allow you to use this tool in the best possible way.
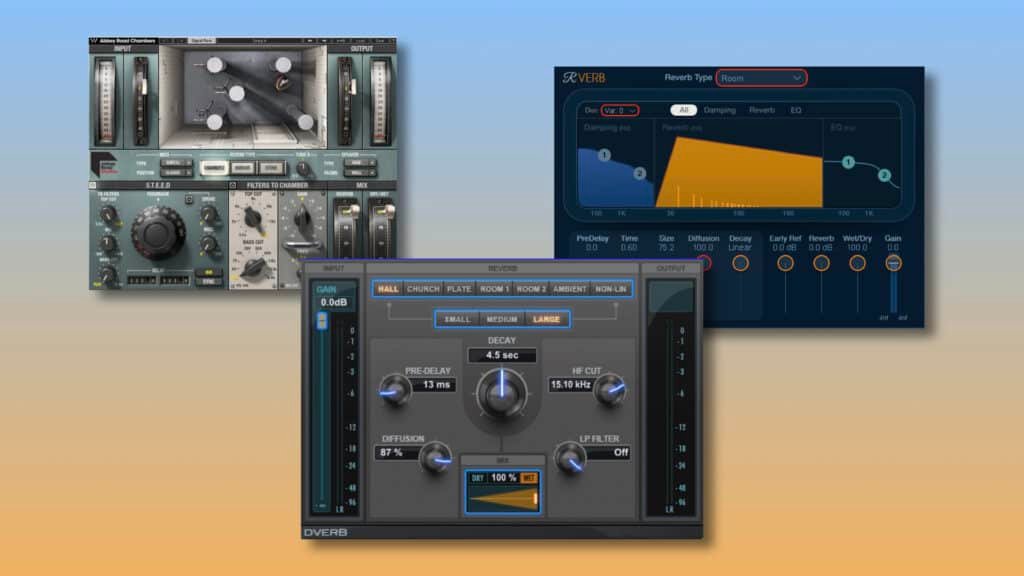
To use reverb on vocals the right way, you’ll have to..:
- Use it in auxiliary
- Choose the right type of reverb
- Adjust the decay
- Adjust the pre-delay
- Filter it
- Add special effects (if needed)
Before Starting…
Having read these first points, you might be able to tell yourself, if you have a relatively advanced level, that you already master some of them.
But I still advise you, whatever your level, to read each point one by one. This will allow you to structure your mind while reading and also, maybe, to learn new things you didn’t know.
It is also important to adapt all the information given in this article to YOUR workflow. We all have our own way of working and structuring our mixing process. So you have to be able to adapt each new piece of information.
Need a professional sound engineer specializing in pop and hip-hop mixing ? Great! Take a look at our services and let’s blow up your career together!
Let’s start now!
1. Use Reverb in auxiliary
I get so many client sessions where the reverb is used as an insert, it’s crazy! By doing that, you’re already shooting yourself in the foot to have a pro quality mix.
Of course, using a reverb as an insert is much faster to set up and seems easier to master. But when it comes to making a correct balance between vocals and reverb, things get complicated quickly.
But how do you use it as an auxiliary? Well, here are the steps to follow to do it the right way:
A. Initial situation
In the initial situation, no effects or processing are added to our vocal lead track. It is 100% dry.

B. Create an auxiliary track
The first step is to create a stereo auxiliary track. If you use Pro Tools, you can use the keyboard shortcut Shift + Command + N (Mac) or Shift + Ctrl + N (Windows). You can then select « Stereo » and then « Auxiliary Track ».

C. Link the two tracks
Now we need to link the two tracks through a send bus. To do this, select any (unused) stereo bus in your send section (be careful, not at the output, we want to use the reverb in parallel). For our example, let’s say Bus 11-12.
In your auxiliary track, select Bus 11-12 as input. The data from the audio track can now be sent to this aux track.

D. Add a reverb in insert
Now that our auxiliary track is correctly set up, we need to place a reverb as an insert to this track (not the audio track!)
Whatever reverb you choose, the most important thing is to always adjust the mix to 100%. This means that on this aux track we only need the wet signal and not the dry signal.

E. Adjust the send level
You can now adjust the level of the vocals (100% dry) and the reverb (100% wet) completely independently.
Simply adjust the level of your send bus 11-12 to determine if you want more or less reverb in relation to your vocals. Handy, isn’t it?

ℹ️ Mixing engineers generally use the same principle with delays. And being able to blend reverb and delay in your mixes can be a huge advantage for the end quality. Learn more here: How To Blend Reverb And Delay With Rap Vocals
2. Choose the right type of reverb
A lot of people, even in the professional world, underestimate the importance of the type of reverb in their mixes. Indeed, each type has a different color and tone and will be used in specific situations.
A. Hall Reverb
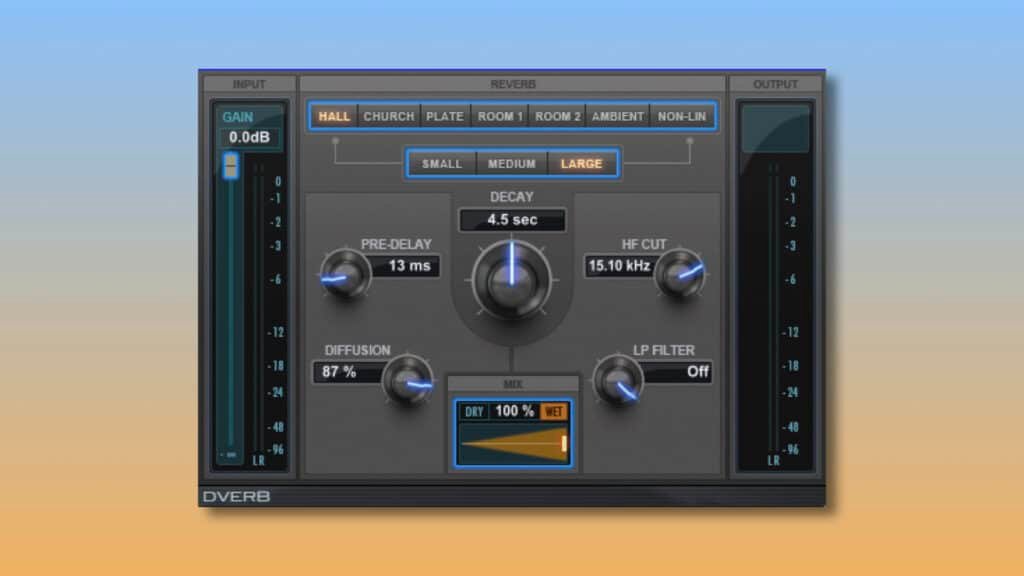
Hall reverbs are the most famous reverbs in the world of music production. They are designed to simulate large concert halls. Due to their size, the decay time is generally long, between 3 and 6 seconds for most of them.
This type of reverb is ideal for adding large, imposing spaces around the source, in our case, around the vocals.
The color of hall reverbs sound very full and natural, which sometimes requires some frequency filtering.
The low-mid range (around 200 to 300 Hz) is generally the area that can be problematic in the mix. Indeed, an excess of low-mid frequencies can sometimes create what is called a muddy mix.
B. Plate Reverb
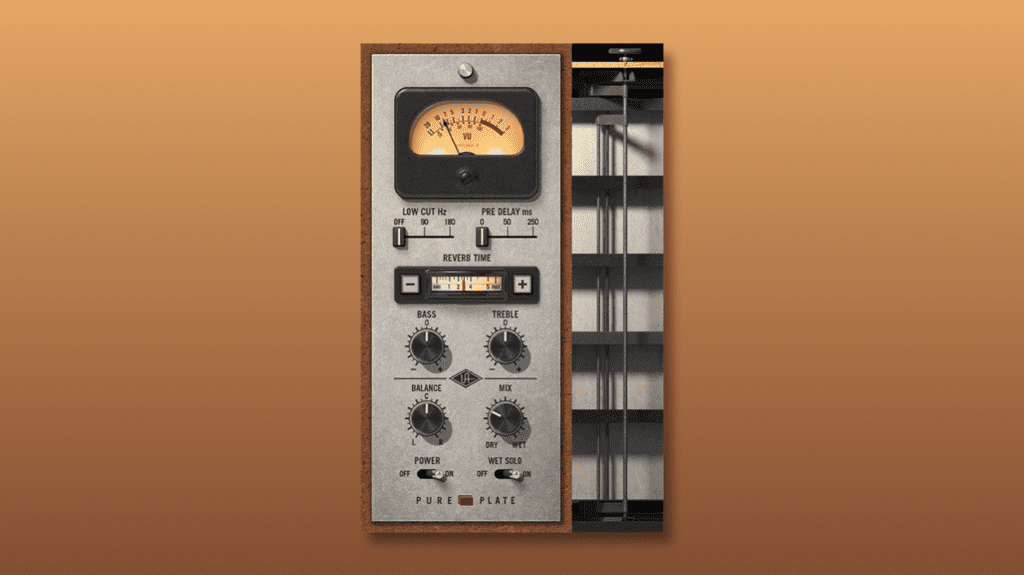
Plate reverbs do not follow the same principle as hall reverbs. Indeed, it does not mimic a room, but a plate.
Plate reverbs were one of the first systems to appear in the audio world. To make it short, the physical principle is to send the signal (dry) through a transducer to a plate
The plate then vibrates thanks to the energy of the sent source and creates the reverb we know today as a « plate reverb ».
The sound of this type of reverb is very warm and rich.
C. Spring Reverb
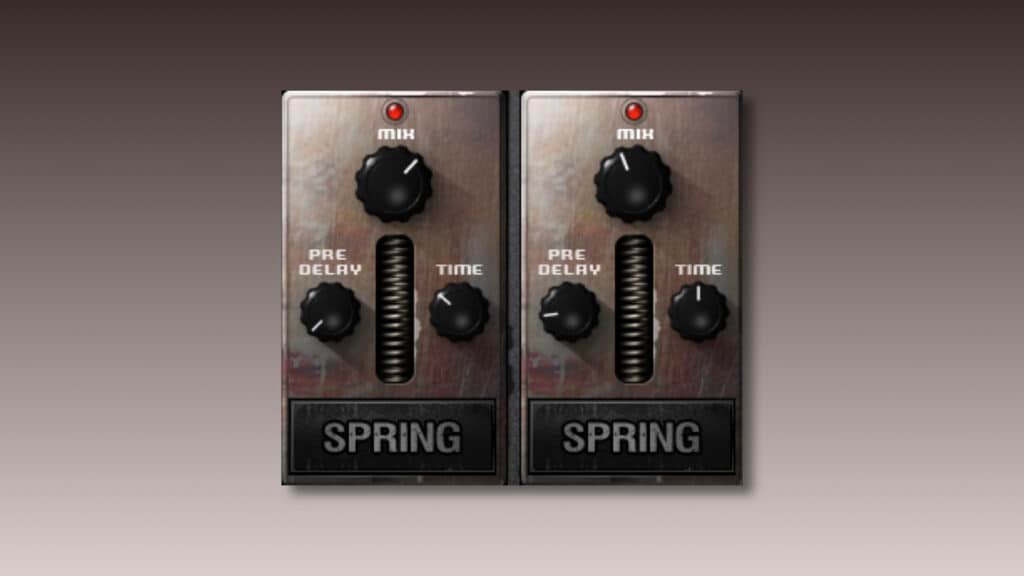
Spring reverbs are also one of the first reverb systems in the audio world. They follow the same principle as plate reverbs, except that instead of vibrating a plate, the system vibrates a spring.
The sound result of a spring reverb is much more typical. It can be compared to an ultra fast delay with a relatively high feedback.
It is very rare to use spring reverbs on vocals. Esthetically, the result is rarely what you are looking for in the world of music.
D. Chamber Reverb
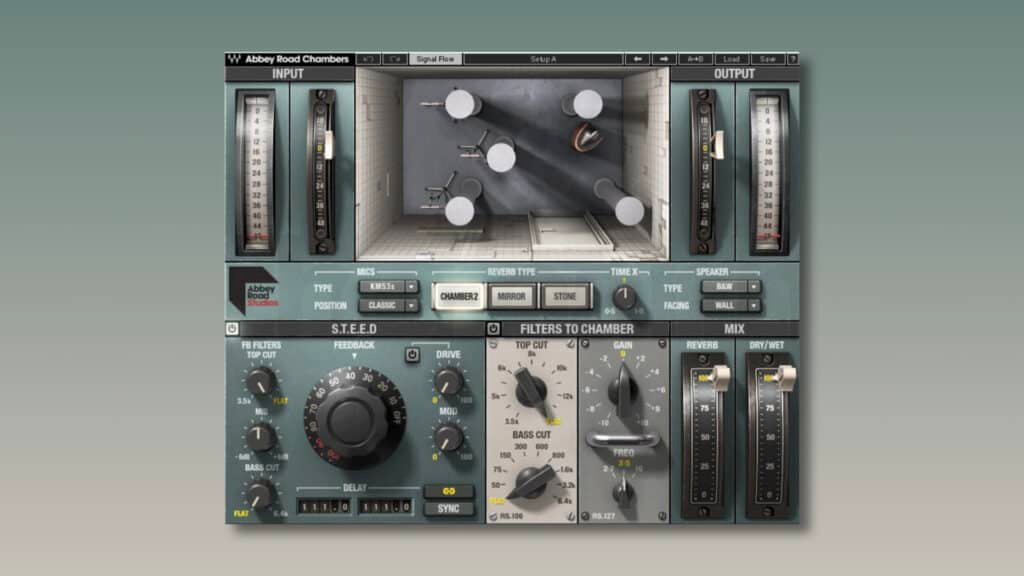
Historically, chamber reverbs were the most difficult reverb systems to set up in the analog era. Indeed, only the biggest studios had them.
The principle is the following: From the dry signal, send it through audio cables to speakers located in a room (the camber). This signal is then reverberated in this room in a natural and physical way and captured by microphones also located in this room.
This « wet » signal is then sent back to a (usually) stereo track and is blended with the dry signal.
Chamber reverbs are quite similar to hall reverbs, but the rooms are smaller, so the energy of the early reflections is very strong and the reverb tail is brighter. The balance between vocals and reverb must be very precise.
E. Room Reverb
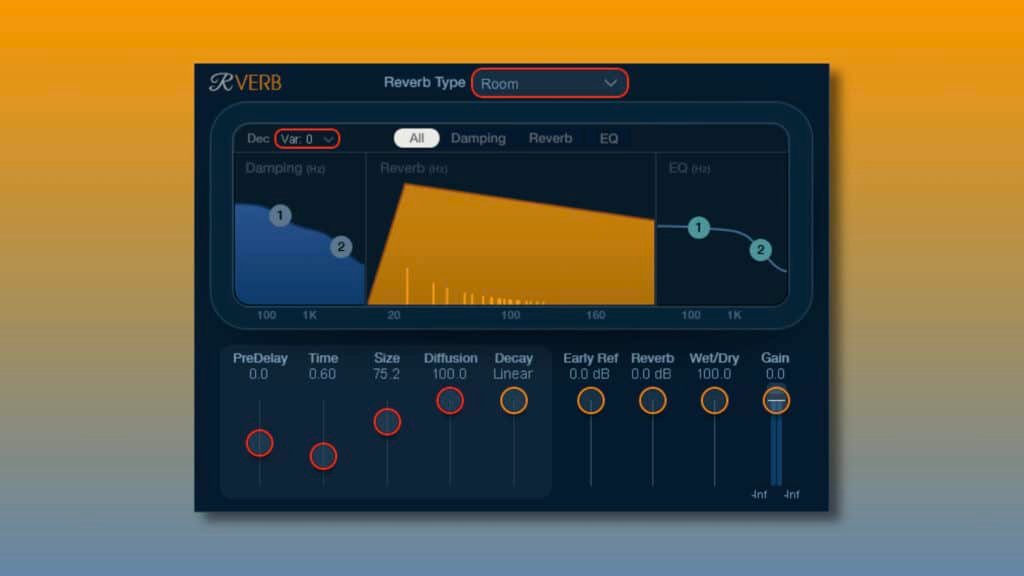
Room reverbs follow exactly the same principle as the hall reverbs. The only difference is the room that is imitated.
The room reverbs are indeed much more natural in the sense that they imitate more common places and with dimensions that are close to what we encounter daily. It can be rooms, garages, studio live rooms,…
We often use them not to give more space but rather to put some elements in the same ambience and with the same depth.
ℹ️ There are so much reverb plugins on the market nowadays… it can become difficult to choose the right one! I should help you through this article: Top 5 Reverb Plugins For Vocals In 2023
As you can hear in these audio examples, each type of reverb sounds very different from the other. Choosing the wrong type of reverb can directly kill a mix, even if the rest is good.
If you are at the beginning of your learning process of music mixing, I have only one advice to give you: try! Only by trying different reverbs will you train your ears and be able to make faster decisions in the future.
Need a professional sound engineer specializing in pop and hip-hop mixing ? Great! Take a look at our services and let’s blow up your career together!
Let’s start now!
3. Adjust the decay
For many music mixing enthusiasts, reverb means long tail. And the longer the reverb tail, the more space there is in the mix. This is not true!
The decay time can vary greatly depending on the vibe and universe of the track you are working on. A 6 second reverb could be perfect for one song and totally unsuitable for another.
Also, long decay reverbs are more difficult to control because they can quickly clutter the mix and mask details. So it’s always a risk, especially when you don’t really know what you’re doing.
It is difficult to establish typical cases of decay time. But here are two tracks that will certainly help you to choose the decay time:
A. Short Decay (0,1 to 1,5 seconds)
Choosing short decays is often a matter of privileging the intimacy of the piece. It will often be room reverbs or very short hall reverbs.
Moving towards shorter decays gives the listener the impression that the singer/rapper is in a relatively small room. Naturally, the feeling of closeness will be felt more.
With this kind of decay, be careful with the balance between vocals and reverb. Too much room can make the listener think that the recording was not done properly.
B. Long Decay (3 to 10 seconds)
A longer decay will naturally produce an effect that is often called atmospheric. The vocals will seem to be in a bright, breathing place.
In fact, with long decay reverbs, you have to think in reverse and ask yourself, « Do I have enough room in the song to fit a long reverb tail? »
By asking yourself this question, you can quickly find out if you really need a long decay for the song you are working on.
Last tip…
Always keep in mind that mixing is about creating a united universe. Of course, it is important to create depth and therefore not to use the same reverb on each element. But why not listen to the instrumental solo and ask yourself what the vocals would fit with?
I sometimes use the reverb of a synth or melodic element myself to give direction to my reverb choice. It can be very helpful!
ℹ️ Want to discover what is the most creative reverb on the market nowadays? Here it is! Raum | Native Instruments : Why You Should Get This Reverb Now
4. Adjust the pre-delay
The pre-delay is often the forgotten parameter when adjusting a reverb. However, it is almost as important as the choice of reverb type and decay time.
But what is the purpose of this parameter? What exactly does it change? What does it influence? I’ll give you all the answers now!
In a reverb, the pre-delay is the parameter that determines the amount of time after which the first reflections become audible.
The pre-delay allows to play on the depth of the reverberated source. The longer the pre-delay, the closer the source will appear. This seems rather counter-intuitive, but if we rely on the reverb of a room, it is totally logical.
Let’s take the following situation, you find an empty concert hall with a lot of reverb and a singer is on stage.
- If you are close to him/her, the direct sound will reach your ears very quickly, while the first reflections on the side walls will take time to reach your location. The pre-delay will be long.
- If you are far from him/her, the direct sound and the first reflections of the reverb will reach your ears almost at the same time. The pre-delay will be short.
In pop music, the pre-delay is sometimes pushed to the extreme to increase this feeling of proximity with the lead vocal. Once again, you just have to try it, listen to the sound result and adapt the parameter accordingly.
5. Filter The Reverb
This is probably the most interesting and rewarding of the 6 tips in this article. If you are still a beginner in the field of music mixing, this is surely the one that will give you the most professional knowledge.
In fact, you should know that finding the right reverb is the first step towards good mix quality, but sometimes it is not enough. I don’t mean of course that it will never be enough, but you might need more to get what the song really needs through the mix.
A filter. This is sometimes the element you need to get the « perfect » reverb for your vocals. By filter, in this case, I mean an EQ or any tool capable of modifying the frequency spectrum of the processed source. Let’s take a closer look.
A. Muddy Reverb
Some reverbs, especially flats and rooms, can produce a kind of overload in the low-mid range. This kind of excess frequency should not be allowed to escape.
A slight cut of 2 to 3 dB with a wide enough bandwidth is usually sufficient to get rid of this excess and to clear up the general frequency spectrum. The critical zone is usually between 200 and 300 Hz.
To do this, I advise you to use a full-parametric EQ to control the Q. Do not hesitate to bypass and un-bypass your EQ to compare the results and find the best results.
B. Sibilance Excess
In some reverbs, when they take a certain place in the mix, you can sometimes hear a kind of disturbing « ssss » that doesn’t really belong in the mix.
In fact, it’s all the sibilant sounds that, due to their energy, are stretched out in the reverb tail a bit too obviously.
To get rid of it, simply decrease the frequency range between 6 kHz and 9 kHz. Depending on the vocal, this area can sometimes be more localized. A tighter Q would therefore be more suitable.
C. Lack of stereo
Most of the time, reverbs that are too mono are not very pleasant to listen to. They give a feeling of confinement and lack of openness that should be avoided.
The simple solution would be to use a stereo imager to widen the reverb on the left and right channels. But this kind of tool can be risky, especially for the phase of the two channels.
An efficient solution could be to use an EQ with a MS (Mid-Side) split capability. With a tool like this you can then cut the mid-range of the mono signal very widely. This will widen the stereo image impressively and without degrading the phase.
Don’t forget, if you do this, to push the output of the EQ by a few dB to balance the output level with the input level. Gain staging is the key to a professional mix!
6. Add special effects (if needed)
We, as mix engineers, are not doing a technical job, we’re doing art! We have to be creative in our music mixing process.
Creativity is limitless, and it is even less so with the evolution of technology that constantly pushes the limits of human creativity and imagination.
In the context of mixing, why stop at just sending auxiliaries into a reverb and delay and leave it at that? Let’s push the limits! Here are some ideas to explore in your next mixes.
A. Chorus/Phaser
Chorus and phaser are great tools to make a signal travel from right to left in the stereo image.
Modulating the reverb with one of these two effects can, in some cases, bring a very retro touch that could be completely appropriate in synth wave music.
Of course, this must remain light and not too « obvious » for the listener, at the risk of degrading the contribution of the reverb itself.
I’m personally a big fan of Waves’ MondoMod which allows you to create a panner, phaser and chorus within the same plugin. With a reverb, it can add an extra dimension.
ℹ️ In vocal mixing, you can do a ton of things with a chorus at hand, I talk about it more in depth here: What Is a Chorus Effect ? How To Use It With Vocals ?
B. Distortion
Distortion on a reverb? Seriously? Yes sir! Well, obviously, if you’re still an amateur in the field of music mixing, I wouldn’t advise you to venture too much into this, but it can sometimes work very well!
The principle is to choose a very low threshold distortion (the reverb level not being very high) and to adjust the mix knob from 1% to 5% depending on the plugin used.
This will add a very atypical color in the high-mid range that can work very well in pop music. Try it, in a subtle way, of course!
Soundtoys’ Devil-Loc plugin is a monster for this kind of thing.
ℹ️ Distortion is a tool that can instantly make your vocals sound pro… if you use it well! Read more here: How To Use Distortion On Rap Vocals
C. Send to a delay
Well, I have to admit, I haven’t used this technique hundreds of times in the last few years. But in some cases, it has completely transformed the atmosphere created by the reverb.
The principle is to use a send in your reverb track to send it to a delay aux. Ideally, this delay should be a ping-pong to really create something atypical.
This will create a kind of modulation of the reverb by the delay in parallel and give a certain movement whose rhythm will be guided by the delay rate.
In the last few weeks, I have become very fond of Slate Digital’s Repeater. A great delay that will work very well in this context.
Need a professional sound engineer specializing in pop and hip-hop mixing ? Great! Take a look at our services and let’s blow up your career together!
Let’s start now!
Conclusion
It’s a fact, using reverb on vocals is not something easy to master, but following these steps can quickly improve your mixes in general. What is important, behind all this, is to rely on the universe of the song. A reverb that doesn’t fit with the universe highlighted by the singer is a bad reverb. Think about it!
If you have any questions about that topic or about anything in the field of vocal mixing, please contact me, I’m always very happy to help!
Related Articles:
My favorite tools for mixing pop and hip-hop music:
Plugins
In the field of auto-tune, I’m convinced that nothing’s better and more efficient than Antares Auto-Tune Pro. As for the EQ’s, FabFilter Pro-Q3 and Slate Digital Infinity EQ are, in my opinion, the best tools. For compression, I have 2 favorites plugins: Waves RComp and UAD EL8 Distressor.
As for reverb, I’m a big fan of the Soundtoys Little Plate, but generally, I go for the Valhalla VintageVerb for its versatility. I also love the Arturia Rev PLATE-140 and the UAD Pure Plate for its organic side.
Headphones
The closed headphones I love and will always love using for mixing pop and hip-hop music are the Beyerdynamic DT-770. As for the best open-back headphones, I use the Sennheiser HD600 headphones, and I’m really happy of them!
Monitors
Having a pair of Yamaha HS7 in its studio or home studio is always cool for more excitement while listening to your mixes. The Adam Audio T7V monitors are also super accurate. In my studio, I also have a pair of Genelec 8030 for their reliability.
Hardware gear
For anyone who wants to start using hardware in their mixes, I always recommend these 2 units from Klark Teknik: the EQP-KT and the 76-KT. Don’t forget to use good converters, such as the Apollo interfaces. This is essential for a good rendering.


