In the world of rap music, vocal clarity and presence are key to delivering powerful performances. But achieving that perfect vocal sound isn’t just about dry, upfront takes. It’s about knowing when and how to use reverb effectively.

When applied properly, reverb can add depth, texture, and a sense of space to rap vocals without losing the sharpness and punch that this genre demands. In this post, we’ll dive into 9 professional tips for using reverb on rap vocals to help you create mixes that stand out while keeping the vocals crisp and impactful.
1. Use an auxiliary

This advice may seem basic to you. But in the context of this article on reverb use, it’s essential to remember: in vocal mixing, delay and reverb effects are not used as inserts.
Why not? Quite simply because you won’t have total control over your reverb if you use it as an insert. And most of the advice I’m going to give you in this article won’t be applicable.
For many, the reason they don’t want to use their effects as auxiliaries (i.e. using a bus to feed the reverb in parallel) is because it takes longer to set up. And… it’s true! But in a world where templates are music producers’ best friends, there’s no excuse!
My best advice, if you want to save a lot of useless minutes when mixing vocals, is to create a template where your sends to different effects are already ready. This way, you won’t have to create an auxiliary and link them via a bus – the job will already be done.

To give you an idea, here’s what my “lead vocal” track looks like in my rap mixing template. Yes, you see, 9 effects are ready to use! And it’s probably saved me many hours since I’ve been doing this job as a sound engineer.
ℹ️ If you want to learn more on the use of auxiliaries, I recommend you check this article on Why And How To Use Reverb In Auxiliary?
2. Use reverb sparingly

If you listen closely to all the biggest rap hits of recent years, and even decades, you’ll notice one thing in common in 95% of cases. That common thread is the very minimal use of reverb on vocals.
Let’s not forget that rap, despite its evolution towards the mainstream, remains an underground musical genre, which aims to be rawer and drier than other musical genres. And overuse of reverb can very quickly break this down and make your vocal mixes sound less… rap.
Professional mixing engineers have understood this, and use very little reverb in their mixes. Try to follow this approach!
Even if, as a beginner, reverb can be a very “satisfying” element in a mix, it can quickly distance you from the “pro” vocal mix you’re looking for. Always bear in mind that, when mixing rap vocals, it’s better to have a mix that’s too dry than too wet. In short, don’t overdo the good stuff!
ℹ️ Want to explore the best reverb plugins for vocals nowadays? You’ll find everything you need in this article: The 9 Best Reverb Plugins For Vocals In 2024 (Any Budget)
3. Don’t think too big
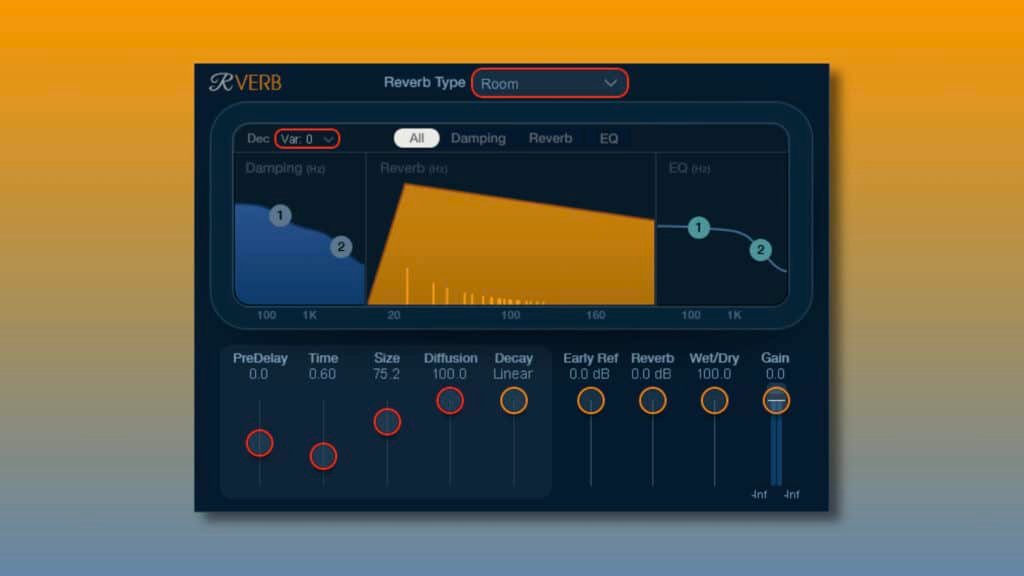
When the word “reverb” is mentioned, many novice sound engineers think directly of a lush, big, airy element in a mix. But it’s not! And if you have this belief, you absolutely must put it out of your mind if you want to mix rap vocals like a pro.
Because in rap mixing, the big hall reverbs that many people associate with the word reverb very rarely have their place. When it comes to mixing rap vocals, pro mix engineers more often opt for shorter, more impactful and punchier reverbs.
Here again, the reason is simple: to leave as much room as possible for the lead vocal in the arrangement. A short room reverb or a muffled plate reverb will have a harder time getting the better of a lead vocal than a long hall reverb. And that’s exactly what we’re looking for in a rap mix: to leave as much room as possible for the lead vocal.
A shorter reverb choice will also enable you to keep all the precision of the vocals, and therefore maintain a certain punch in the transients. But that’s not the only advice I have for enhancing this “precision” aspect. Let’s talk about it in the next point.
4. Pre-delay is crucial
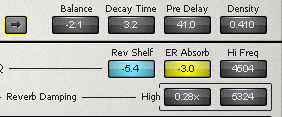
Have you ever heard of the word “pre-delay”? Perhaps you’ve already said to yourself that this isn’t a very important reverb parameter, that “it doesn’t make much difference to the result I get from my reverb”. Well, if that’s the case, think again: in vocal mixing, pre-delay is essential!
But first of all, what is the pre-delay of a reverb? In short, pre-delay is the time interval between the original sound and the onset of reverb. And this little delay, which is usually counted in tens of milliseconds, has a big impact on the way our ears perceive the balance between direct lead vocals and reverb.
I’m not gonna beat around the bush: in rap mixing, sound engineers favor long pre-delays. This mixing choice allows the vocal transients to come through clearly without being masked by the reverb.
To give you an idea, you can start with about 20 milliseconds of pre-delay san strop to ask questions, and adapt according to how you feel. Some mixing engineers go very far with pre-delay, going as far as 50 milliseconds… or more! My only advice is to tweak that pre-delay knob back and forth and trust your ears!
5. EQ your reverb

As I said at the start of this article, the advantage of using your reverb as an auxiliary is that you have total control over it. You can apply the most extreme processing to your reverb without altering the slightest detail of your lead vocal. But what’s really interesting is that you can EQ your reverb.
And in most cases, when you’re mixing rap vocals, the use of an EQ is essential to create space for each element of your mix. Some reverbs have an EQ implemented in their interface, but most don’t (or have an overly simplistic EQ). In any case, I advise you to use an EQ external to your reverb plugin for maximum precision in your processing.
Although I don’t have a “magic trick” (which, by the way, doesn’t exist in music mixing), I can give you a few typical cases of reverb equalization.
- High-Pass Filter: Many reverbs has an excess in the bass range, which can increase muddiness in your mix. You can clean this up by using an high-pass filter around 100-150 Hz to avoid this issue
- Low-Pass Filter: The opposite can happen too! Some reverbs might sound too bright and gritty, which can translate in something aggressive for the ears. Use a low-pass filter to counteract this issue.
- Sibilance area: The sibilant sounds of some vocals might hit the reverb too hard. You can reduce the area around 6-8 kHz to avoid this kind of issue
But one voice is not the other! Always adapt your use of EQ to your needs.
6. Choose the right type of reverb
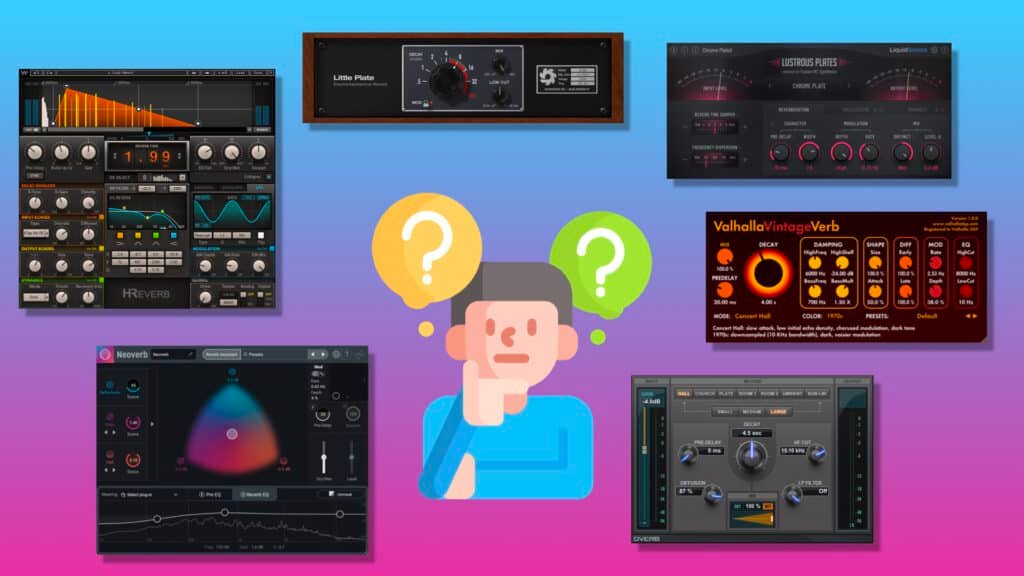
Earlier in this article, we highlighted the fact that shorter reverbs are often better suited to rap vocals. But if you really want to achieve pro mixes, you’ll also need to be careful about choosing the right type of reverb.
In the world of music production, there are several types of reverb: hall, plate, room, spring and chamber. And each has a very different sound.
In rap vocal mixing, the two types of reverbs most often favored by professional sound engineers are plate and room reverbs.
Plate reverbs offer a naturally warm, organic and light sound, and keep the lead vocal in the foreground even at slightly higher decay times.
And room reverbs because their decay time is particularly short, enabling you to maintain a certain precision and punch in rap vocals.
Of course, it’s up to you to explore what’s available in your plugins and evaluate what best suits your needs. The aim here is also to explore the different types of reverb to get your ear used to the different sounds that each reverb produces.
ℹ️ If you want to have an efficient method to follow when it comes to choosing the right reverb for your vocals (which I recommend), I’d advise you check out this article on How To Choose The Right Reverb For Vocals
7. Use automation

If I had to list the main differences between amateur and pro mixes, one of the first would be the use of automation.
As a reminder, in music production, automation is the process of automatically controlling changes in parameters, like volume, panning, or effects, over time within a track. It allows you to adjust these settings dynamically without manually making changes during playback. All DAWs on the market have this feature.
There may be many reasons to automate your reverb(s): a syllable that is too aggressive, a sibilance that stands out too much, a section of the song that is intended to be more intimate…
Basically, automations do two things:
- Maintain a certain continuity and balance of reverb throughout the song
- Give the track depth and relief, by insisting on it in more aerial moments, and reducing it in more intimate, close-up moments.
Although it may seem subtle, I can promise you that if you track your reverb automation properly, you’ll get much closer to a pro mix than if you don’t use any at all.
8. Check in Mono
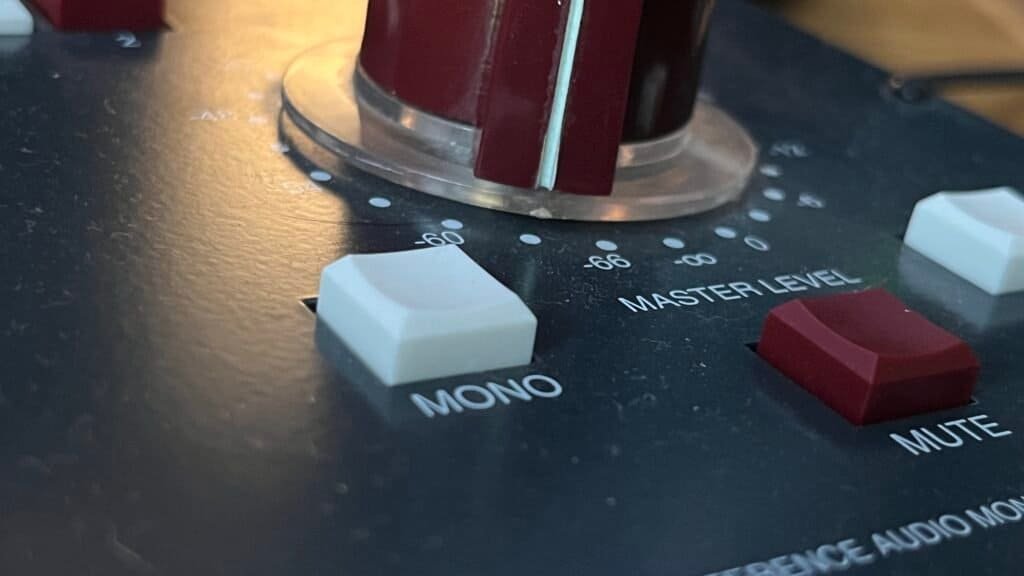
When using reverb in vocal mixing, always bear in mind that a large proportion of your future listeners will hear your mix in mono. The two most typical cases are smartphone speakers and portable Bluetooth speakers.
This is why you need to make sure, before making your final choice, that your reverb sounds good in mono too, and that there are no phase problems.
Generally speaking, if you don’t do anything special with your reverb, you’ll have nothing to worry about. But the problem can arise when you overuse the width knob that some reverb plugins have.
Yes, width is nice. But it can’t go against a good mix in mono!
9. Play with the parameters
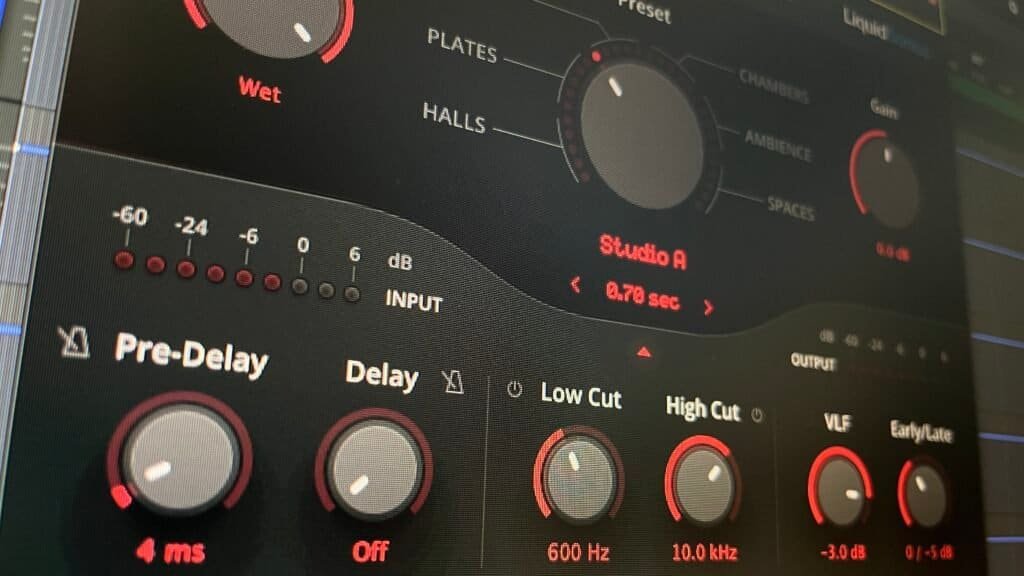
And my final piece of advice on using reverb on rap vocals is simply to explore, experiment and play with the different parameters of the reverb plugins you use.
All those little hidden parameters you never normally use, explore them! That’s how your use of reverb in vocal mixing will become more and more effective and optimal.
By practicing and trying things out, you’ll find it easier and easier to know exactly which parameter to modify to get the reverb sound you have in mind.
And then, honestly… without a little experimentation, we’d get bored!
Conclusion
As you can see from this article, using reverb on rap vocals isn’t just about adding a reverb of some kind and letting it play throughout the song.
If you want to get close to what pro mixing engineers do, you need to be able to take the time to dwell on the little details that will make a big difference to the quality of your mixes.
Of course, all the advice I’m giving you here is just a direction to explore, not a magic recipe that works 100% of the time. Also, take the time to experiment. With a little patience, that’s how you’ll be able to use reverb on rap vocals like a pro!
If you have any questions about this topic or about anything in the field of music production, please contact me, I’ll be happy to help you!
Related articles:
My favorite tools for mixing pop and hip-hop music:
Plugins
In the field of auto-tune, I’m convinced that nothing’s better and more efficient than Antares Auto-Tune Pro. As for the EQ’s, FabFilter Pro-Q3 and Slate Digital Infinity EQ are, in my opinion, the best tools. For compression, I have 2 favorites plugins: Waves RComp and UAD EL8 Distressor.
As for reverb, I’m a big fan of the Soundtoys Little Plate, but generally, I go for the Valhalla VintageVerb for its versatility. I also love the Arturia Rev PLATE-140 and the UAD Pure Plate for its organic side.
Headphones
The closed headphones I love and will always love using for mixing pop and hip-hop music are the Beyerdynamic DT-770. As for the best open-back headphones, I use the Sennheiser HD600 headphones, and I’m really happy of them!
Monitors
Having a pair of Yamaha HS7 in its studio or home studio is always cool for more excitement while listening to your mixes. The Adam Audio T7V monitors are also super accurate. In my studio, I also have a pair of Genelec 8030 for their reliability.
Hardware gear
For anyone who wants to start using hardware in their mixes, I always recommend these 2 units from Klark Teknik: the EQP-KT and the 76-KT. Don’t forget to use good converters, such as the Apollo interfaces. This is essential for a good rendering.


