In music production, there are essential steps to follow in order to achieve a quality result. These 6 stages of music production allow to build each song in a structured and productive way.

Here are the 6 stages of music production:
- Songwriting
- Arrangement
- Recording
- Editing
- Mixing
- Mastering
Before We Start…
Before we dive into the subject, keep in mind that 6 stages are an ideal path to follow to get good general quality before releasing your song. And also that these are theoretical stages of music production.
The reality will always deviate more or less slightly from this theory. Because sometimes there are backtracks, unexpected or last minute additions,… A lot can happen during these stages. Especially in the pro world.
But it’s important to always try to stay as close as possible to these 6 stages of music production. Because they help boost your productivity and efficiency. But also to keep a structured mind in order to be more lucid and creative.
If you are an amateur musician, artist, singer or rapper, you will see that knowing these 6 steps can greatly improve the overall quality of your music.

Get inspired!
Above all these steps of music production, there is one big step to practice every day: get inspired! Because yes, without inspiration and creativity, it is simply impossible to initiate anything musically.
Inspiration goes through many fields, and developing this point could become very philosophical. But when it comes to music production, listening to music everyday should be the basis of your inspiration.
It’s simple, but extremely effective.

What is music production?
Music production refers to the process of creating and shaping a song through very specific technical and artistic activities. Music production can be seen as a process that brings a simple musical idea to a releasable song. From conceptualization and composition to recording, mixing, and mastering, music production is the technical and artistic process that brings music to life.
Artists themselves can play a big role in the process of music production. But this process is often carried out by professional music producers. They play an essential role in guiding the artist(s) to ensure the final product meets the artistic vision and technical standards.
In essence, music producers are skilled facilitators and creative visionaries who bring together various elements to craft a cohesive and captivating musical experience. They combine technical expertise with artistic intuition to guide the production process and shape the final sonic result.
Now that you know exactly what is music production, let’s see what are those 6 stages of music production!
1. Songwriting

The very first stage in music production will always be songwriting. The principle is simple: build the basis of your song.
Songwriting is the creative process of crafting original lyrics and melodies to create a song. It involves the art of combining words, emotions, and musical elements to convey a message, tell a story, or evoke a specific mood or feeling. Songwriting is a fundamental aspect of music creation, serving as the foundation for the music that artists and musicians bring to life through performance and production.
It is important to keep in mind that the word “songwriting” is not limited to writing lyrics. It also refers to the melody, the chord progression, the musical universe and potentially a base of instrumentation.
ℹ️ Do you know the difference between songwriting and composition? The answer’s right here: Songwriting vs Composition: What Is The Difference?
Lyrics
In the vast majority of cases, the lyrics will be the very first stage of music production. Indeed, in the most popular and modern genres, the voice is always the main element of a song.
This means that writing words and phrases that make sense as an artist will guide everything that follows later. Especially the emotions to be transmitted through the song.
In the music production process, the lyrics will also guide the structure of the song. Verses, choruses and bridges of all kinds will be found in the lyrics and will serve as a basis to structure the song.
It is not always necessary to write all the lyrics at the beginning of the writing process. Sometimes a few lines are enough to move productively into the rest of the production process. So… if you’re a singer or rapper who can’t write entire songs at once, don’t worry, it’s normal.
Melody and chords progression
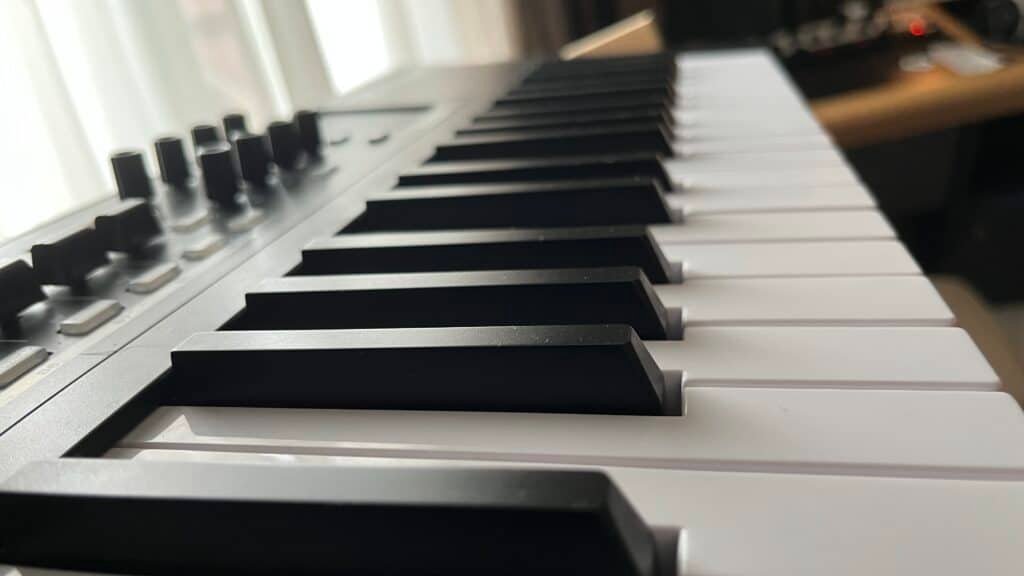
I’m not teaching you anything here: music is a succession of chords and melodies that form a harmonious whole. And it is as soon as possible that you must be able to build the chords and melodies of your song.
In theory, these chord sequences should be written on a score or by some other written means. But since the access to technology in the field of sound is getting easier and easier, any means is good to build chord progressions.
You can for example easily record on your phone a chord progression on piano or guitar. If you have access to a DAW, you can also build your chord progression with any polyphonic virtual instrument you have access to.
Be inventive, anything is good as long as your chord progression is easily accessible for the rest of the music production process.
Rythm, tempo, vibe,…
Rhythm, tempo, general vibe of the song,… all these elements will be worked on later in the process. But nothing prevents you from already having an overall idea of what your song will look like in terms of rhythm and universe.
It’s not necessary to determine all these aspects of your song precisely yet, but… the more you anticipate, the more productive you will be in the next stages of music production.

2. Arrangement

At the composition or songwriting stage (the two terms are very similar), the song might sound flat, lifeless and lacking in refief. Yes, even the greatest hits go through this phase! And that’s where the arranging phase comes in!
Arrangement can be seen as the blueprint that shapes the overall structure, flow, and emotional journey of the music. This phase involves deciding how different musical components, like verses, choruses, bridges, and instrumental sections, fit together to tell a captivating story.
At its heart, arrangement is about organization and creativity. It’s where the song’s architecture takes shape, determining when instruments enter and exit, how the dynamics ebb and flow, and how the energy builds and releases.
The arranging phase involves looking at the song from several angles to achieve the best results. Here are a few of them…:
Sections
When the songwriting phase is over, the sequence of sections (verses, choruses, bridges, etc.) is not always very clear.
The arranging phase will then enable you to clearly determine at what point in the song each phase occurs, and how often (two or three choruses, for example).
The music producer will also choose the right transitions between each section, to try and keep the listener’s attention right to the end. It’s all very strategic!
Dynamics and energy
Just like the rise and fall of emotions in a gripping story, dynamics and energy in music arrangement create a captivating musical journey that keeps listeners engaged and emotionally invested.
In other words, to captivate the listener’s ear for several minutes, you need to be able to create differences in energy and dynamics throughout the song.
By playing with the volume and intensity of each section, you’ll automatically add more depth and emotion to the song. This will also allow the whole instrumental to support the singer/rapper’s message.
Instrumentation
The choice of instrumentation within a song, but also within each section, is crucial to achieving a quality arrangement.
Generally speaking, more instrumentation goes hand in hand with more energetic sections. Quieter sections, on the other hand, are generally more restrained in their instrumentation.
In addition to highlighting the different sections of a song, the choice of instrumentation will also give a certain identity, vibe and specific artistic direction to the artwork.
In modern music production, the term “instrumentation” does not refer exclusively to organic musical instruments (guitars, basses, strings, brass, etc.). It also takes into account what is digitally generated.
You can therefore consider any sound that has an influence on the evolution of energy over the song as being part of the instrumentation.

3. Recording

Once the song has been well defined through the arrangement phase, a very important phase begins: recording. In music production, this is the stage at which the song can really begin to come to life.
At this point in the music production process, initial ideas that were merely words and chord progressions are translated into performance. This is where the real emotions to be conveyed can be captured.
But contrary to what many people think, there’s a lot more to recording than pressing the “record” button. Microphone placement, preparation, coaching, choice of preamp, attitude… There’s a lot to consider, and here are some of the most important:
Preparation and planning
As mentioned in the previous paragraph, recording requires more than simply capturing a sound source. It requires preparation and precise planning.
The preparation phase as such is less important for vocal recording only. This is becoming more and more common in places such as home studios, at fairly random times.
But for more significant recording sessions (drums, instruments, backing vocals, etc.) preparation is crucial. You’ll need to determine the location, the time you’ll need to schedule, the microphones you’ll need to use, the producer(s) or sound engineer(s) you’ll need, as well as more specific things like an input patch or even something to satisfy the artists’ thirst and appetite.
For a good recording, you need to be able to pay attention to all the smallest details that could boost overall productivity.
Microphone choice and placement
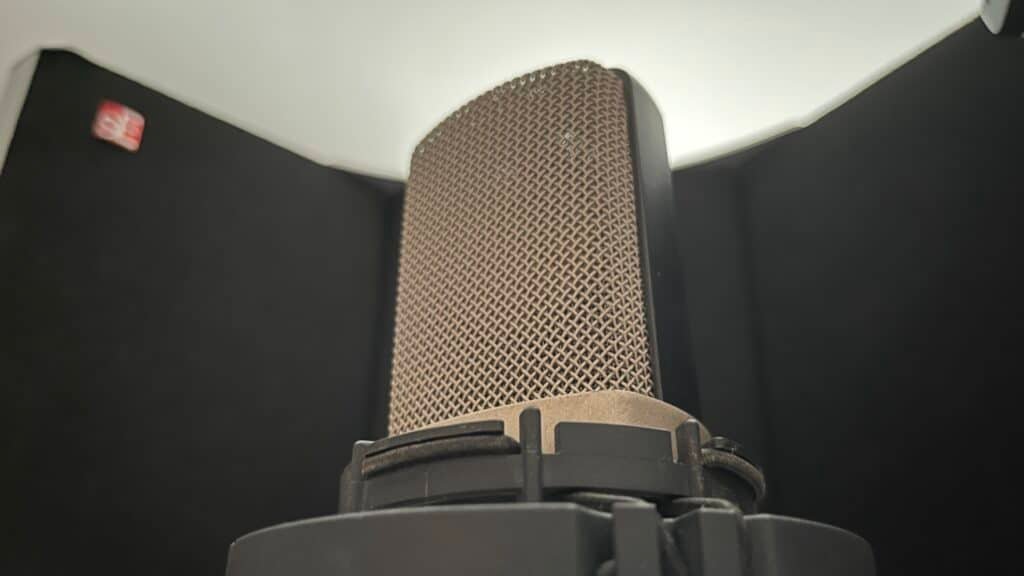
Nope, you can’t do everything with a quality large-diaphragm mic! Well, actually, you could, but in the professional world, it’s essential to try to get the sound you want right from the start.
That’s why mic selection and placement are so important. Because this will considerably modify the tone and color of the source to be recorded. Whether it’s a voice or a kick drum, the difference between different mics is often huge.
The most telling example is probably the recording of a guitar amp. As this is a very harmonically rich source, changing the mic or its placement will quickly make itself felt.
My best advice for making the best choice of pickups and placement is to… try! That’s the only way you’ll find the right mics for every recording situation faster and faster.
ℹ️ Besides the choice of microphone, the preamp used is also of great importance, especially in vocal recording! In this article, I’m going to tell you about The 9 Best Mic Preamps For Recording Vocals (Any Budget)
Coaching
Few artists don’t need or want to be coached by the producer or engineer who records them. 95% of artists need to feel that they are not alone in wanting to get the best out of their performance.
That’s why recording is also a phase during which the producer has a lot of coaching and artistic direction to do.
If you’re a producer or recording engineer yourself, take the time to coach the artists recording in your presence. Or at least offer them some ideas. The chances of getting a bad reaction are extremely low.
Takes and comping
The art of selecting the right takes from a recording is far from easy. And above all, the producer must always try to suggest different artistic directions to get the best out of the artist(s).
Few recording sessions require only one take. It can happen, but if it does, both the producer and the artists need to be sure!
Generally, 4-5 takes are needed to get the best performance from the artist(s). Anything less, and you risk not getting the best out of the artist. More can be tiring and counterproductive. You have to be able to find a happy medium with the artist.
Once all the takes have been recorded, it’s time to select the best ones for the final mix. This is called comping. This requires a high degree of organization within the session.

Pre-mixing
“We’ll see at the mixing stage”. It’s the classic line from producers or recording engineers who lack a little experience in music production.
As I was saying earlier with the choice of microphones and their placement: it’s essential to shape each sound as early as possible in the process. Doing a bit of pre-mixing during the recording phase is the best way to sculpt your sound.
Whether in terms of frequency or dynamics, or even in the choice of effects (reverbs or delays), you should never hesitate to jump into the mixing stage right from the first take!
In the professional world, producers often make pre-mixes that could almost already be on air, which makes the task of the mixing engineer much easier.
Of all the stages in music production, recording is probably the last one where you can rework the arrangement. After that, things get a lot more complicated.
This can range from simple sample additions to modifications of the overall structure. It’s by recording that you can discover whether certain ideas don’t belong in the arrangement or whether, on the contrary, you need to add certain elements to the instrumentation.
Remember: just because there are specific stages in music production doesn’t mean you have to stick to them all the way through. Anticipating the stages that follow or going back over the previous ones is very common, even in the professional world.

4. Editing
Before moving on to the recording stage, we must first go through an editing phase. This is an often underestimated stage in amateur music production. But what exactly is editing?
In music production, editing refers to the process of manipulating or replacing recorded audio or MIDI data to improve the overall quality, timing, and structure of a song. In short, editing aims to obtain a seamless and polished final product. Editing plays a crucial role in enhancing the precision and coherence of a song before it is mixed and mastered.
This stage of music production is a crucial step, as it helps transform raw recordings into something clean. It requires both technical skill and creative decision-making to achieve the desired musical outcome.
Editing includes several types of sound manipulation. Some include everything to do with tempo. Others include everything to do with pitch. These are the two main types of editing.
Let’s take a closer look at what can happen during the editing phase!
Tempo editing
Whether it’s vocals, drums or guitars, the takes chosen may not necessarily be right on the tempo. And in modern music, in most cases, rhythmic precision is essential.
This doesn’t mean that every rhythm section has to be edited down to the millisecond. The human touch (slightly out of sync with the tempo) is often worth keeping. But a certain rhythmic coherence must be maintained throughout the song.
These days, tempo editing is pretty easy thanks to the DAWs we have in our computers. By correctly cutting and manipulating recorded audio clips, editing can be very quick.
The instrument that can take a long time to edit is the drums. It’s a rhythmic element that often contains a lot of information per second. Whatever the rhythmic intentions, this requires a lot of attention to detail.
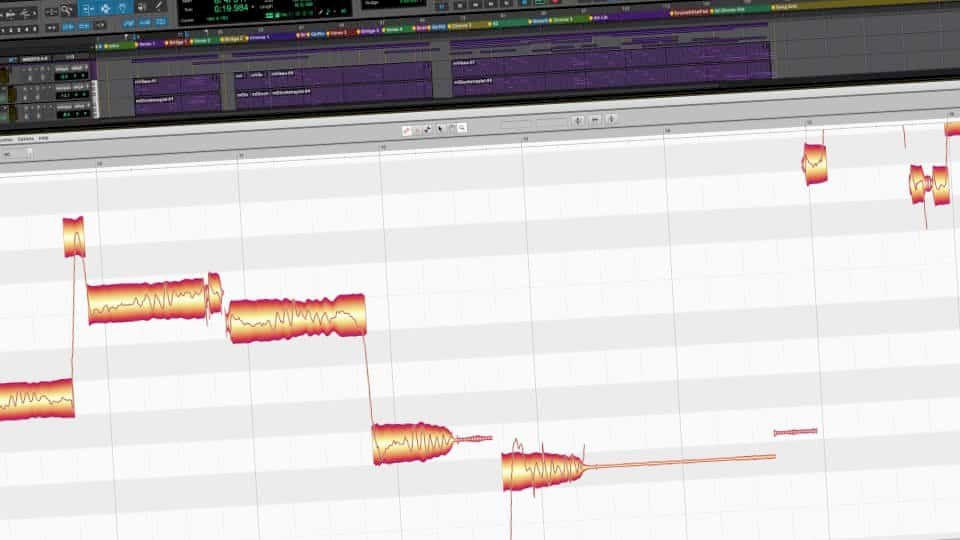
Pitch correction
In today’s music production, and especially in pop music, melodic accuracy is crucial to hook the listener’s ear throughout the song. And as everything is never perfect at the recording stage, it is often necessary to go through a correction phase.
Pitch correction is generally carried out on vocals, but it may also be necessary on monophonic instruments (trumpets, flutes, clarinets, etc.). It all depends on the instrumentation being recorded.
And even if, in some situations, pitch correction is simply not necessary, it generally plays a very important role in the music production process. Pitch correction can be carried out in two ways:
- Automatic tuning, more commonly known as auto-tune. Allows you to correct the pitch of a monophonic source in real time and according to a certain retune speed. The best-known plug-ins are Auto-Tune Pro X, Waves Tune Real Time and Metatune.
- Manual tuning. As the name suggests, this allows you to correct the pitch of a sound source manually. Nowadays, manual pitch correction tools are so advanced that they can also work with polyphonic sources. Melodyne is the best-known tool in this field.
ℹ️ There are many different auto-tune plugins on the market today, but what are the best ones? I tell you everything about it in this article about the The 9 Best Auto-Tune Plugins For Vocals (Any Budget)
Cleaning
During the recording phase, a lot of “dirt” can get into the takes. Instrument/mouth noise, background noise, or other unnecessary parasites… These must be removed as soon as possible to prevent them from becoming clearly audible.
ℹ️ Vocal breaths are one of those things that have to be controlled for a pro result. If you use Pro Tools, this article should be very interesting for you: How To Clean Vocal Breaths In Pro Tools
This can take a lot of editing time. But it’s important to take care of it. Parasite is not necessarily audible within a mix. But if you add another, then another, and so on… the situation can become more critical.
Unless the situation calls for it, you have to get rid of ALL potential parasites to avoid problems. And the later in the process you clean up, the less accurate it will be. Because the brain will eventually stop hearing them as the process goes on.
ℹ️ And by the way, do you know the difference between a noise gate and noise reduction? Evrything’s explained in detail right here: Noise Gate Vs Noise Reduction: What Is The Difference?
Creative aspect
Behind all these seemingly technical and boring aspects of editing lies a very creative and artistic side. Editing can go far beyond correction and cleaning.
Editing can in fact also be a phase where the manipulation of sounds, their duration, pitch, placement or tone, becomes a way of completely changing the artistic intention of the song.
For example, a producer might decide to play with the pitch and formant of certain vocal syllables to create something completely different from the initial sound. This is where the creative aspect comes into play.
There are thousands of ways to play with sound. Whether over a millisecond or entire blocks, editing can give a song a unique shape.

5. Mixing
Once the track has been completely arranged, recorded and edited, it’s time to mix it, to make the separate tracks more harmonious and powerful. But what exactly is music mixing?
In music production, the mixing stage is the process of blending and balancing individual audio elements to create a cohesive and polished product. Mixing music involves adjusting various parameters like volume levels, panning, equalization, compression, reverb, and other effects to achieve clarity, depth, and a pleasing sonic balance in the overall sound of the track.
The goal of mixing is to enhance the overall impact and energy of the music, ensuring that every element contributes harmoniously to the final listening experience.
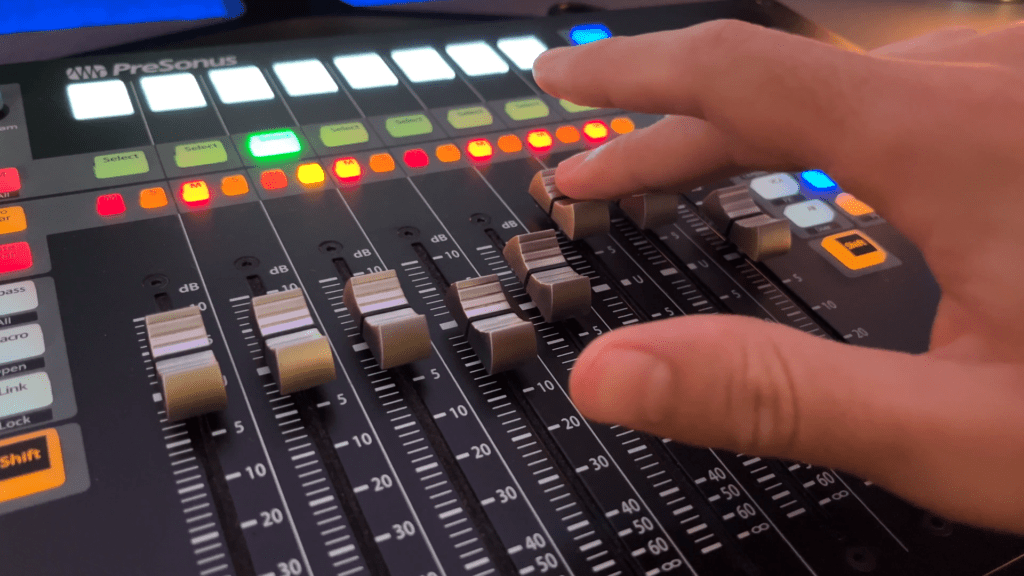
Music mixing can be carried out using either a DAW (Pro Tools, Logic Pro, etc.), hardware (notably a mixer) or a hybrid In The Box + analog system.
The most widespread way of mixing today is 100% digital, for its ease and accessibility. But analog still retains a richness that many experienced producers and sound engineers appreciate.
ℹ️ You mix vocals? You want to know all the essential steps of vocal mixing? Then this article is for you: The 8 Essential Steps Of Vocal Mixing | The Ultimate Guide
Here are the main areas of music mixing:
Balance
This is probably the most important area in music mixing: balance. Balance is the step that consists in adjusting the volume of each separate track to obtain the most coherent whole possible.
Achieving a proper balance ensures that each instrument, vocal, and sound effect can be heard clearly and contributes effectively to the overall sonic landscape of the song.
For the best results, even before weighing in, you need to be able to determine the place of each element in the mix.
It’s not always a question of choosing the volume of each element according to its “importance” in the mix. It’s also essential to have a clear idea of their depth.
Modern music mixing is all about creating a 3-dimensional image. And it always starts with the right balance. This step must always be given priority in the music mixing process.
ℹ️ Are you a beginner in music mixing? We all start somewhere! Here’s an article that will help you start the right way: How To Start Mixing Music As a Beginner?
Looking for a professional sound engineer specializing in pop and hip-hop music ? You’re in the right place! Mixing, mastering, production, editing,… we’ve got it all covered!
Let’s start now!
Equalization
When sounds are recorded, or even generated by virtual instruments or synths, they can have disturbing frequencies in the overall mix.
But certain frequencies can also be worth boosting to enhance the energy and power of the mix. The frequency adjustment of each track is essential to enable them to blend well and create a harmonious whole.
This is exactly where the equalization phase comes in. Thanks to equalizers (more commonly known as EQ), the frequency spectrum of each source can be processed and better integrated into the arrangement.
Full-parametric EQs (such as FabFilter Pro-Q3) are the most popular digital EQs in music production. They allow you to adjust the frequency, gain and width (called Q) of each available band.
In short, EQ allows each source to express itself in the best possible way within the mix.

ℹ️ Should you place your EQ before or after compression? It depends on what you want to hear! Everything’s explained here: Vocal Mixing: EQ Before Or After Compression?
Dynamic processing
An unmixed track can sometimes lack dynamic control. In other words, the song doesn’t yet offer a stable, constant and controlled listening experience.
Another problem often encountered in music production is that some tracks lack energy, punch or power. They don’t deliver what’s needed to make the listening experience more exciting for listeners.
To counter these problems, dynamic tools such as compressors can be used. In audio, compression reduces the difference between the lowest and highest levels.
That’s the theory! In reality, the correct use of compression in a mix has a huge impact on the overall energy and punch of a track. As you can understand, compression can actually make certain elements of the mix punchier and more energetic.
Certain types of compressors, such as FETs, can also considerably change the color and tone of the processed source. Making it richer in harmonics, but also warmer.
ℹ️ In music mixing, an advanced type of compression is widely used in the professional world: it is called parallel compression. I tell you everything about it in this article: Parallel Compression : Definition And Applications
Effects
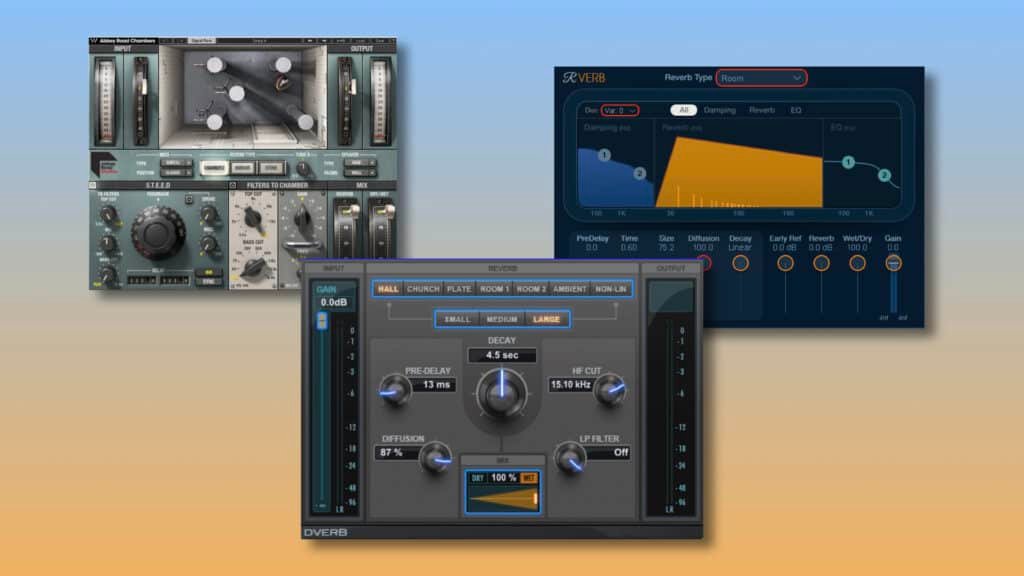
To add depth to the mix, but also to create space and vibe within the song, the use of effects (reverb and delay in particular) is essential. But what are they exactly? And how do they differentiate?
Reverb is a natural acoustic phenomenon that occurs when sound waves reflect off surfaces in an environment, creating a series of echoes that blend together. In music production, reverb is used to simulate the acoustic environment in which the sound is played, adding a sense of space and realism.
Delay is an effect that creates repetitions of a sound at a specified time interval. Delay can be used to create rhythmic patterns, add space, or produce unique sonic textures.
ℹ️ Blending delay and reverb is key for pro mixing results. In this article, you’ll learn everything you need to know to do so: How To Blend Reverb And Delay With Rap Vocals
By combining several reverbs and delays in the right way within a mix, the song can become more coherent in terms of space and depth. Creating a unique atmosphere for listeners.
The choice of reverbs and delays will always depend on the artistic vision of the song, but also on the genre, the desired atmosphere and the place of each element in the mix.
Automation
These days, the technology of the audio world allows us, producers and mixing engineers, to give a lot of movement and life to our mixes. And it’s all thanks to the principle of automation.
Automation is a process that allows users to control various parameters and settings of each track over time. In other words, automation is a tool that allows you to write and save parameter values as you go along in a project, and let the software read them back in on replay.
It involves creating changes in these parameters to add movement, variation, and dynamics to the music. Automation allows you to fine-tune and shape the elements of a song, making it more expressive and engaging.
Simple as it may seem, the principle of automation has completely revolutionized the audiovisual field. Because it makes it possible to create movement that is potentially impossible to reproduce by hand. It’s an under-used tool in music production, but an extremely powerful one!

6. Mastering
And now for the very last stage in music production: mastering. This is the stage that allows the final details of a mix to be fine-tuned for release or upload to platforms.
But what exactly is mastering? And what does it involve?
Audio mastering is the final step in the music production process, where a mastering engineer improves and elevates a finalized mix to reach a seamless and unified overall sound. Mastering involves applying final touches such as equalization, compression, stereo enhancement or soft saturation.. It aims to ensure consistency in volume, tonal balance, clarity, and overall quality across all tracks on an album or project, while translating well across different playback environments and formats.
Mastering is a stage that requires impeccable attention to detail on the part of the recording engineer. That’s why it’s often sound engineers with a highly trained ear who are designed to handle this stage of music production. These are the mastering engineers.
Precise equalization and compression are the basis of a good master. But other tools can also help the mastering engineer achieve the best results.
Equalization
As in the mixing phase, a touch of frequency equalization is often one of the priorities in mastering. But in the case of mastering, it’s a more subtle and lighter equalization (at least if the mix is of high quality).
In modern mastering, full parametric EQs with linear phase are often highly appreciated by mastering engineers. Without going into too much detail, a linear-phase EQ ensures that no phase distortion is created on the source being processed. In concrete terms, equalization becomes much more precise and clean.
But whatever the EQ used, the primary aim of equalization in mastering is to correct frequency zones that may sound too cluttered or disturbing for the ears. But also to slightly enhance the areas that make the mix as exciting as possible.
Compression
In audio mastering, at least in music, the main purpose of compression is to make the mix more powerful, energetic and punchy. You’ll often want to emphasize transients.
This is why mastering engineers generally use slow-attack, fairly transparent compressors such as VCAs. Used properly, this type of compressor adds a lot of punch, without distorting the nature of the sound.
This kind of compression also makes it possible, quite naturally, to “glue” the elements of a mix together. To make them sound like a whole rather than several separate elements. The result can be stunning!
Stereo enhancement
Quite often, a final mix lacks stereophonic width, sounding relatively cluttered in the middle of the stereo image. This is where the mastering stage comes in, to widen/enhance the stereo.
Indeed, a good stereo widening gives the listener a feeling of immersiveness, especially on headphones.
But stereo enhancement is proof that in audio mastering, too much is never good enough. In fact, too much stereo enhancement can lead to serious phase issues when switching to mono. So use sparingly!
Soft saturation
When saturation is used subtly on a sound source, it adds a harmonic richness inimitable with an EQ. It often makes the processed source more exciting to hear.
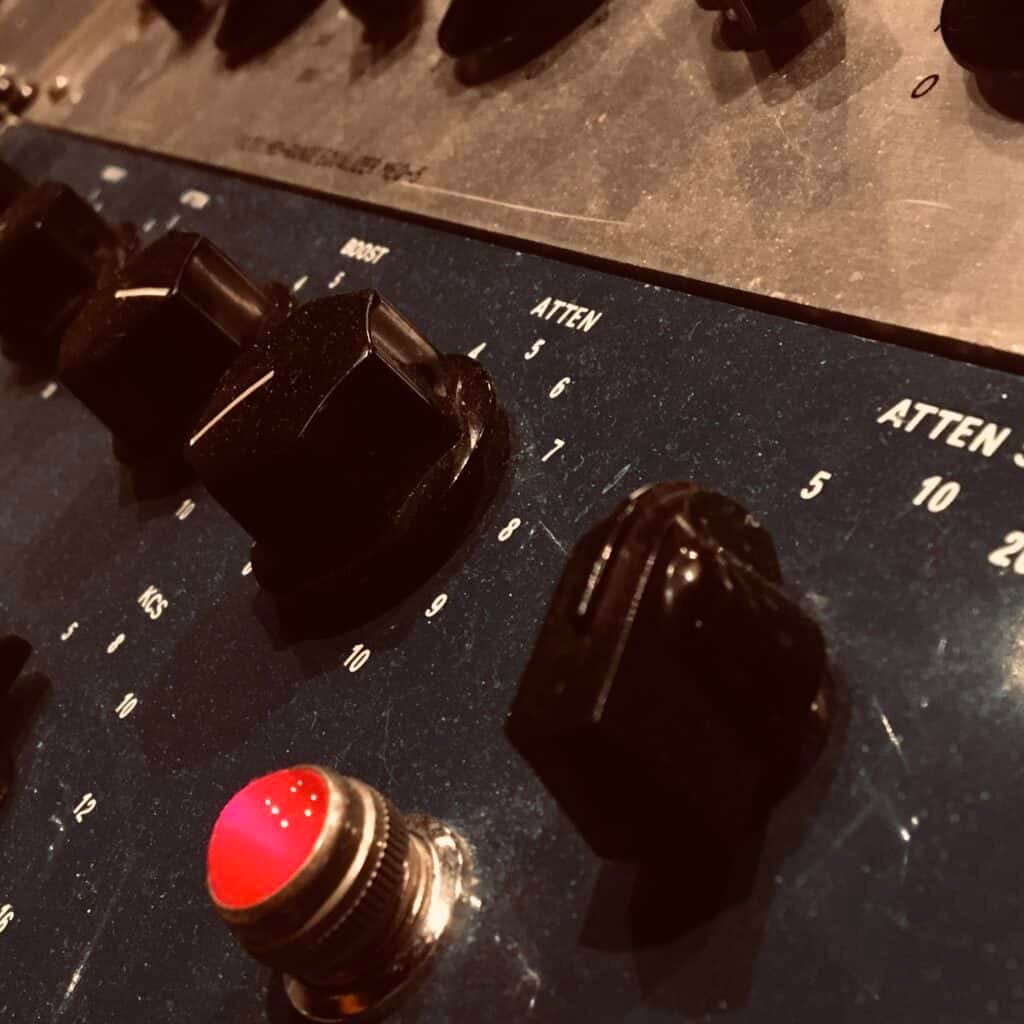
That’s why it’s such a popular tool with mastering engineers. Devices such as the Black Box Analog Design HG-2, the SSL Fusion or the SPL Vitalizer are much appreciated on masterbuses, and for good reason!
These machines (also available as plug-ins) give incredible life to mixes. As well as adding color to the mix, they compress the processed source lightly and naturally.
Saturation is probably the most under-utilized mastering tool in the amateur world. Yet it can make all the difference!
Limiting
To bring a mix up to standard, you need to boost the overall volume quite drastically. But compression in its proper sense is not enough. You need a tool that really doesn’t let any signal pass above a certain threshold. This is where the limiting principle comes in.
A limiter is in fact a type of compressor with a ratio of ∞:1. This means that any incoming signal above the chosen threshold is literally ” squashed ” by the limiter. It’s ideal for boosting the volume of a mix, making sure it doesn’t exceed 0dBFS or 0dBTP.
But every limiter has its limits (lol you’re welcome for the joke). Because anything that is squashed automatically creates saturation, or more precisely, in this case, clipping.
Clipping can be interesting if it’s gentle (soft clipping). But it can also create a very unpleasant result if the gain reduction becomes too significant. Like all mastering tools, it should be used sparingly.
ℹ️ But after all, is it worth paying for professional mixing and mastering services? I recommend you read this article if you want to know whether or not it’s worth it for you: Is It Worth Paying For Professional Mixing And Mastering?

Conclusion
In the vibrant world of music production, each stage is like a brushstroke on a canvas, contributing to the masterpiece that is a finished song. From the spark of inspiration in the composition phase to the meticulous crafting of sonic elements in the arrangement phase, and finally, the refining touch of mastering, every step is a journey of creativity and dedication.
Remember, there’s no one-size-fits-all approach. Whether you’re an aspiring artist, a producer with years of experience, or simply a music enthusiast, embrace the beauty of experimentation. Embrace the twists and turns, the highs and lows, for they are the building blocks of artistic growth.
Each decision you make, each detail you perfect, contributes to the magic that captures hearts and minds through music. As you embark on your own musical odyssey, may your passion drive you and your creativity guide you. Here’s to the artistry of music production – where science meets soul, and where sound becomes an unforgettable journey for both creators and listeners alike.
If you have any questions about the different stages of music production or about anything in this field, make sure to contact me, I’m always very happy to help!
My favorite tools for mixing pop and hip-hop music:
Plugins
In the field of auto-tune, I’m convinced that nothing’s better and more efficient than Antares Auto-Tune Pro. As for the EQ’s, FabFilter Pro-Q3 and Slate Digital Infinity EQ are, in my opinion, the best tools. For compression, I have 2 favorites plugins: Waves RComp and UAD EL8 Distressor.
As for reverb, I’m a big fan of the Soundtoys Little Plate, but generally, I go for the Valhalla VintageVerb for its versatility. I also love the Arturia Rev PLATE-140 and the UAD Pure Plate for its organic side.
Headphones
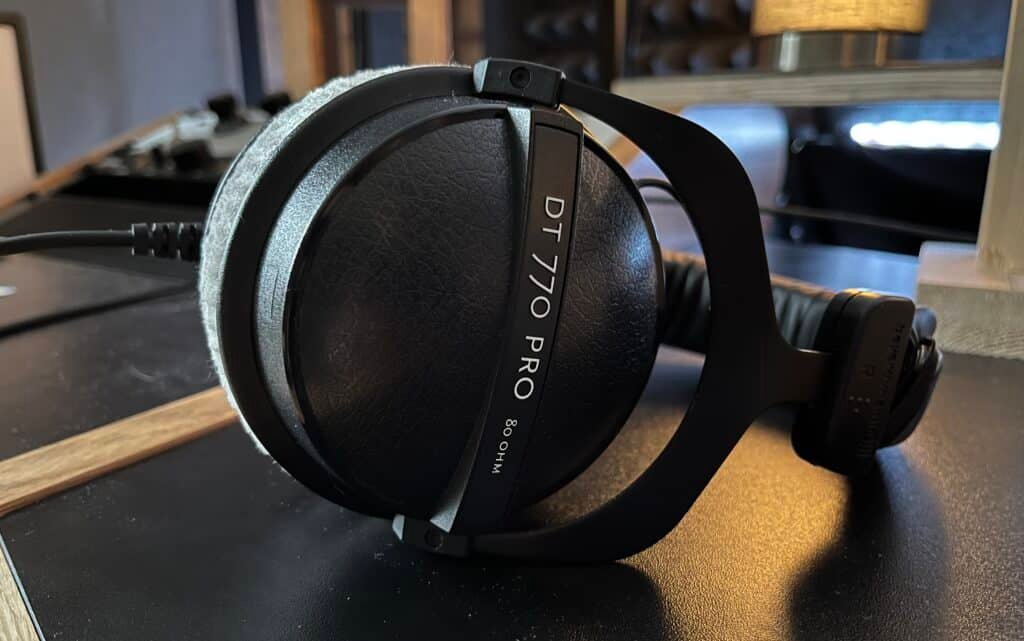
The closed headphones I love and will always love using for mixing pop and hip-hop music are the Beyerdynamic DT-770. As for the best open-back headphones, I use the Sennheiser HD600 headphones, and I’m really happy of them!
Monitors
Having a pair of Yamaha HS7 in its studio or home studio is always cool for more excitement while listening to your mixes. The Adam Audio T7V monitors are also super accurate. In my studio, I also have a pair of Genelec 8030 for their reliability.
Hardware gear
For anyone who wants to start using hardware in their mixes, I always recommend these 2 units from Klark Teknik: the EQP-KT and the 76-KT. Don’t forget to use good converters, such as the Apollo interfaces. This is essential for a good rendering.
Related Articles:


