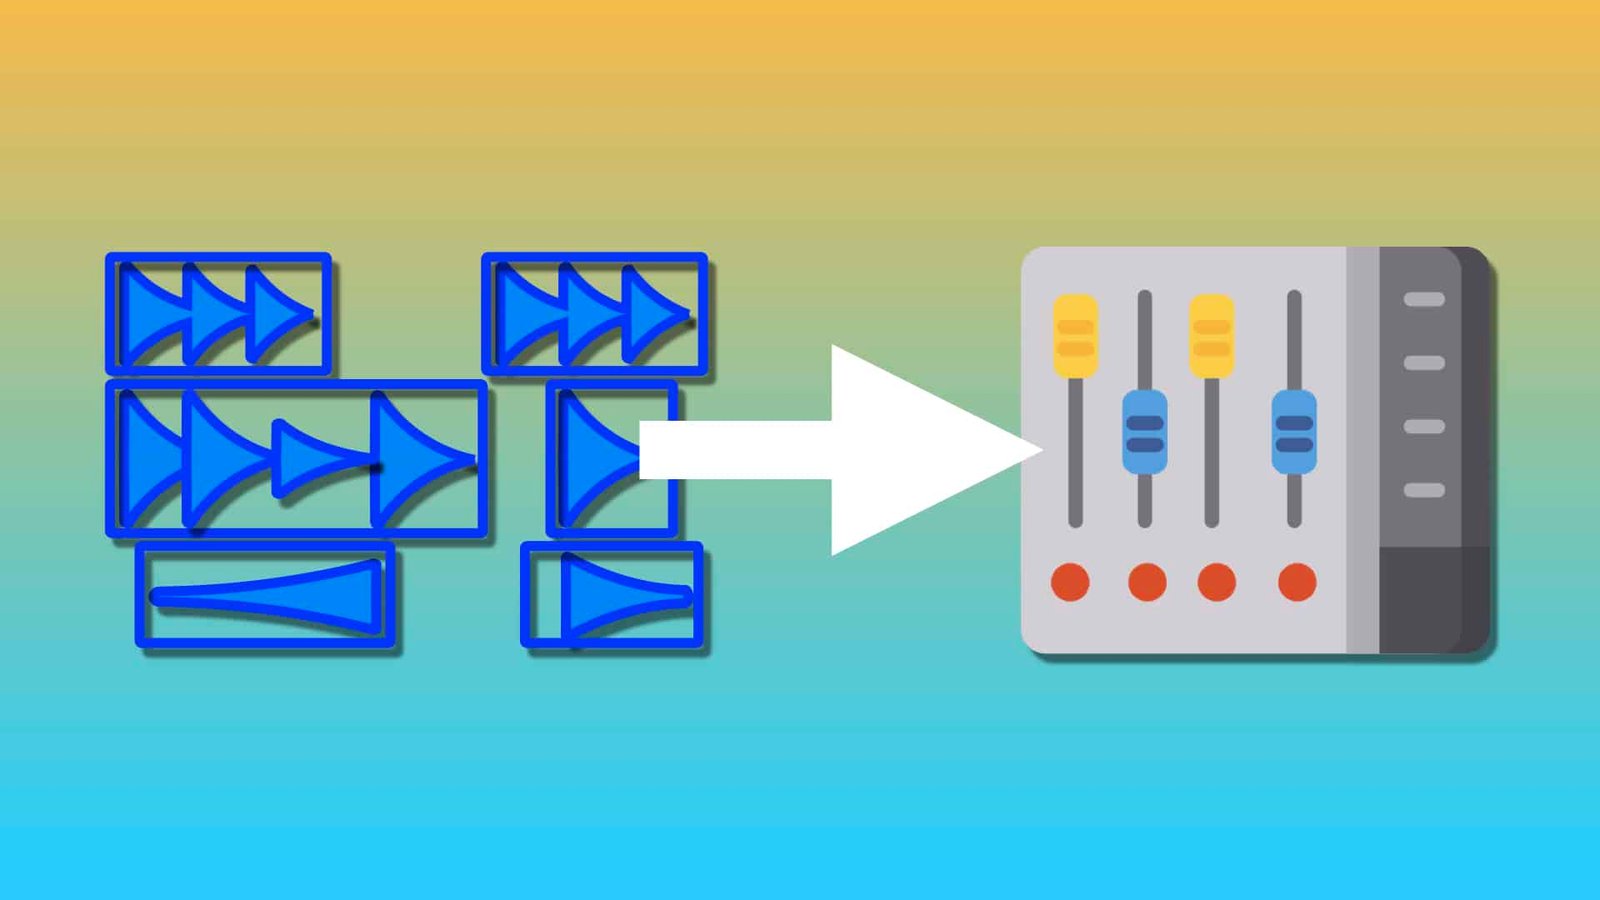
Finished recording your song? Found the mixing engineer you were going to work with? Now it’s time for sending tracks. But how do you do it the right way? In this article, I give you 9 essential steps to follow to send your tracks to a mixing engineer.
Here are the 9 steps for sending audio tracks to a pro mixing engineer:
- Make sure everything is well recorded
- Make a rough mix
- Name and label your tracks
- Consolidate each track
- Remove effects, EQs and dynamic processing
- Export tracks in the right file type
- Organize your folder
- Communicate deadlines
- Give the engineer artistic directions
Some of these steps are more important than others, but applying them all 100% will ensure that you maintain a good (and professional) relationship with your mixing engineer. Each of these steps, despite the time some of them take, will also save you a lot of time, believe me!
Before starting…
Exporting tracks to a mixing engineer often requires a lot of changes in all the settings of the session. In reality, this can quickly become a mess!
So before starting the export and send process, it can be very handy to copy the initial session somewhere and create a new one from it. Ok, I know it sounds complicated, right? Don’t worry, it’s actually very simple!
Most DAWs on the market have a « Save As… » option. Just click on it. From there, you just have to change the name of the session and a new session file will be created with this new name.
For example, from the « REC I Wanna See You » session, you will name it « REC I Wanna See You EXPORT ». Once this is done, any actions you take after this « Save As… » will change the new EXPORT session, but not the original session, which will remain as it was just before the session was copied.
You can of course choose not to do this, but you are putting yourself at risk!

1. Make sure everything is well recorded
Before doing anything regarding the export, it will be essential to make sure that everything is properly recorded.
But why is this so important? Well, simply because, for a mixing engineer, one of the things that most easily breaks a good mixing process is changing audio files during the revision period.
As an artist, singer, or rapper, you may not realize it, but changing files within a session can change a lot of things and waste a lot of time for your mixing engineer.
Here’s what you should focus on:
A. Clicks
Clicks are one of the sound engineer’s worst enemies. They are unpleasant to hear and can take the listener completely out of the universe created by the artist.
Clicks often come from poorly cleaned waveform cuts. Indeed, when you cut a file in a waveform, a click often appears, unless you are very lucky.
To avoid this fades in and out (or crossfade if two files are pasted) will be necessary. If you are using Pro Tools, you can select your whole session and press the F key. Fades will be added automatically wherever there are none. Very handy!

This kind of clicking is, as you can see, quite easy to manage. In fact, the « natural » clicks, those that come from the recording itself, can be more complicated to manage.
Natural » clicks can be caused by mouth noise, electrical clic, audio noise during recording,… In short, they can be anywhere and happen at any time during the recording process.
The problem is that some of these clicks can occur right in a waveform. So you have to cut the waveform to get rid of them. This requires very precise editing which can sometimes be an endless headache if you don’t know much about editing.
I recommend this plugin: iZotope RX10, which allows you, in a wink, to get rid of the clicks of a selected region according to a certain threshold and with a certain range.
This tool works great and can save you hours of work!
B. Bad takes
When you’ve spent hours recording, your ears get tired and sometimes overlook defects that are worth fixing.
Bad notes, rhythmic problems, technical problems, unexpected noises,… All these things can have defects that may come out very strongly in the mix. It is even very likely!
Redoing takes during the mixing process will annoy your mixing engineer who will have to re-download tracks and re-insert them into his session, as well as yourself, who will have to re-record takes that were supposed to be good.
Take the time to listen to each track one by one, or at least by group of tracks, it will probably save you more time than you think!
ℹ️ Generally speaking, you don’t need to clean up vocal breaths before sending anything to a mixing engineer. But if for some reason, you need to, here’s an article that should help you: How To Clean Vocal Breaths In Pro Tools
2. Make a rough mix
While all your tracks are still in place, take the time to make a rough mix!
The quality of the rough mix is not that important, it doesn’t have to be the mix of the century. It’s just a way to expose some ideas for a mix (if you have any) and to give a basis to the mix engineer.
In practice, the rough mix will be useful in two ways:
A. Artistic ideas
Even when clarifying certain ideas in writing or by phone, there is nothing better than hearing the idea in… audio!
If you have ideas for filters, delays, reverbs or anything else, expose them in your rough mix. Even if it’s not great quality, it doesn’t matter!
The important thing for the engineer is to have an idea of what you are looking for in your rough mix. Don’t forget that transcribing the ideas of artists or singers is simply their job. They will surely have no difficulty in translating your rough mix ideas.
B. Structure
It happens every day in the music production business: some files get lost, changed or moved and create misunderstandings between the client and the sound engineer.
To anticipate this kind of problem, exporting a rough mix is always a good thing. It allows to quickly identify lost or modified files and allows the mix engineer to get in touch with the client even before starting the mixing process.
Let’s take the example of a guitar that got lost in the transfer, but that you included in your rough mix (because you followed IDeez Studio’s advice, buddy!). The file won’t be in the folder you send, but the sound engineer will hear it in the rough mix and will be able to contact you to try to identify with you where the file got lost. Handy, isn’t it?
ℹ️ But actually, what does differentiate an amateur mix from a pro mix ? I give you the complete answer here: 5 Things That Differentiate An Amateur Mix From A Pro Mix
3. Name and label your tracks
Oh yeah! This point 3 is probably the most important but also the easiest to apply of this list: name the audio tracks!
When you send your tracks to a mixing engineer, he/she should know immediately which tracks correspond to what. There is no code for the file names, the important thing is to make it easy to identify the type of track.
❌ The typical case to avoid is tracks named automatically by the software, which usually look like this:

If you’ve ever sent this kind of file to a sound engineer, you are officially a real criminal my friend!
If you don’t name your tracks correctly, some engineers might even reject your submission and ask you to send back new tracks correctly named.
So I advise you to take a few seconds to name your audio tracks. Again, this is a small action that will surely save everyone a lot of time!
The next two steps are more complex than the others. Simply because the export mode can be very different depending on the software you use.
I will try to be as clear as possible in the explanations, but I will also try to be as broad as possible to make the explanations fit all DAWs.
ℹ️ Your files should always remain secure to avoid any loss of session. If you use Pro Tools, I recommend you to read this article: 4 Ways To Keep Your Audio Files Safe In Pro Tools
4. Consolidate each track
When you send audio tracks to someone (whether they are a mixing engineer or not) it is important to keep in mind that each track must start at exactly the same time.
This is because no matter what DAW you use, when importing audio files, the software will always place the files at the beginning of the session, no matter where they are in your session.
To make all the audio clips start and end at the same time, you will have to consolidate the session. In concrete terms, this means creating only one file per track.
To consolidate audio clips in Pro Tools, you can use the keyboard shortcut Shift + Option + 3 (Mac) or Shift + Alt + 3 (Windows) after selecting all your audio clips.

Now that the session is consolidated, each track has a new audio file associated with it, named after the track (hence the importance of naming at the beginning of the process).
In the case of Pro Tools, it could be that the system adds numbers like Lead 2.01_02, this is obviously to be removed for maximum comfort for the mixing engineer.
These files are now ready to be exported. It is important to note, at this stage of the process, that it is the created audio files that we will export, without the insert processing of each track.
This means that instead of choosing Bounce or Export as we would after a mix session to export the whole project, we will instead export the selected clips as files.
In Pro Tools, after selecting all the clip regions needed, simply click on the little arrow at the bottom right of the screen. Then right-click on one of the highlighted files and select « Export clips as files ».
Rest of the process: Point 6!

5. Remove effects, EQs and dynamic processing
⚠️ Depending on how you export your tracks, this step might be totally unnecessary. To keep it simple: If you use the file export technique as explained above, this step is unnecessary. So you can go to the next step. If you use a track-by-track bounce technique, it is imperative to proceed to this step.
Always keep in mind that a sound engineer likes to have total control over his tracks. to build the best mix possible. To do this, everything has to be ideally reset to 0.
The best example is probably the voice with the reverb. Many people who are new to this business often wonder if they should export the vocal with or without the effects. The answer is simple: without.
In fact, if you export your tracks with effects and frequency/dynamic processing, your engineer won’t be able to go back. So you’re actually making artistic AND technical decisions for him.
BUT, if you are sure of what you want and you don’t want your mix engineer to change this or that effect on this or that track, send them with effect. But you have to be 100% sure of your shot, and therefore potentially have a minimum of knowledge in the field of music mixing.
To make a long story short:
- If your knowledge of music mixing is limited, always send your tracks without effects and without dynamic or frequency processing.
- If you feel you have some knowledge of music mixing AND you want to keep some of the effects of some tracks intact, send those tracks with their effects and/or processing.

ℹ️ If you use a mixing engineer to mix your music, it’s probably because you feel like your mixes sound amateur. But, why actually ? I give you the 10 most common reasons here: Top 10 Reasons Why Your Mixes Sound Amateur
6. Export tracks in the right file type
Now that all the tracks are ready and well named, we can proceed to the export!
It is at this stage that you will have to be very careful with the type of exported file, because some can degrade the quality of the signal.
Here are the elements that you will have to pay attention to:
A. Mono or Stereo?
Some audio tracks are stereo, others mono. When exporting to a mixing engineer, it is important to respect this stereo image. Vocals, for example, will always be in mono.
If you don’t really know whether a track is mono or stereo, you can rely on what your DAW shows you in the track itself. Usually, in stereo tracks, a double waveform appears.
ℹ️ Do you know how to create a fake stereo ? I give you all the information here: How To Create A Fake Stereo – 5 Ways To Proceed
But what if I have some tracks in stereo and others in mono? It’s simple, you’ll have to do the export in two times. You will select « Mono » for the mono tracks and « Intervealed » or « Stereo » for the stereo tracks. Logical, in the end!
Need a professional sound engineer specializing in pop and hip-hop mixing ? Great! Take a look at our services and let’s blow up your career together!
Let’s start now!
B. Bit Depth
Most DAWs will allow you to export your audio tracks in either 16-bit, 24-bit or 32-bit. In short, the bit depth will reflect the overall dynamics of an audio signal.
Therefore, 32 bit could be preferred as a matter of course. But this is not always the case, as it will increase the file size for a result that is sometimes inaudible. In general, 24 bit is to be preferred.
But take into account the bit depth with which you have recorded. If the recording was made in 16 bit, it will not be of much use to change it back to 24 bit!
C. Sample Rate
The number of possibilities concerning the sampling frequency is quite large: 44.1, 48, 96, 192… What to choose between all these sample rates?
Initially, the golden rule in the audio world is this:
- In music, the sample rate will be 44.1 kHz
- In audiovisual (TV, cinema, documentaries,…), the sample rate is 48 kHz.
But in the last few years, things have changed a lot as far as the sample rate is concerned. Indeed, in music, the professional world tends to use 48 kHz until the mastering phase. Even, in rare cases and only in the pro world, 96 kHz.
Is the difference between all these sample rates really eloquent? Actually, not really. But it can be very interesting to use a higher sample rate at the recording stage if you know that the waveform will be modified quite drastically afterwards. For example, with the use of a pitch shifter.
In short, what should we learn from all this? In my opinion, the best way to get along with all the mix engineers is to record and export in 48 kHz. That’s it! Very few people will bother you with that 48 kHz sample rate.
D. File Type
Many people who are « new » to the world of music production choose mp3 as their export file type. Simply because it is the file type that the general public has known for many years.
BUT, this type of file is to be absolutely banned from the world of music production, and especially from mixing and mastering. mp3 is a lossy audio file type. And even if you don’t realize it, the digital compression of an mp3 conversion is huge.
The preferred file type when exporting for mixing is WAV. This is the most well-known and widely used type of lossless audio file in the music industry. It will take up more space, but this will not be a problem for your mixing engineer.

7. Organize your folder
Sound engineers are generally people who like to be organized. So they will also appreciate it if the too! It is therefore essential that the folder you send is organized as well.
In this folder, the bare minimum will be to put in the well-named tracks. If you think that an order will help the mix engineer in his process, insert numbers in the track names.
In the same folder, or in a sub-folder, you also insert your rough mix. This way, the sound engineer can either import it into his session or have quick access to it.
The great luxury, for us mix engineers, is also to receive, in this folder, a small Note file that includes all the mix directions you have to communicate.
The more things are centralized, the easier it will be for the mixing engineer to work quickly, efficiently and therefore, for you, to enjoy a high quality work!

8. Communicate deadlines
This point is not in itself the most important, but it can quickly become so when the turnaround time is not the same in the minds of the sound engineer and the client. This kind of situation can really break down a good relationship.
It’s up to you, as the client, to take the time to communicate your deadlines to the mix engineer before you even send your tracks. By doing so, you allow the engineer to anticipate your request and, in the worst case, to refuse it if he is not able to satisfy your request.
It’s a small thing that takes very little time and can keep your relationship with your mix engineer very good.
In your deadlines, you will generally have to specify the dates of:
- The first version of mix
- The final version (either mastered or to be sent to the mastering engineer)
- The release date of the project
These 3 points are essential
9. Give the engineer artistic directions
Don’t leave your mixing engineer in the dark about the artistic directions you’d like to take. Some things that seem obvious to you may not be obvious to him/her.
And even if the directions you give are very broad, it’s better than nothing! It’s important to keep in mind that some engineers have very, very directed artistic visions of mixing, which might not match yours.
Artistic directions are usually about the following:
A. Aggressive/Smooth
Would you like to have something more aggressive or softer? Does it have to be extreme or should we aim for some soft/aggressive touches?
This aspect is very important for a mix engineer because it will determine many of his/her initial decisions.
Some tracks with a very « calm » universe are sometimes mixed in a very aggressive way in terms of dynamics and frequency spectrum. The opposite can happen too!
So this is to be communicated in priority.
B. Atmospheric/Intimistic
Generally, the atmospheric or rather intimate side is largely concerned with effects like delays and reverbs. Giving details about this aspect will probably give the mix engineer a lot of guidance in his choice of effects.
Don’t hesitate to get straight to the point and give indications about potential effects you would like to hear in the mix.
C. General directions
The ideas in your head can go in any direction. Communicate them! Many people are afraid to communicate their ideas to their mixing engineer because they think they are not using the right language. Honestly, you have to get that idea out of your head.
Keep in mind that the job of a mixing engineer is to translate the ideas, emotions and feelings of their clients into music. They are all aware that you are not a professional in this field and that your language will sometimes be approximate.
So if I have one piece of advice to give you: communicate ALL your ideas.
Need a professional sound engineer specializing in pop and hip-hop mixing ? Great! Take a look at our services and let’s blow up your career together!
Let’s start now!
Conclusion
Yes, sending your audio tracks to a mix engineer is not just about exporting and sending. And even if some of these points seem like a waste of time, they all have the same goal: to make everyone’s life easier.
It also allows you to have a professional contact with your sound engineer, which is very important in this business. And… who knows, maybe you’ll get some discount coupons because you get along so well with your mix engineer!
In the end, the cleaner and more organized the track sending, the better the final quality of the mix, I can assure you!
Related Articles:
My favorite tools for mixing pop and hip-hop music:
Plugins
In the field of auto-tune, I’m convinced that nothing’s better and more efficient than Antares Auto-Tune Pro. As for the EQ’s, FabFilter Pro-Q3 and Slate Digital Infinity EQ are, in my opinion, the best tools. For compression, I have 2 favorites plugins: Waves RComp and UAD EL8 Distressor.
As for reverb, I’m a big fan of the Soundtoys Little Plate, but generally, I go for the Valhalla VintageVerb for its versatility. I also love the Arturia Rev PLATE-140 and the UAD Pure Plate for its organic side.
Headphones
The closed headphones I love and will always love using for mixing pop and hip-hop music are the Beyerdynamic DT-770. As for the best open-back headphones, I use the Sennheiser HD600 headphones, and I’m really happy of them!
Monitors
Having a pair of Yamaha HS7 in its studio or home studio is always cool for more excitement while listening to your mixes. The Adam Audio T7V monitors are also super accurate. In my studio, I also have a pair of Genelec 8030 for their reliability.
Hardware gear
For anyone who wants to start using hardware in their mixes, I always recommend these 2 units from Klark Teknik: the EQP-KT and the 76-KT. Don’t forget to use good converters, such as the Apollo interfaces. This is essential for a good rendering.


